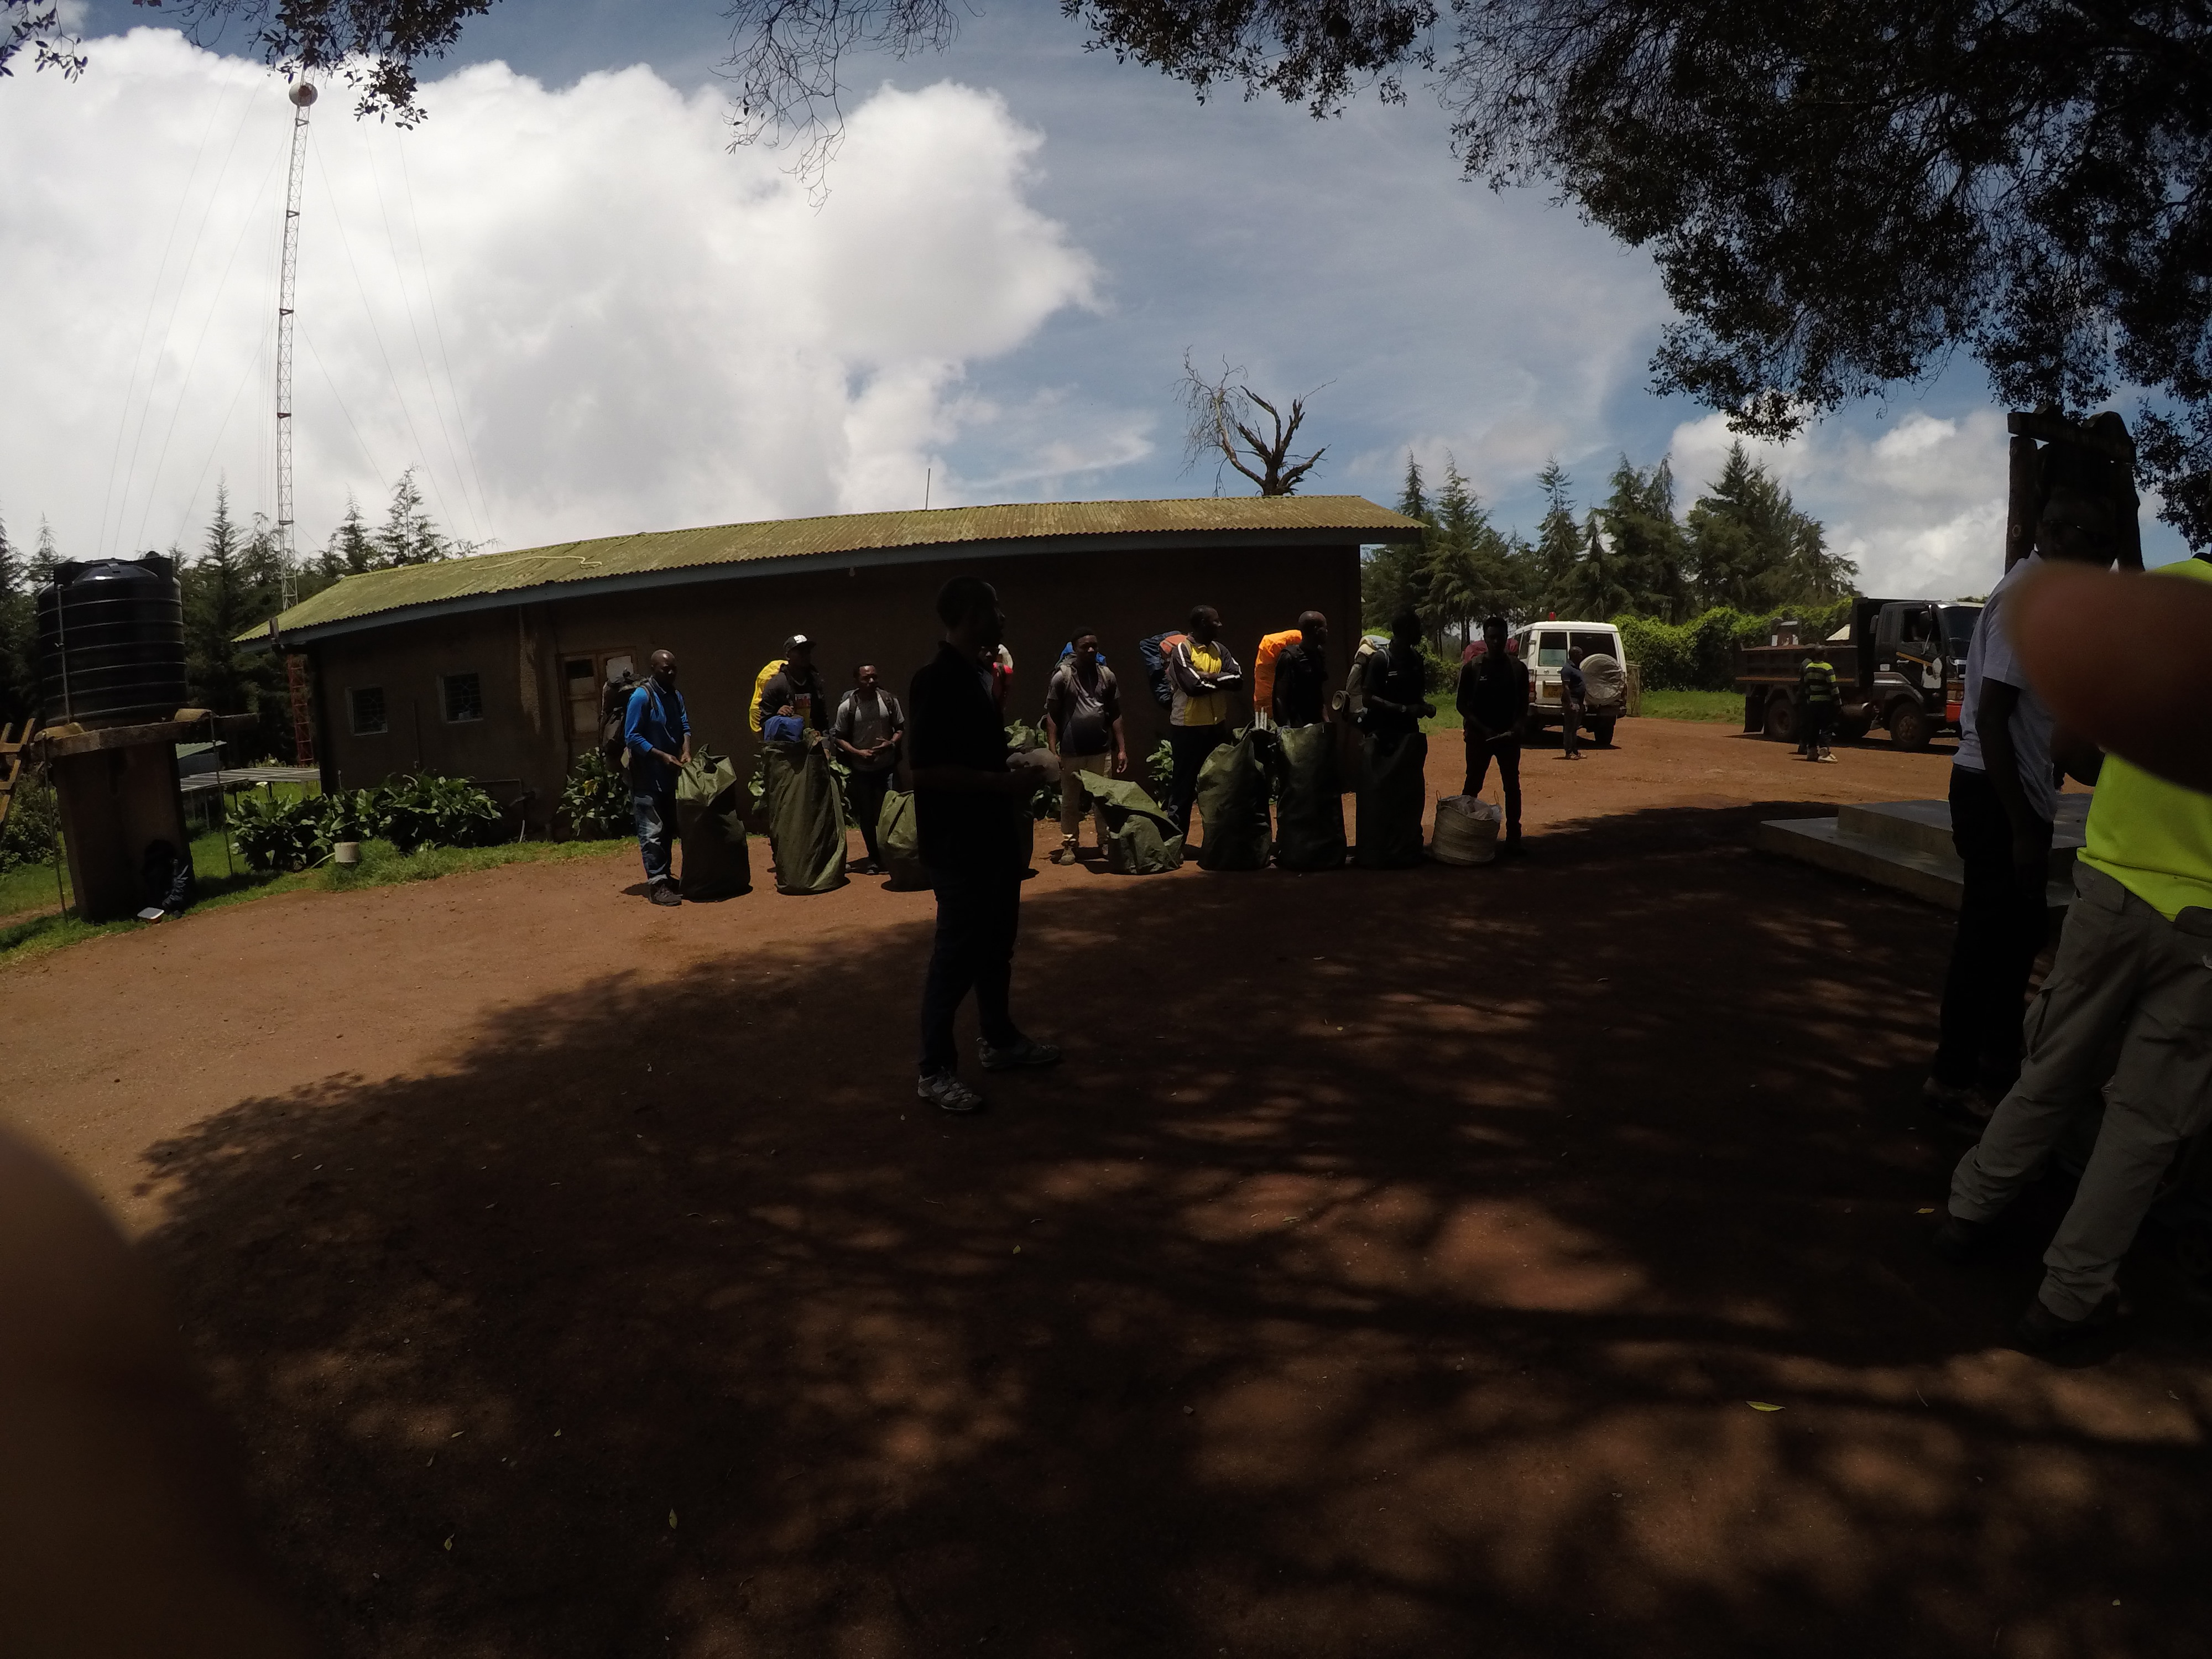
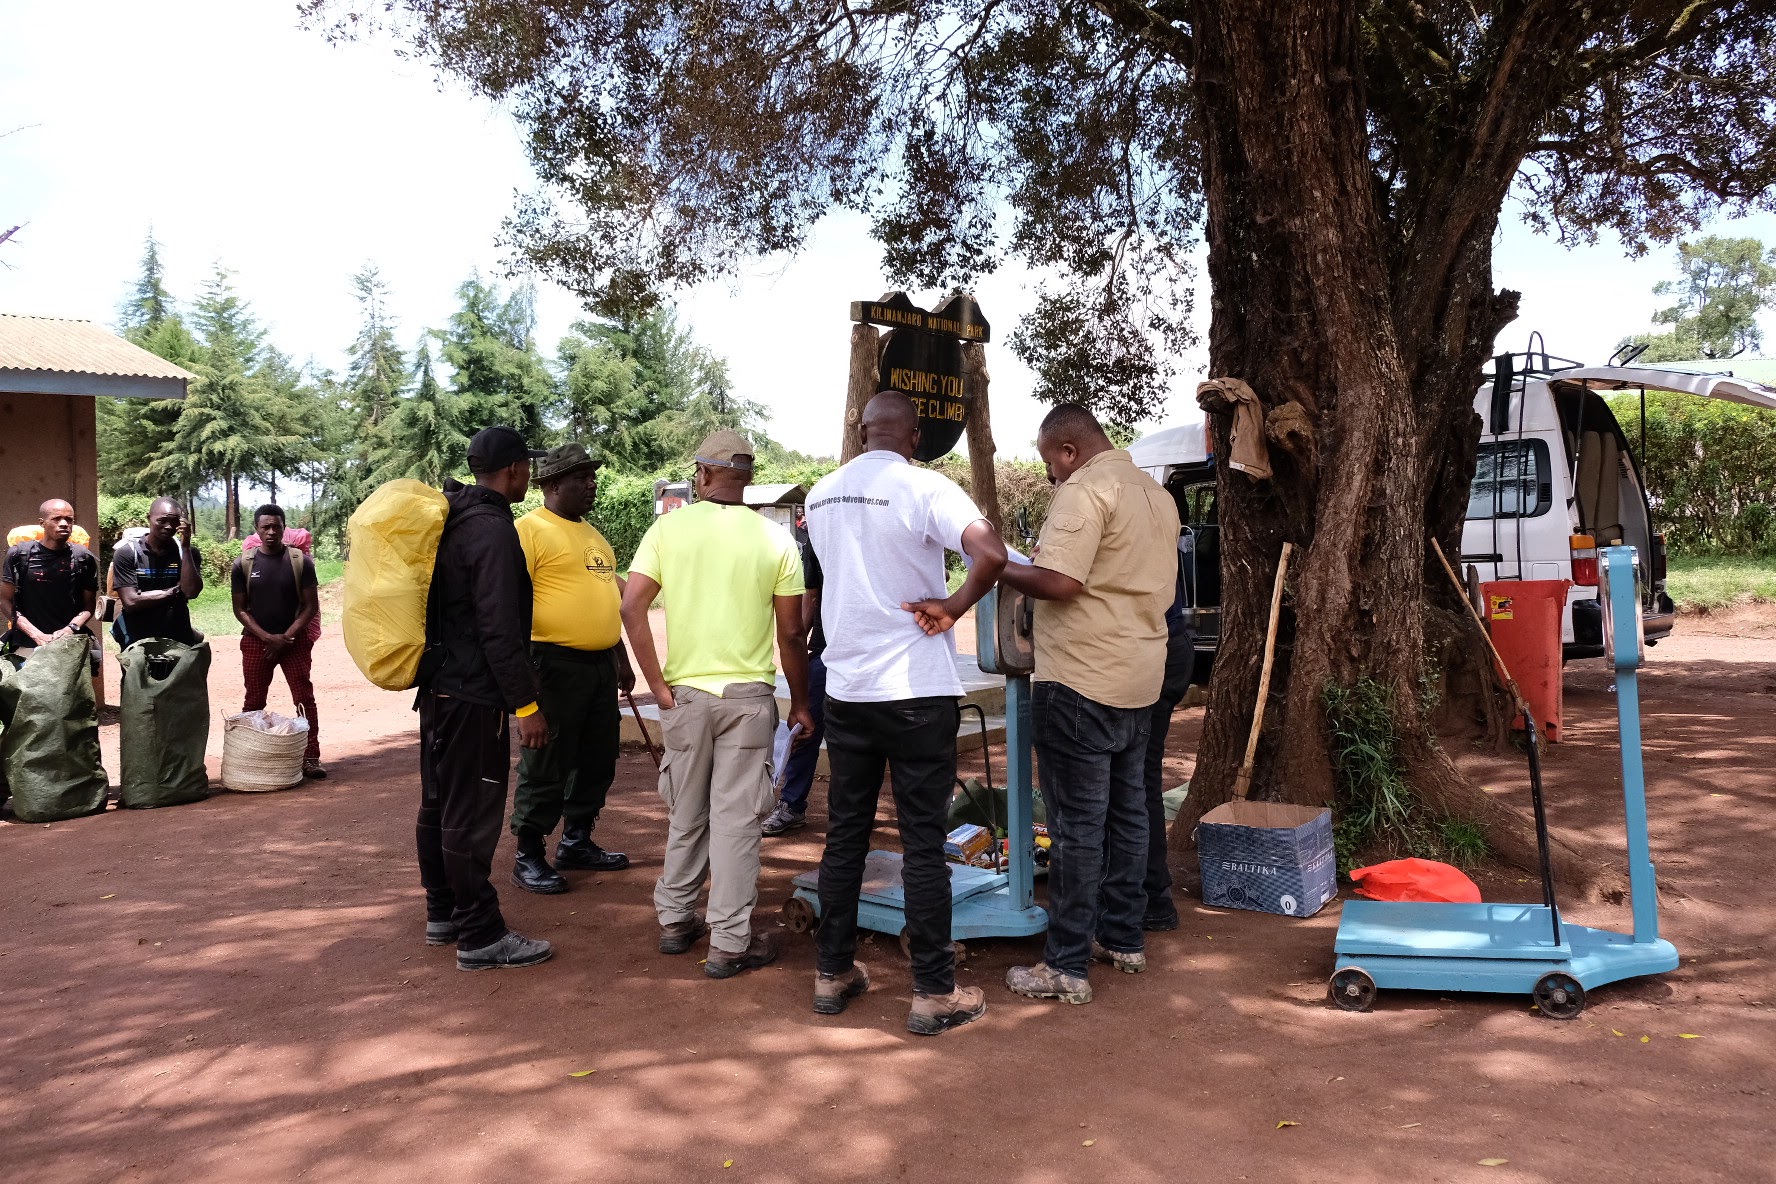
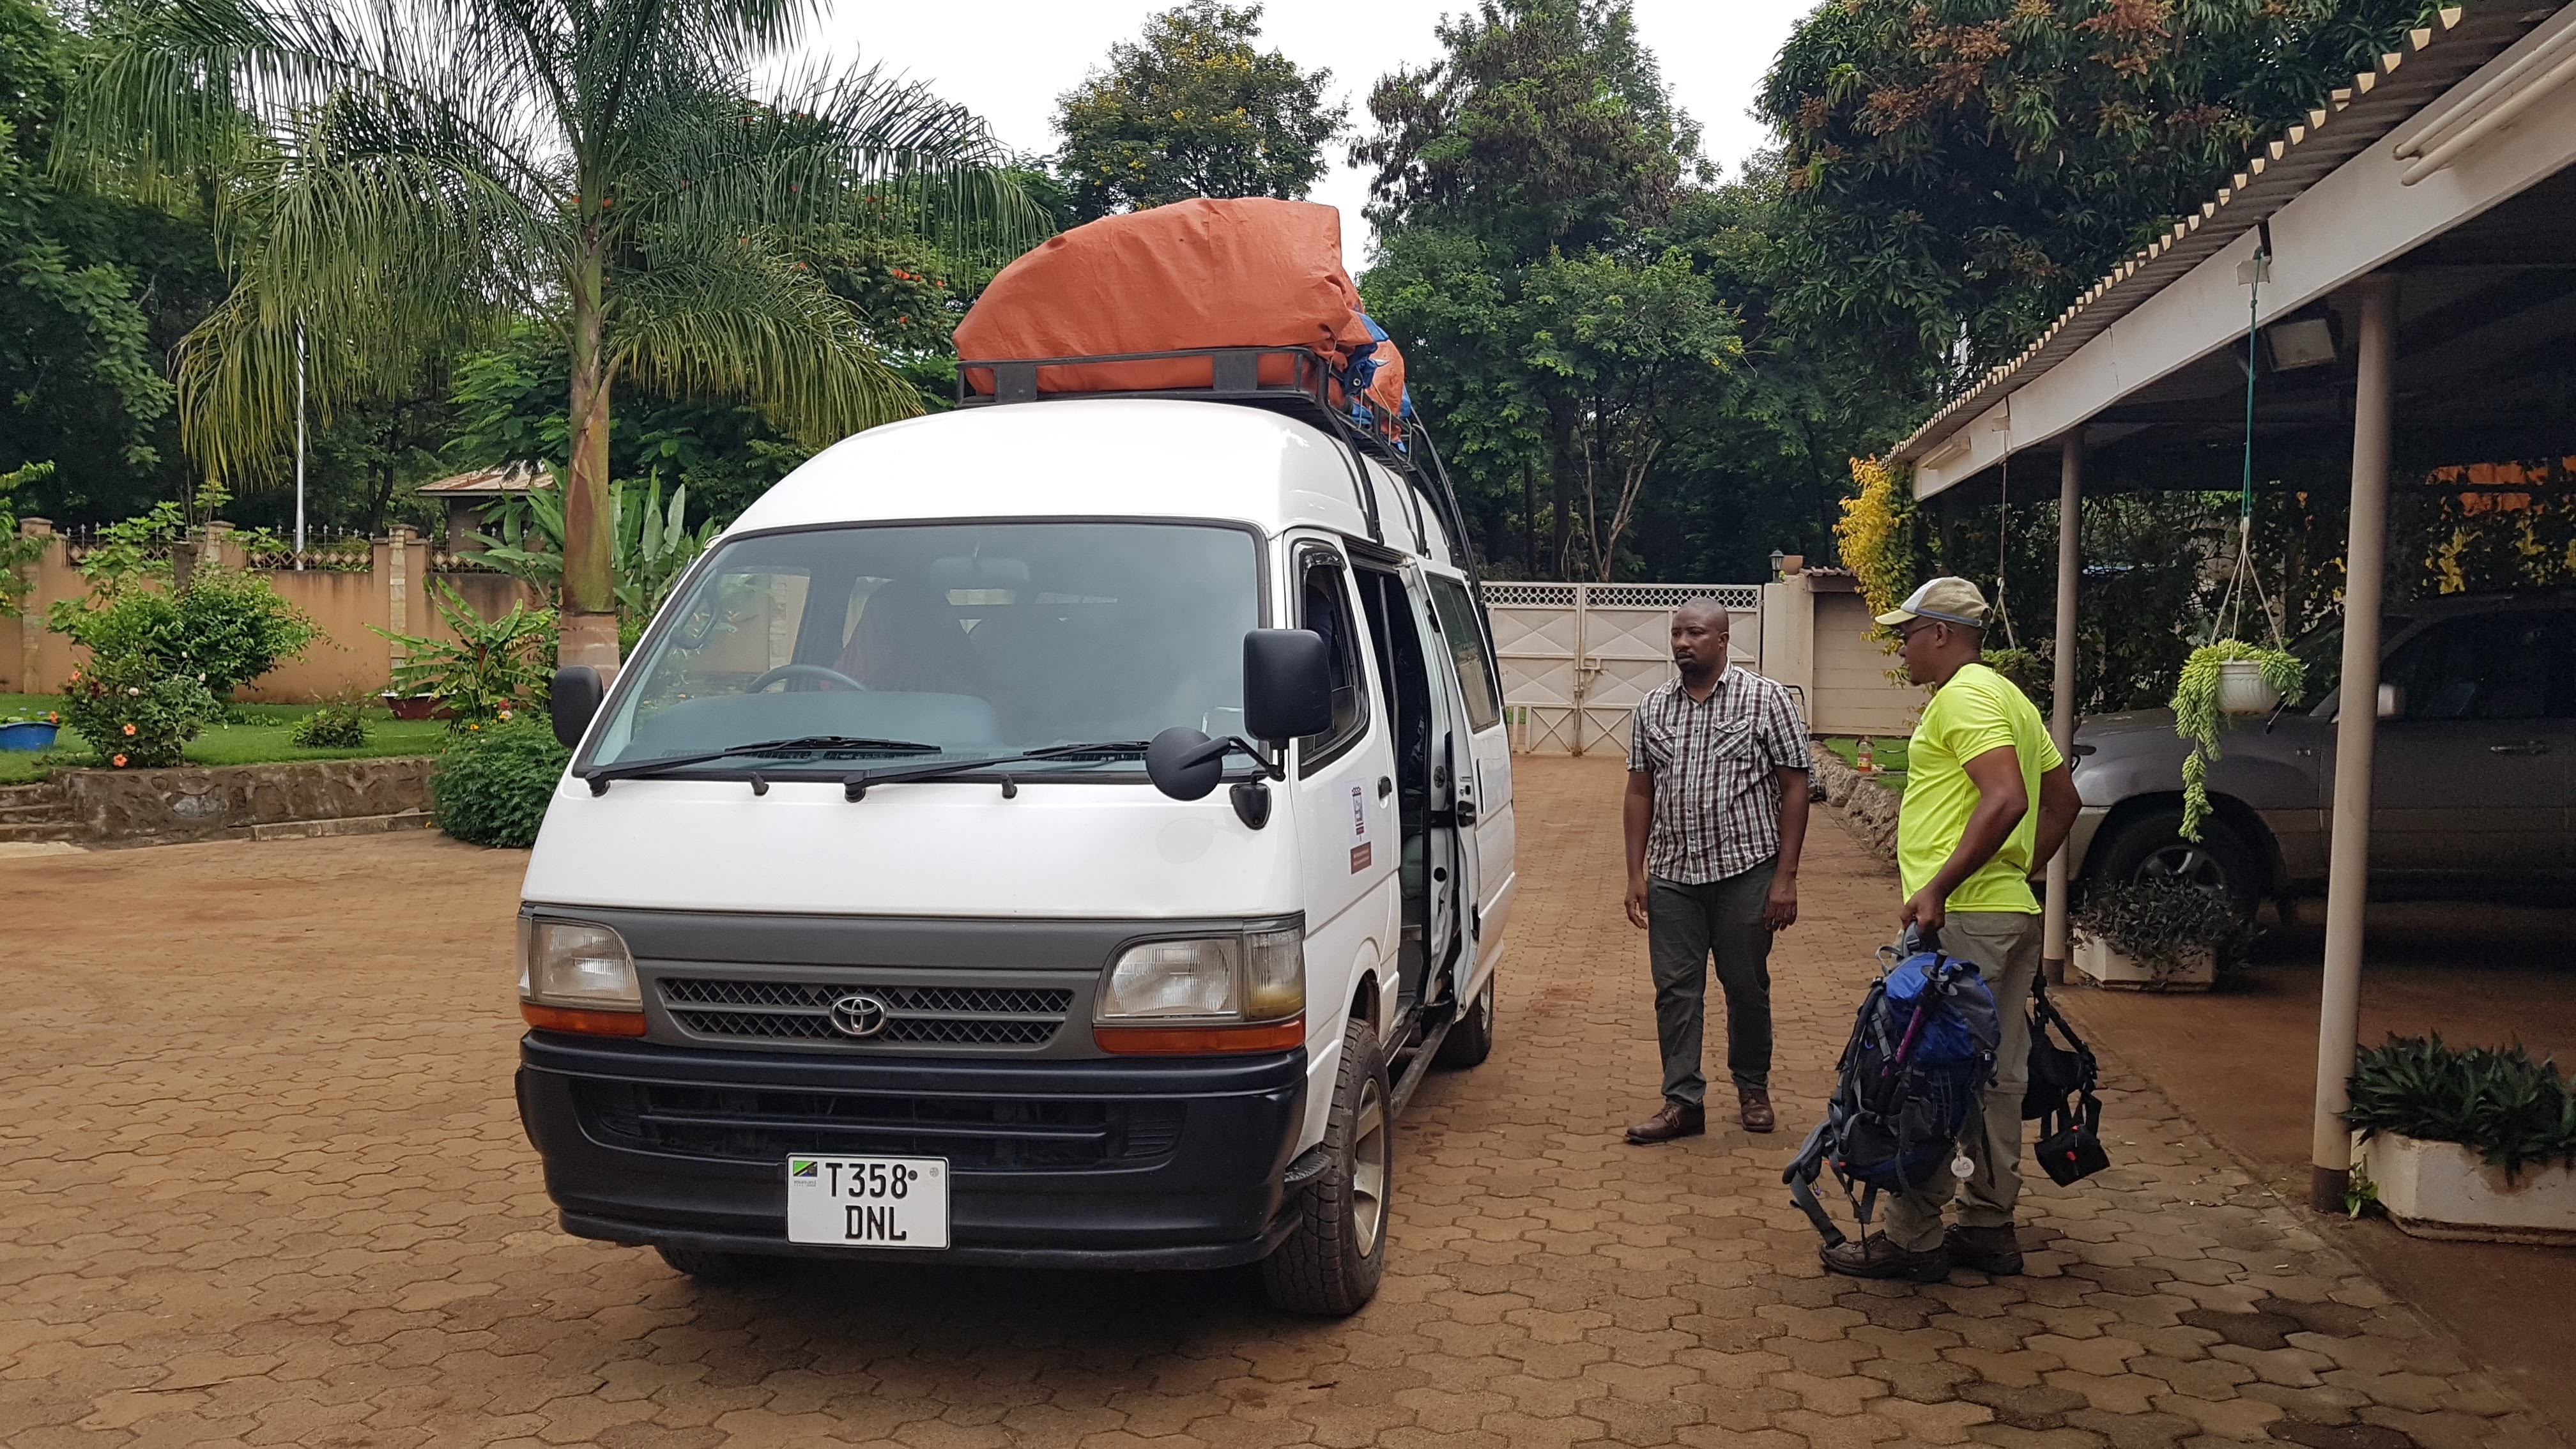
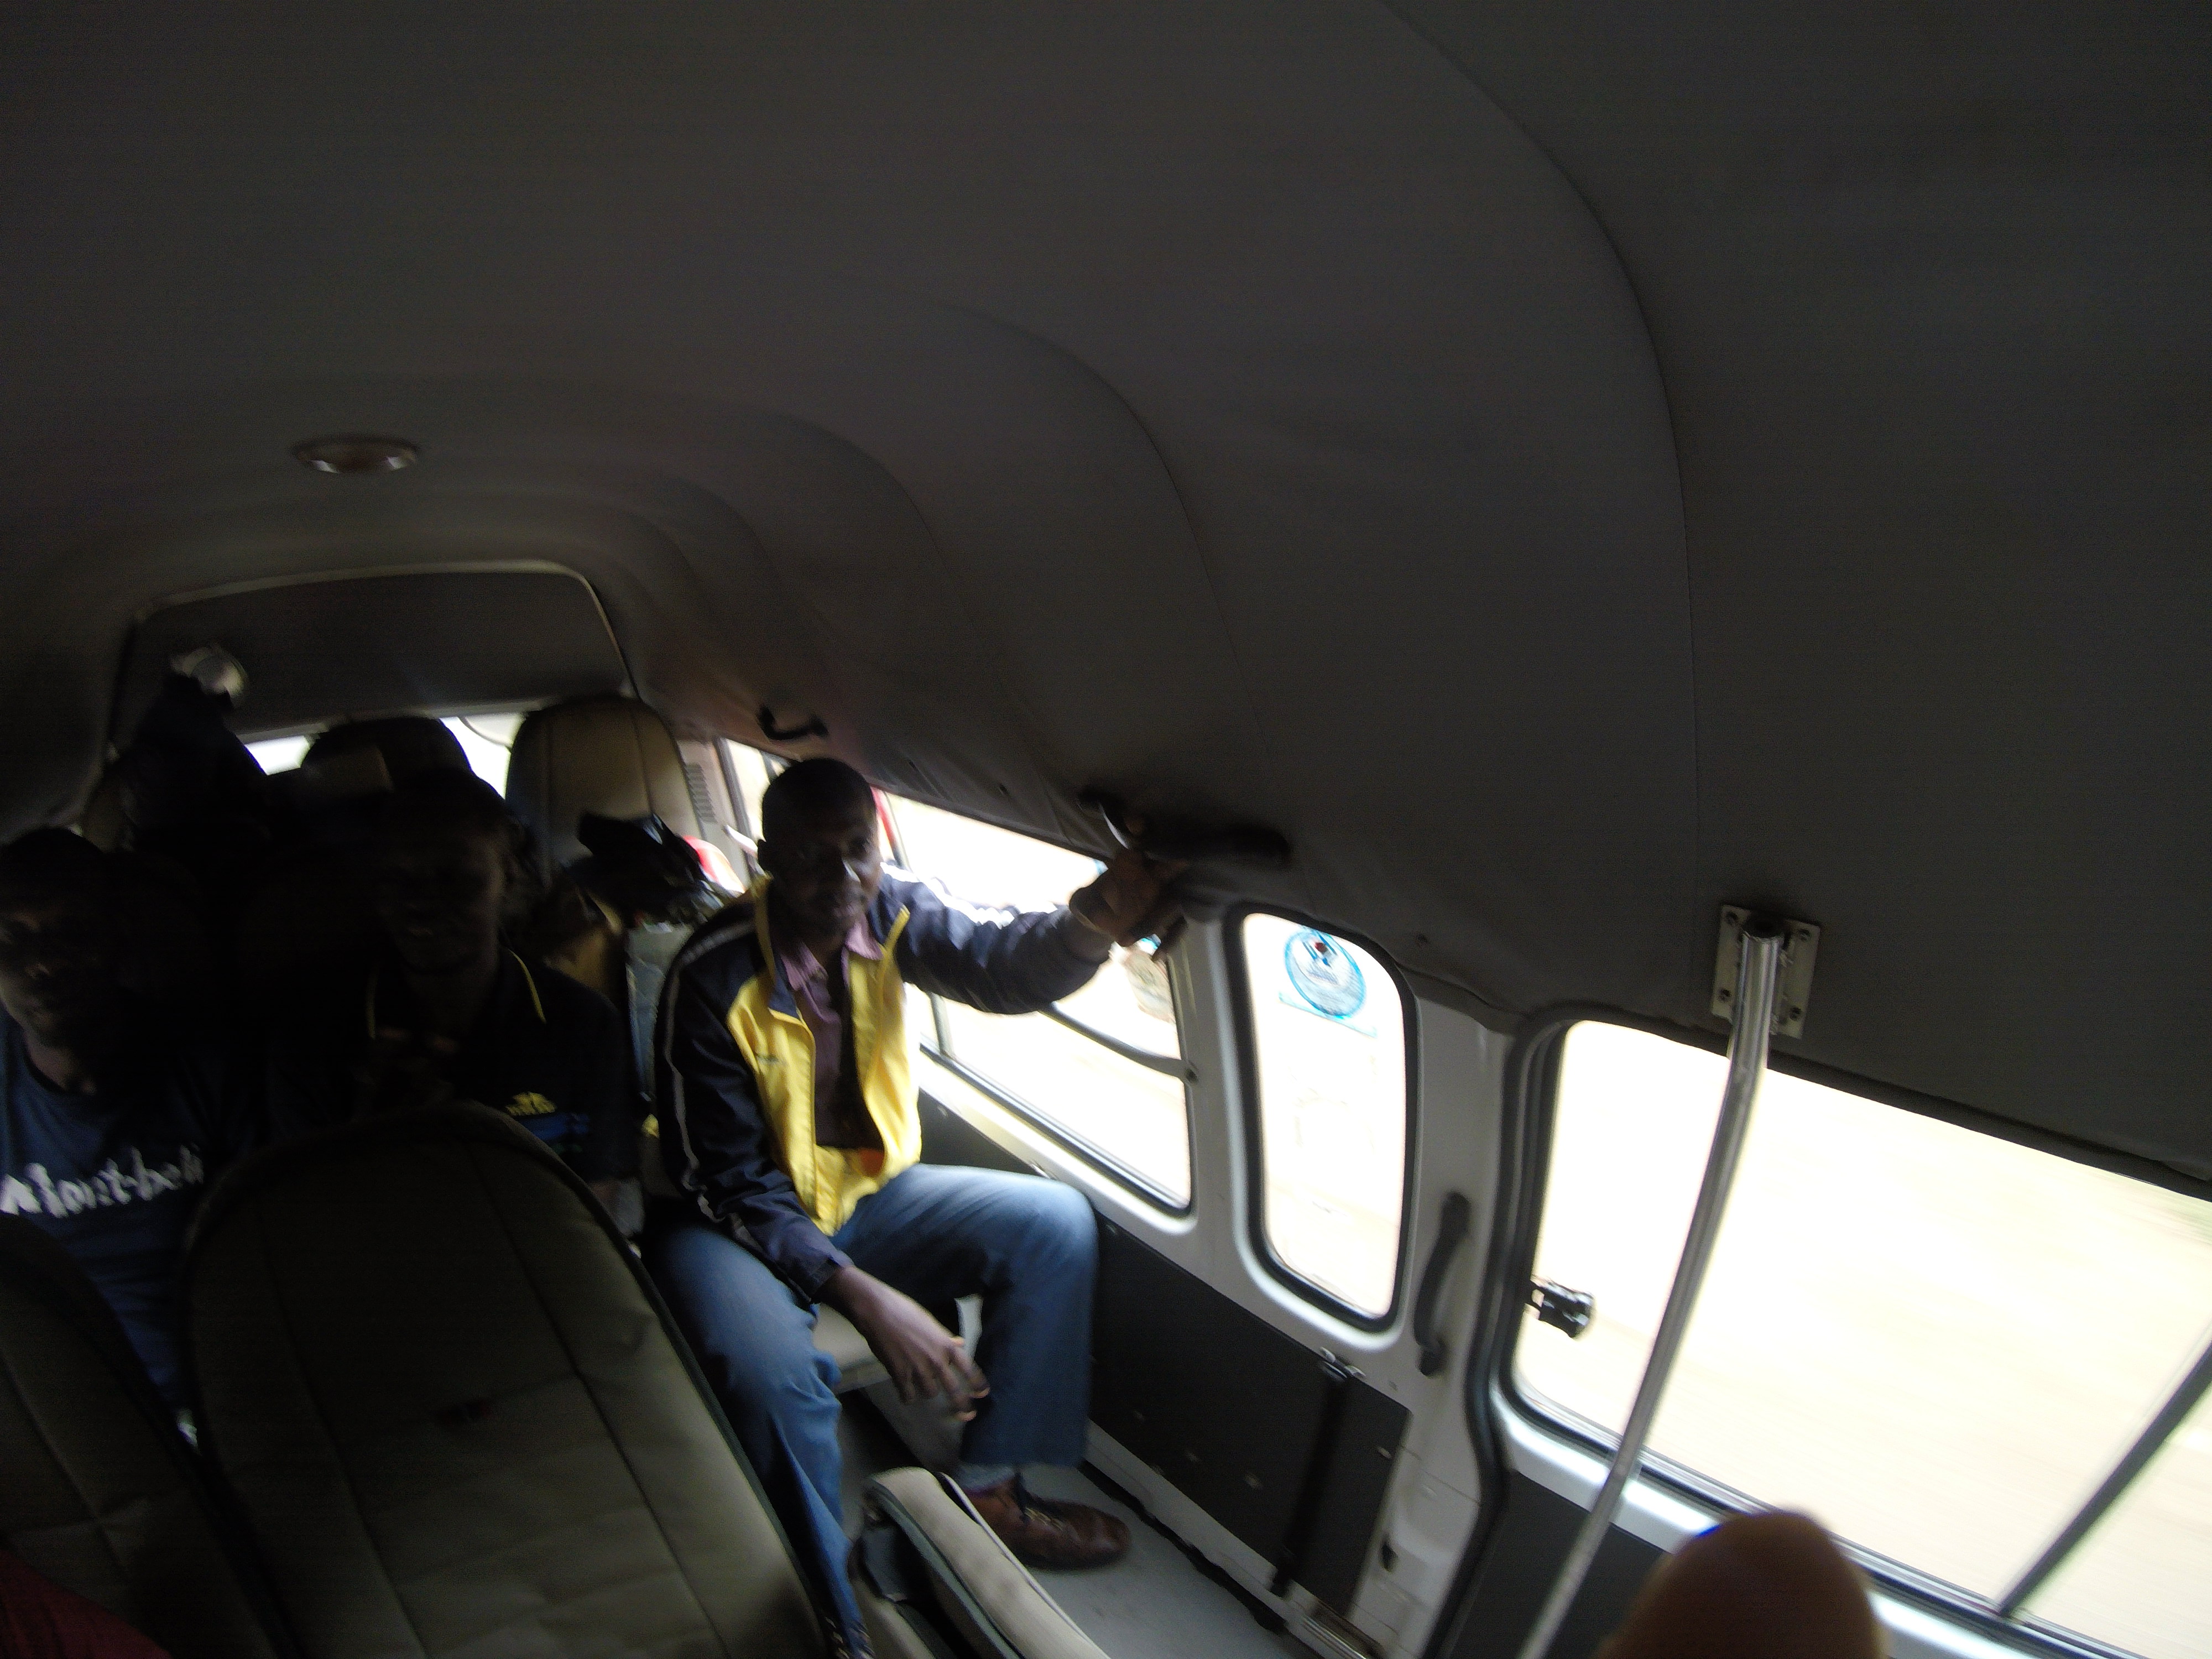
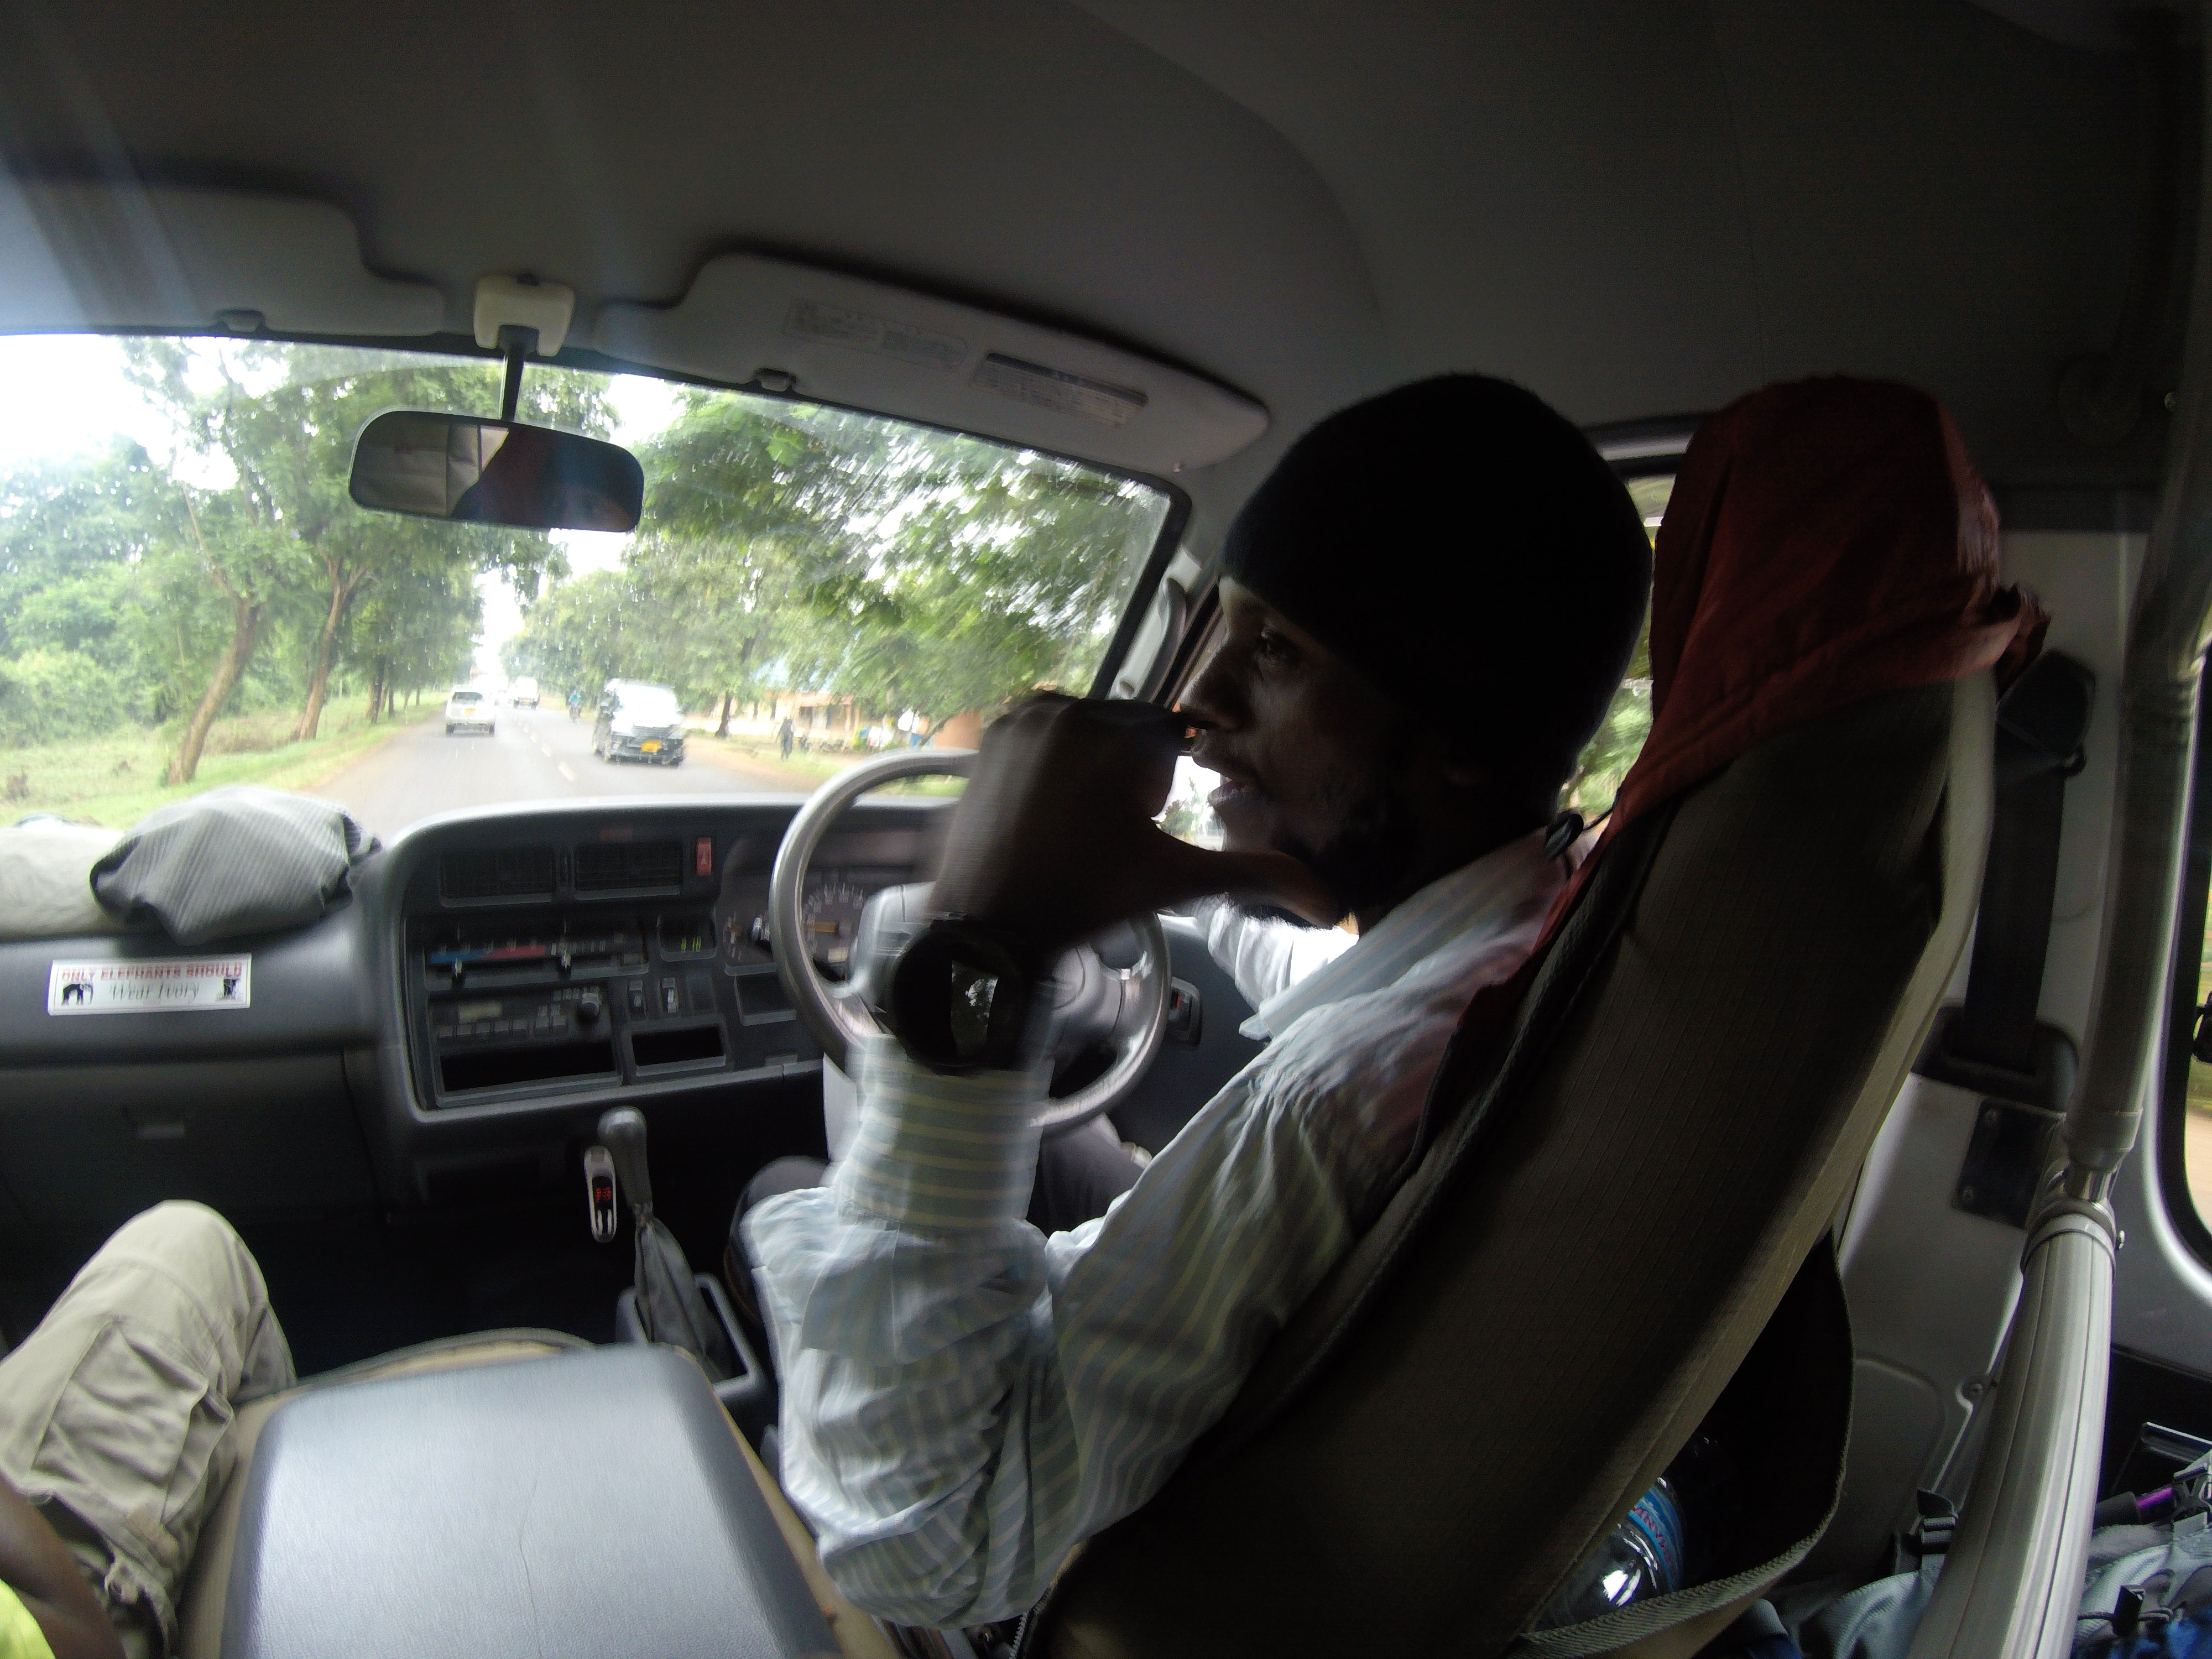
Having weighed in with then drove down hill to our starting point nearly 45 minutes away. Getting to the first gate was a challenging journey as it had rained overnight and part of the road was quite Muddy. on one occasion we had to disembark our carriage so that it would lighten up the load and permit the axle to go over the muddy mounds in the middle of the road created by the tyre tracks either side.
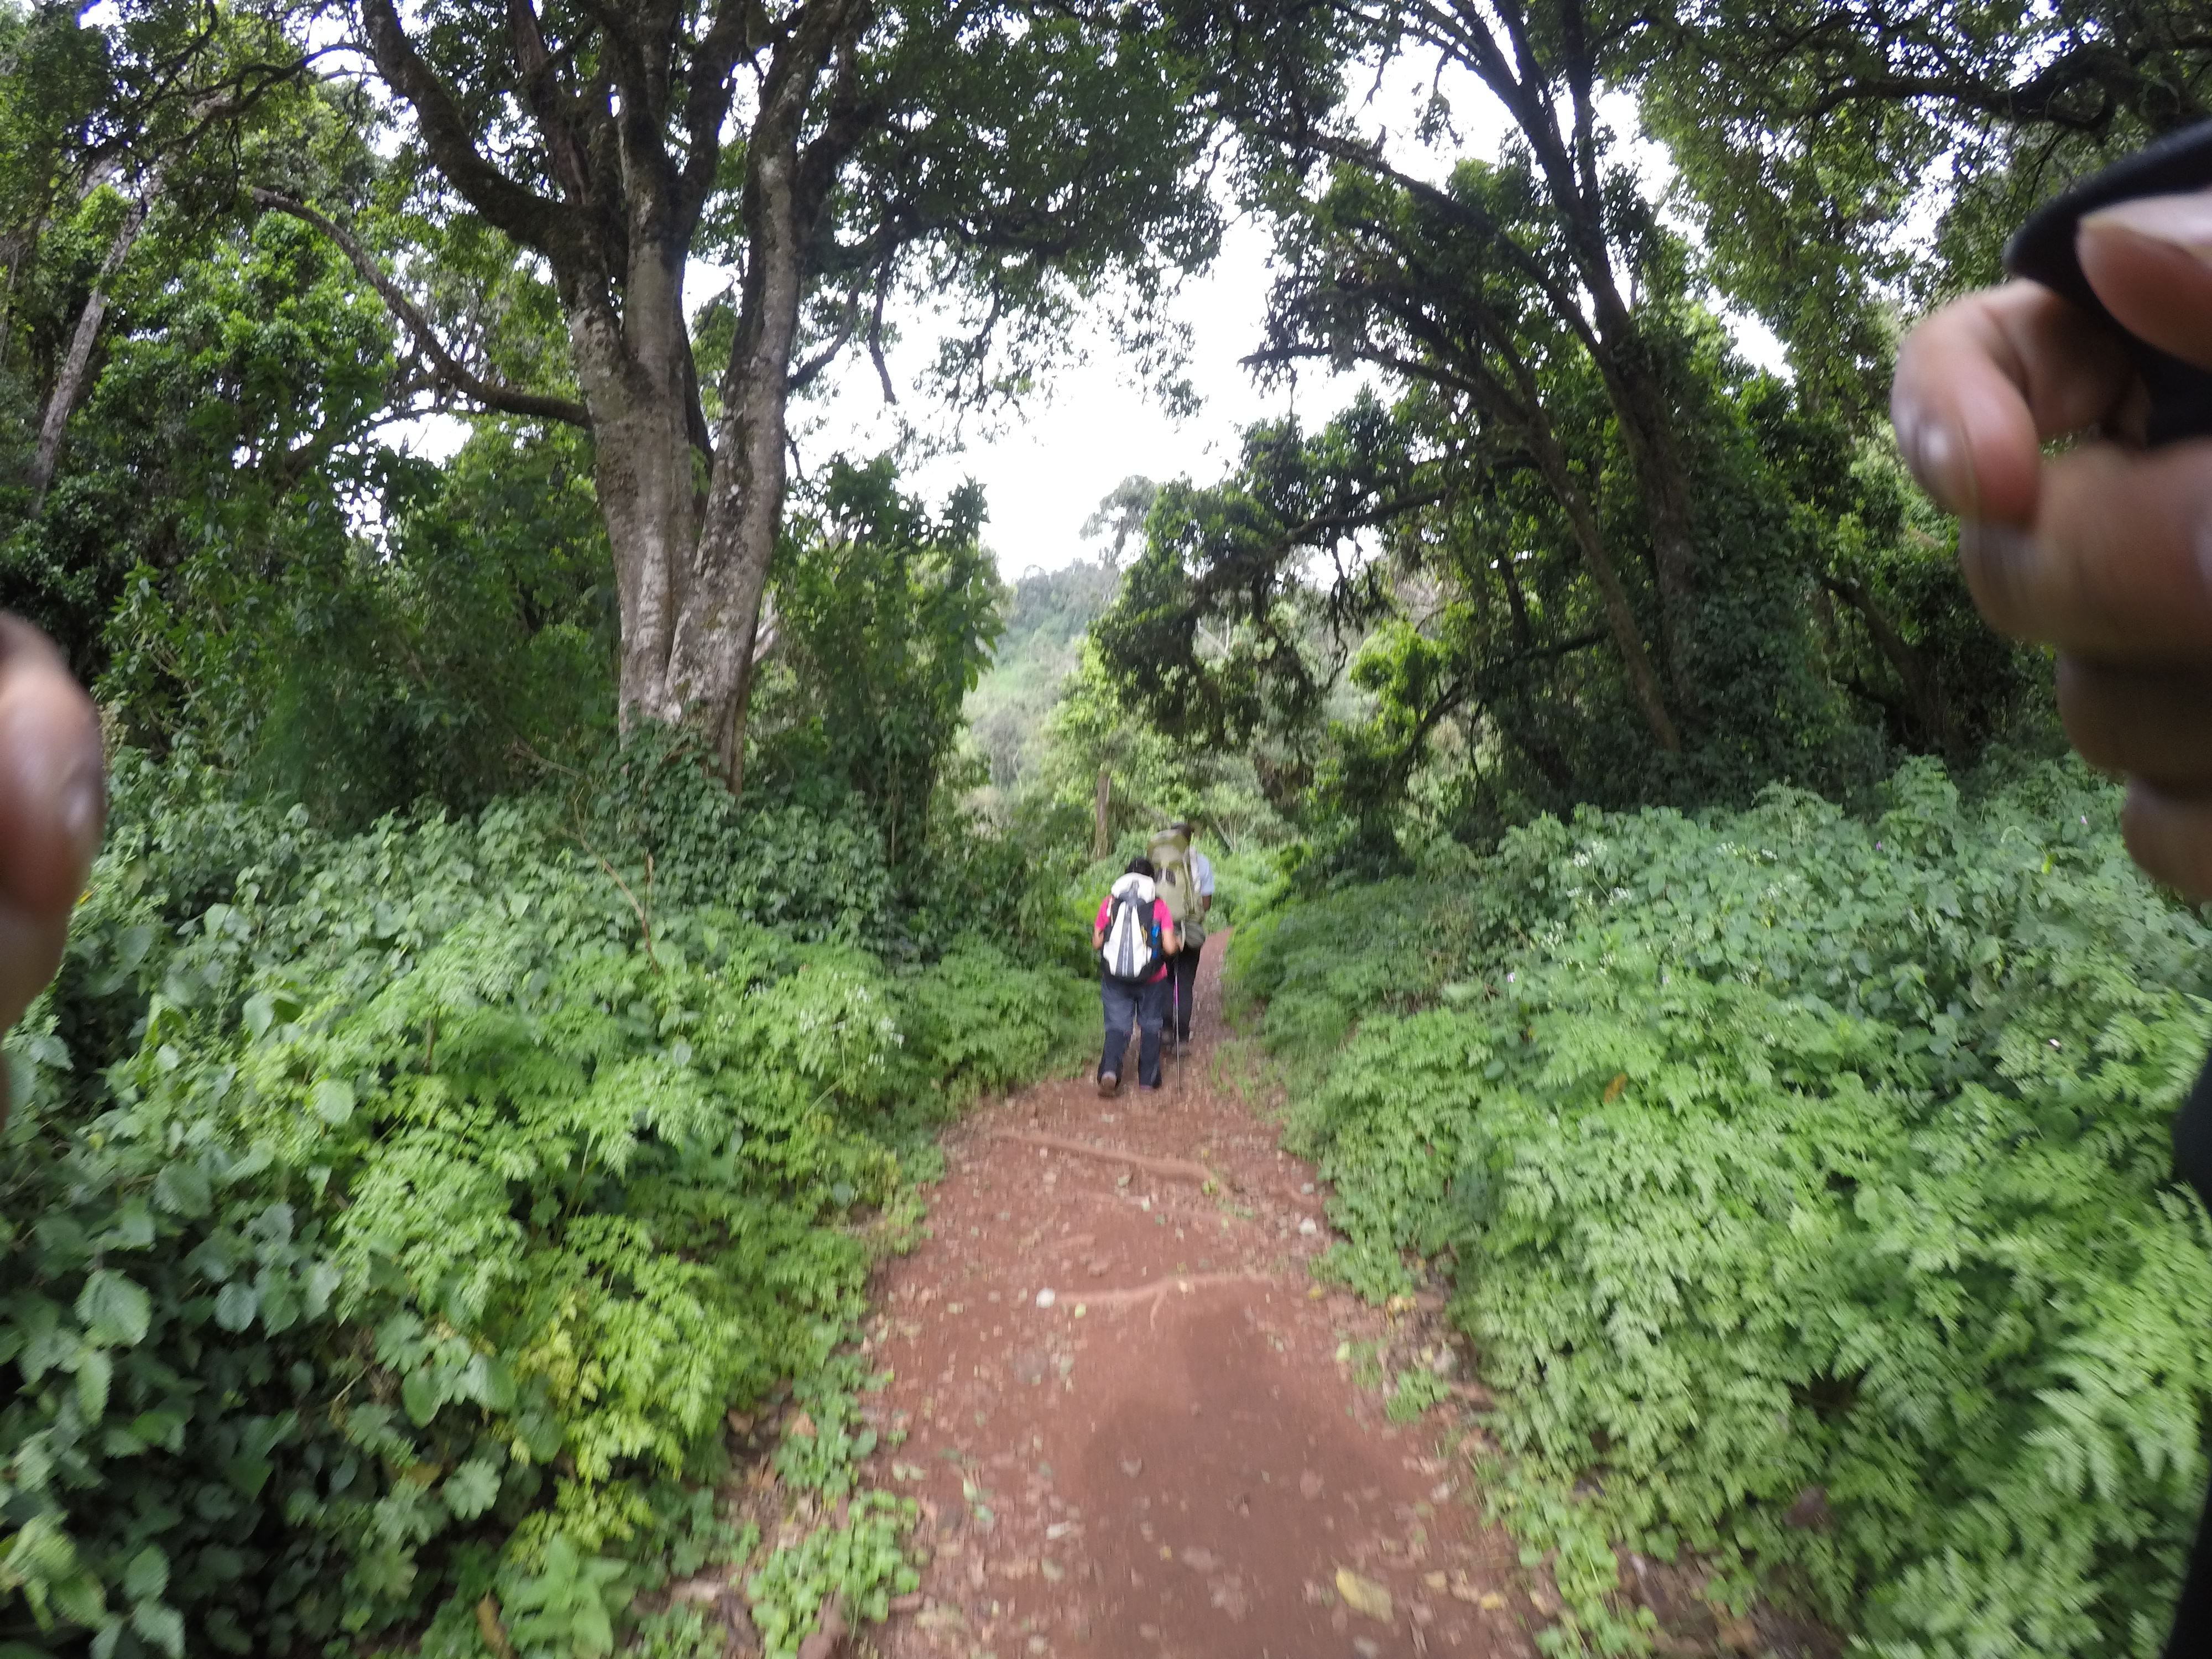
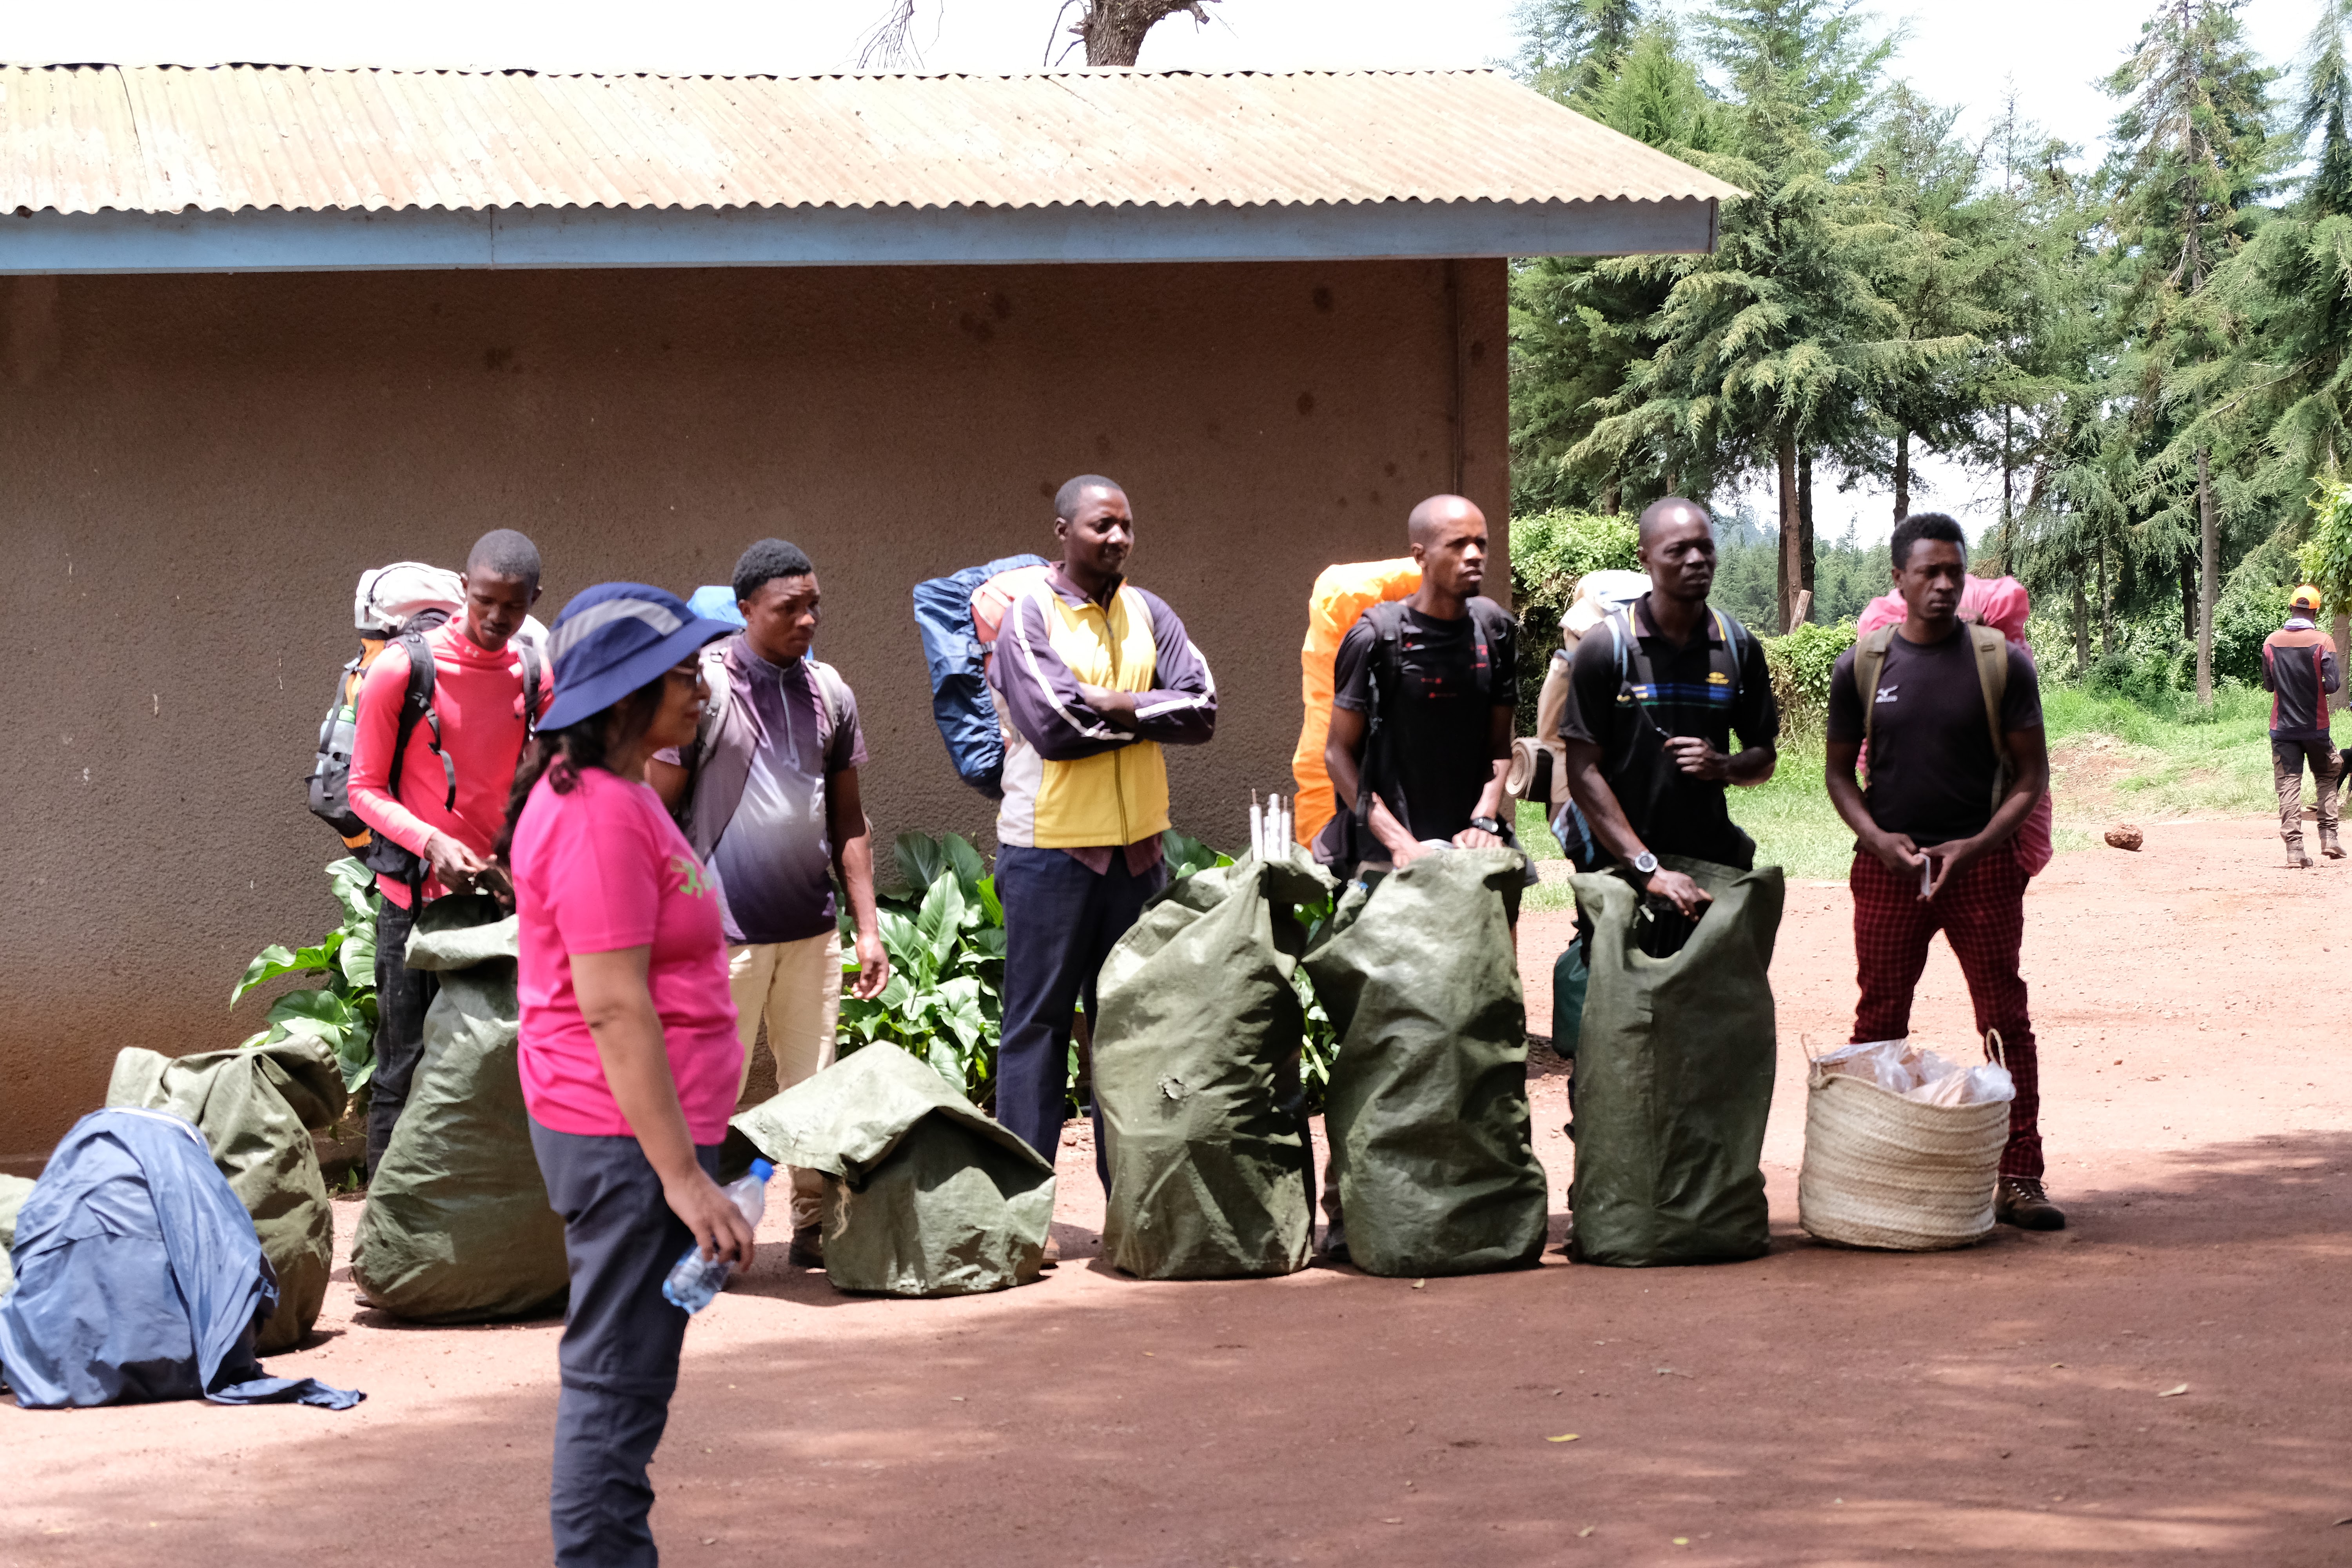
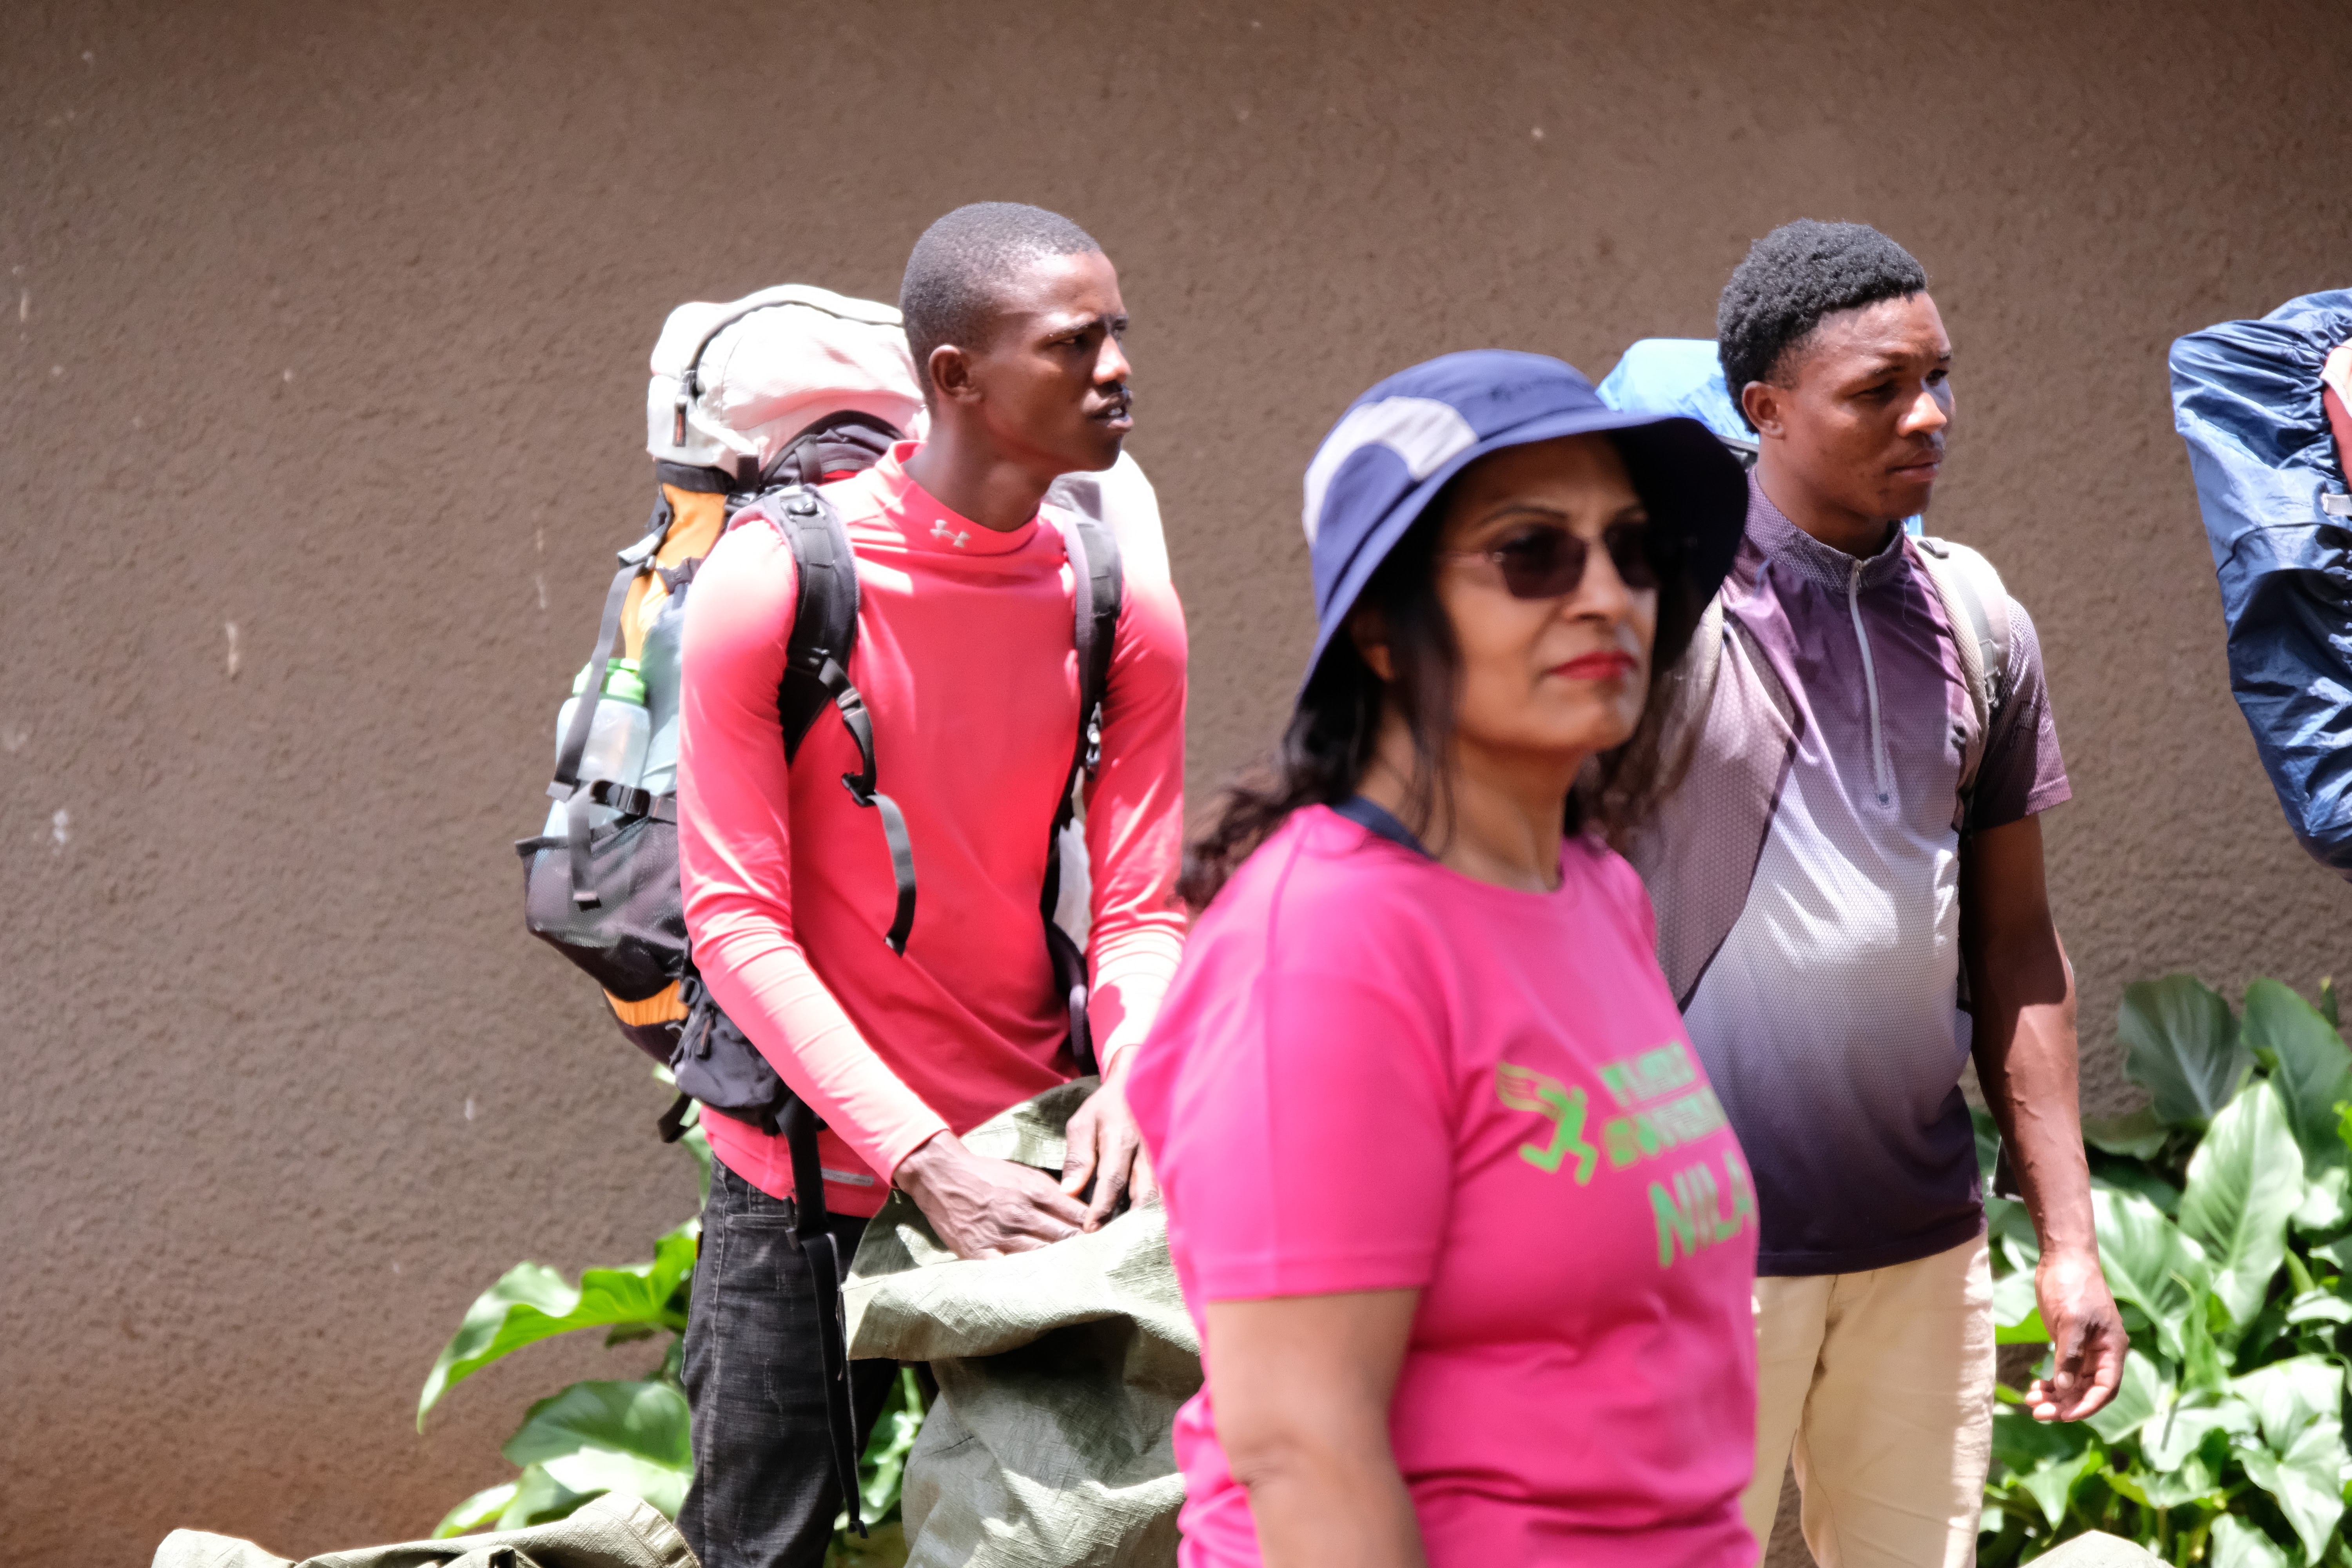
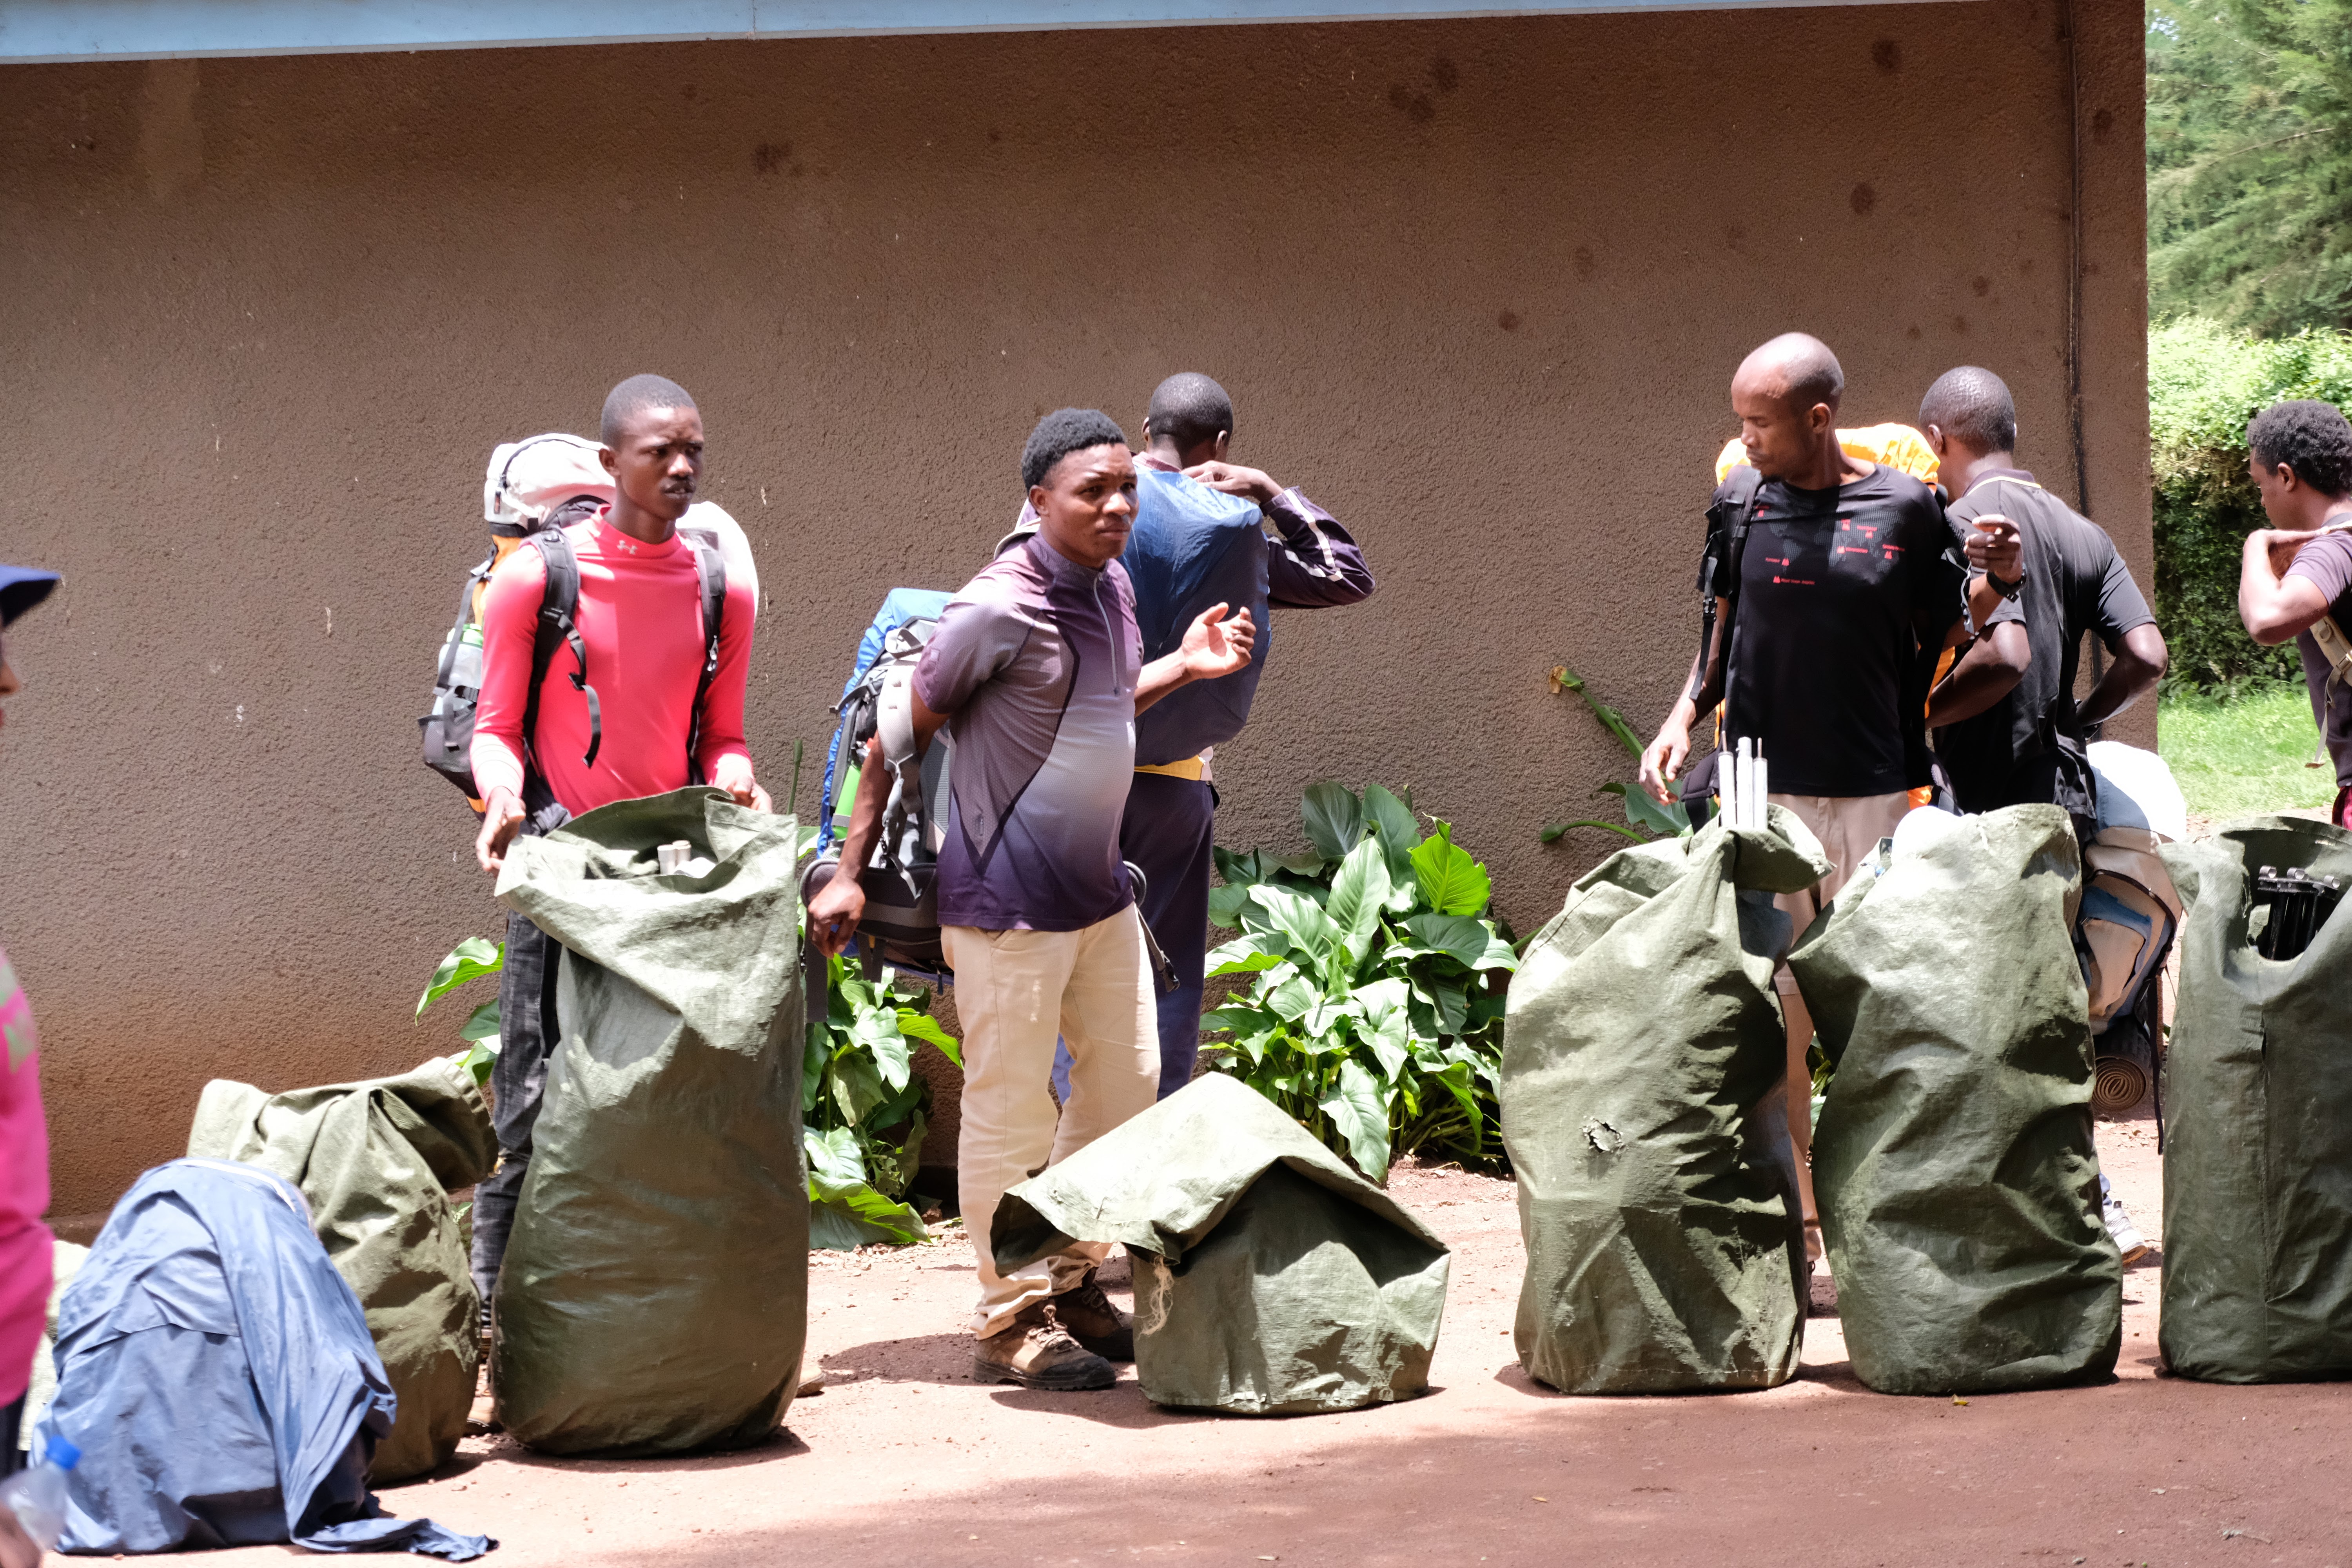
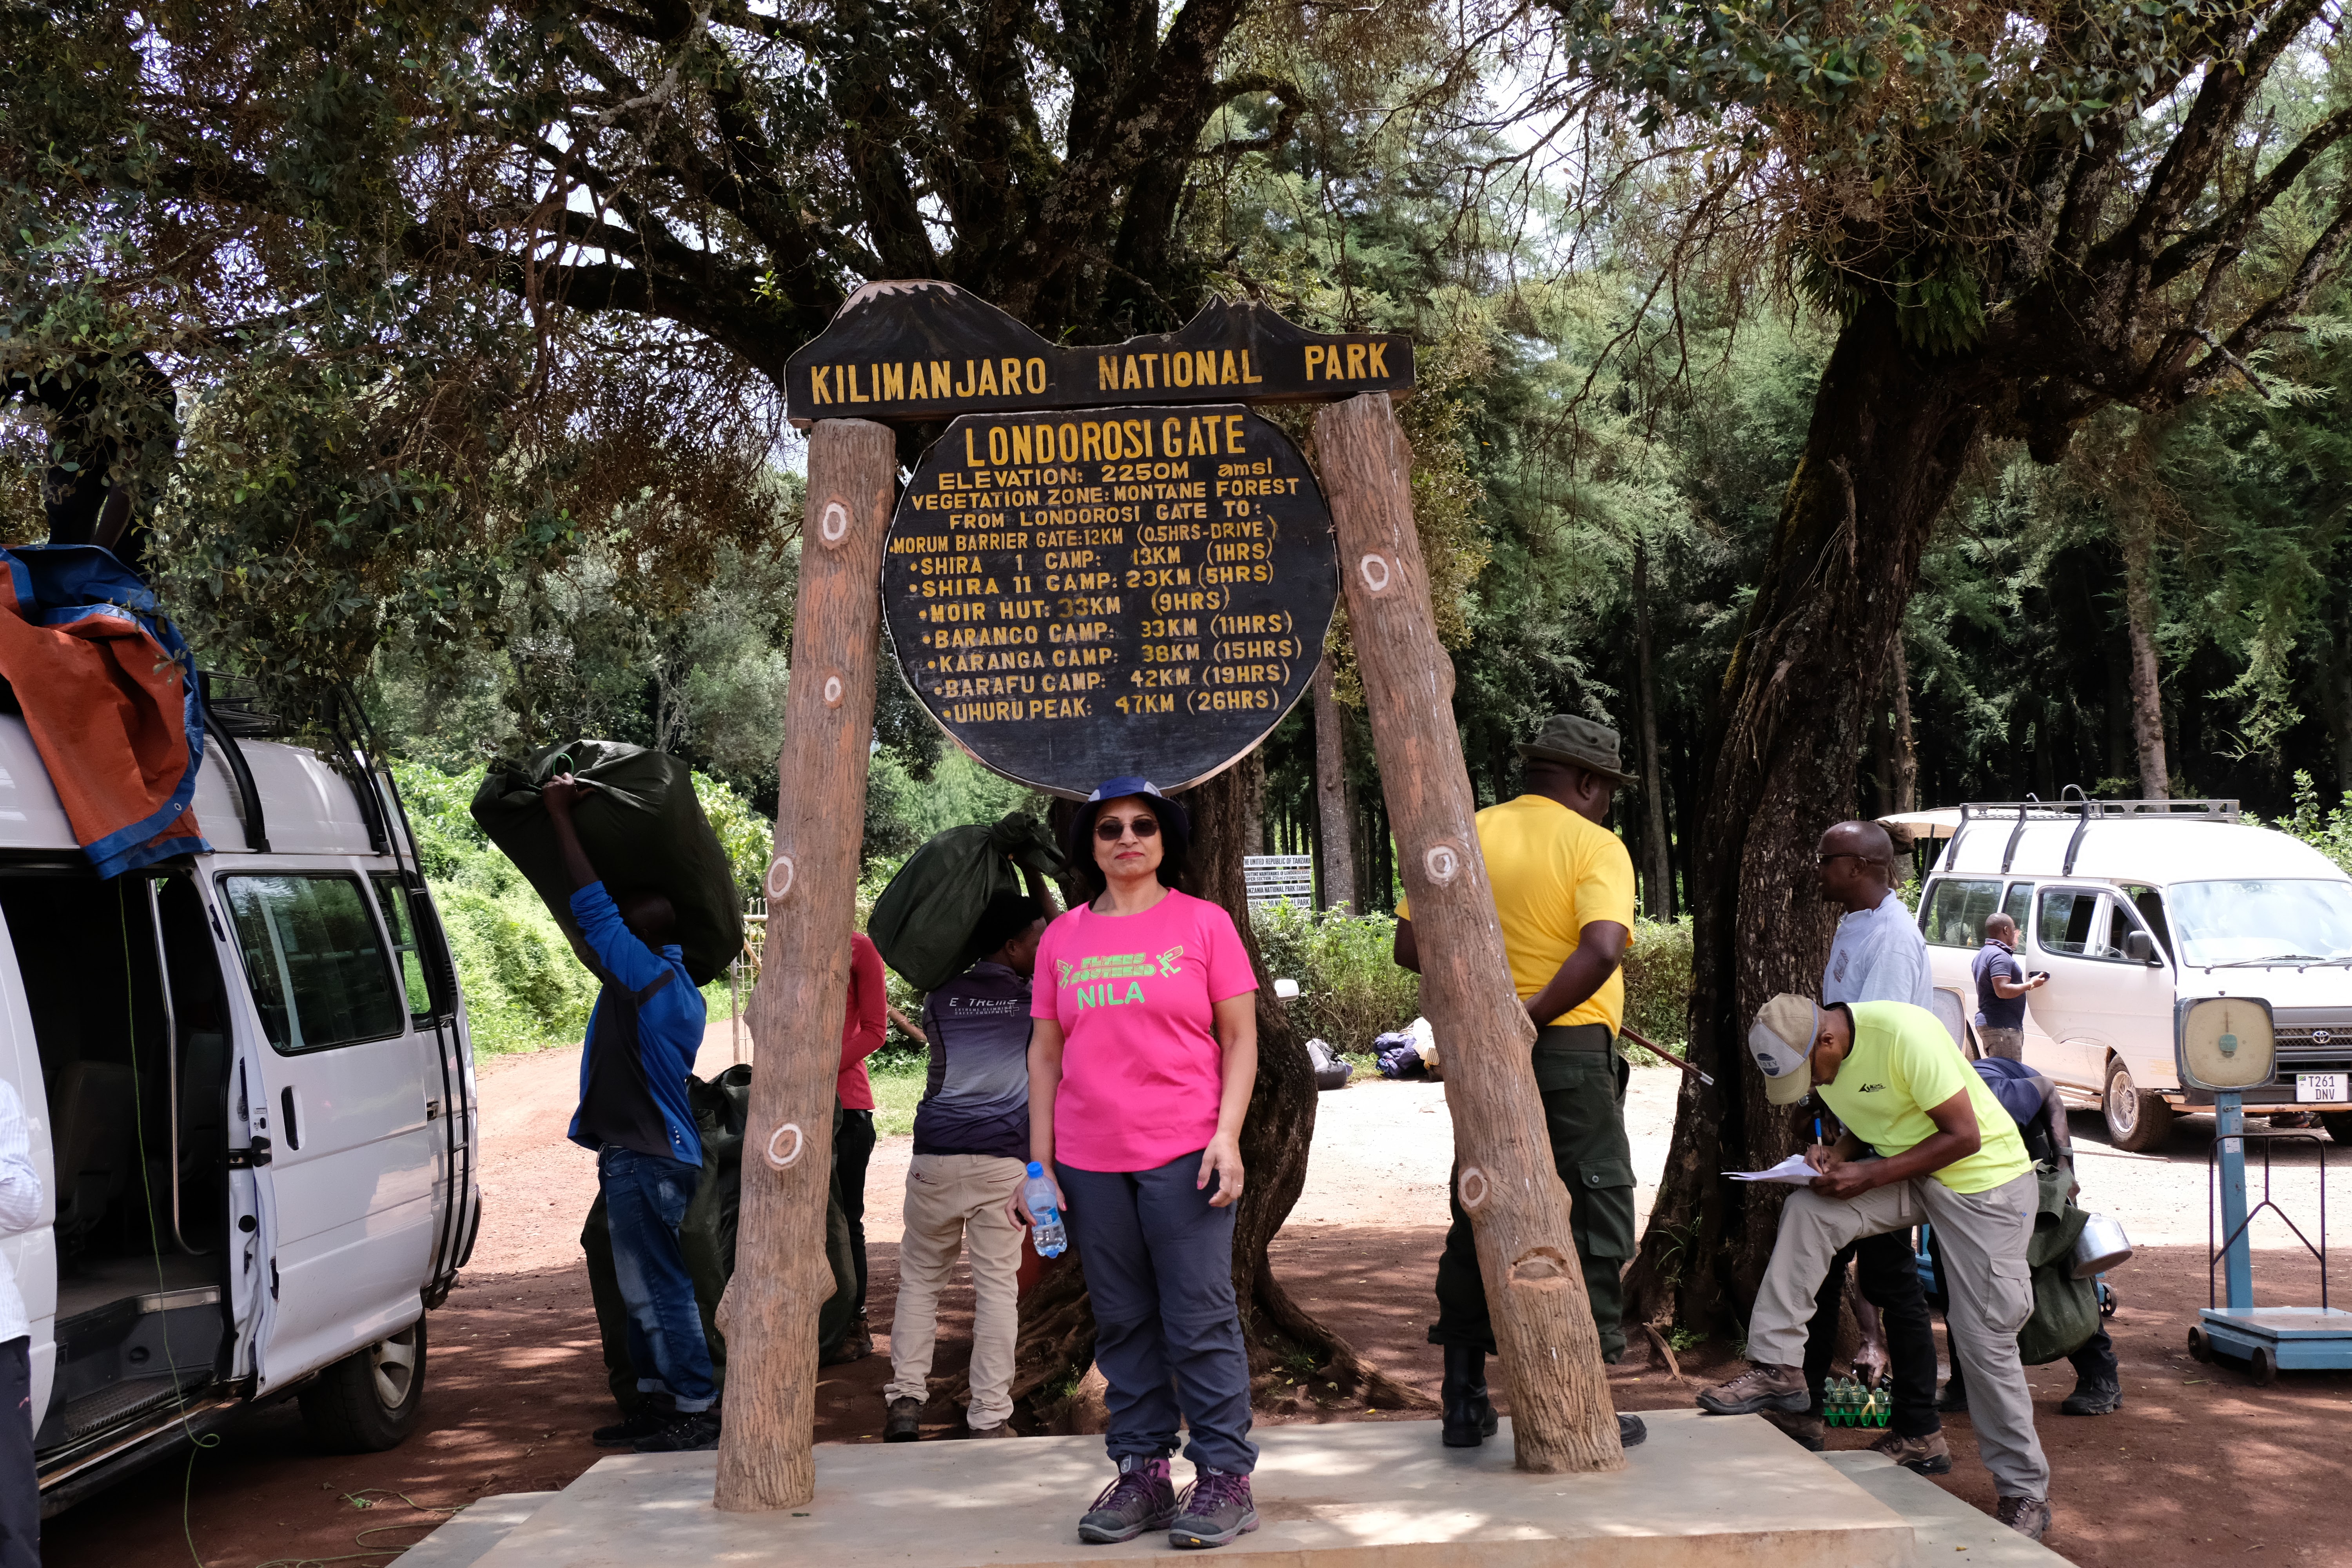
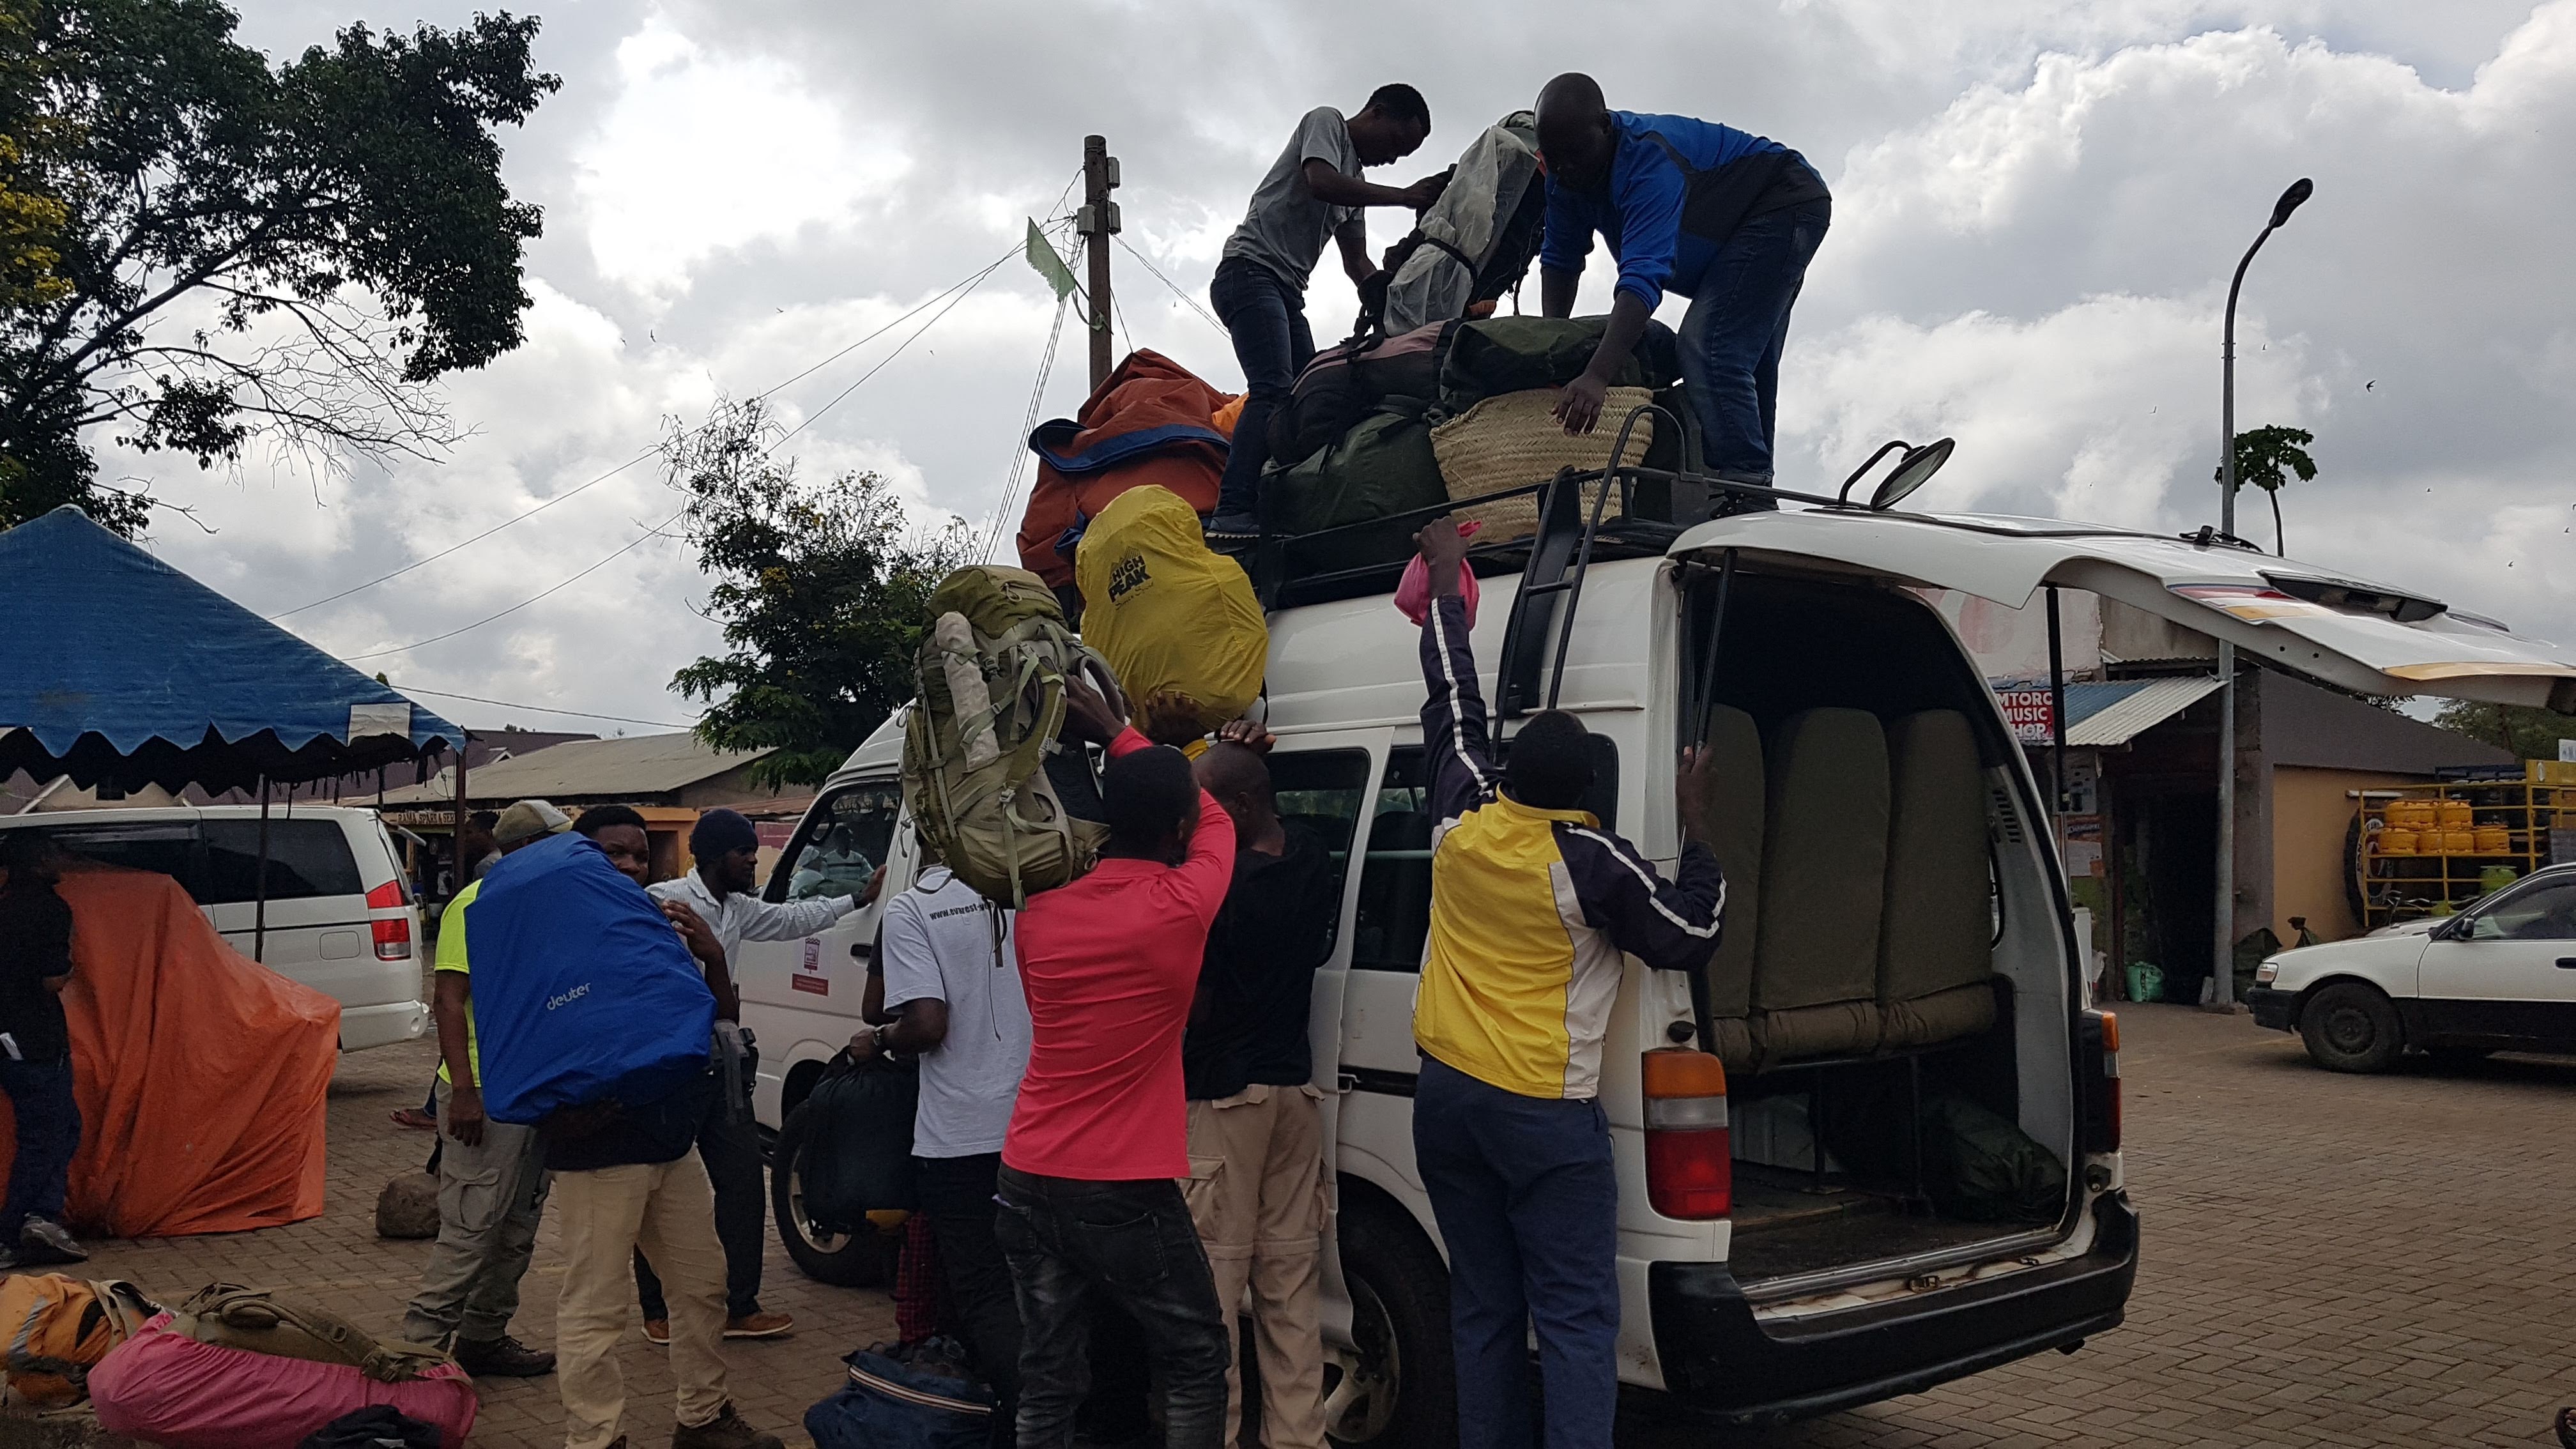
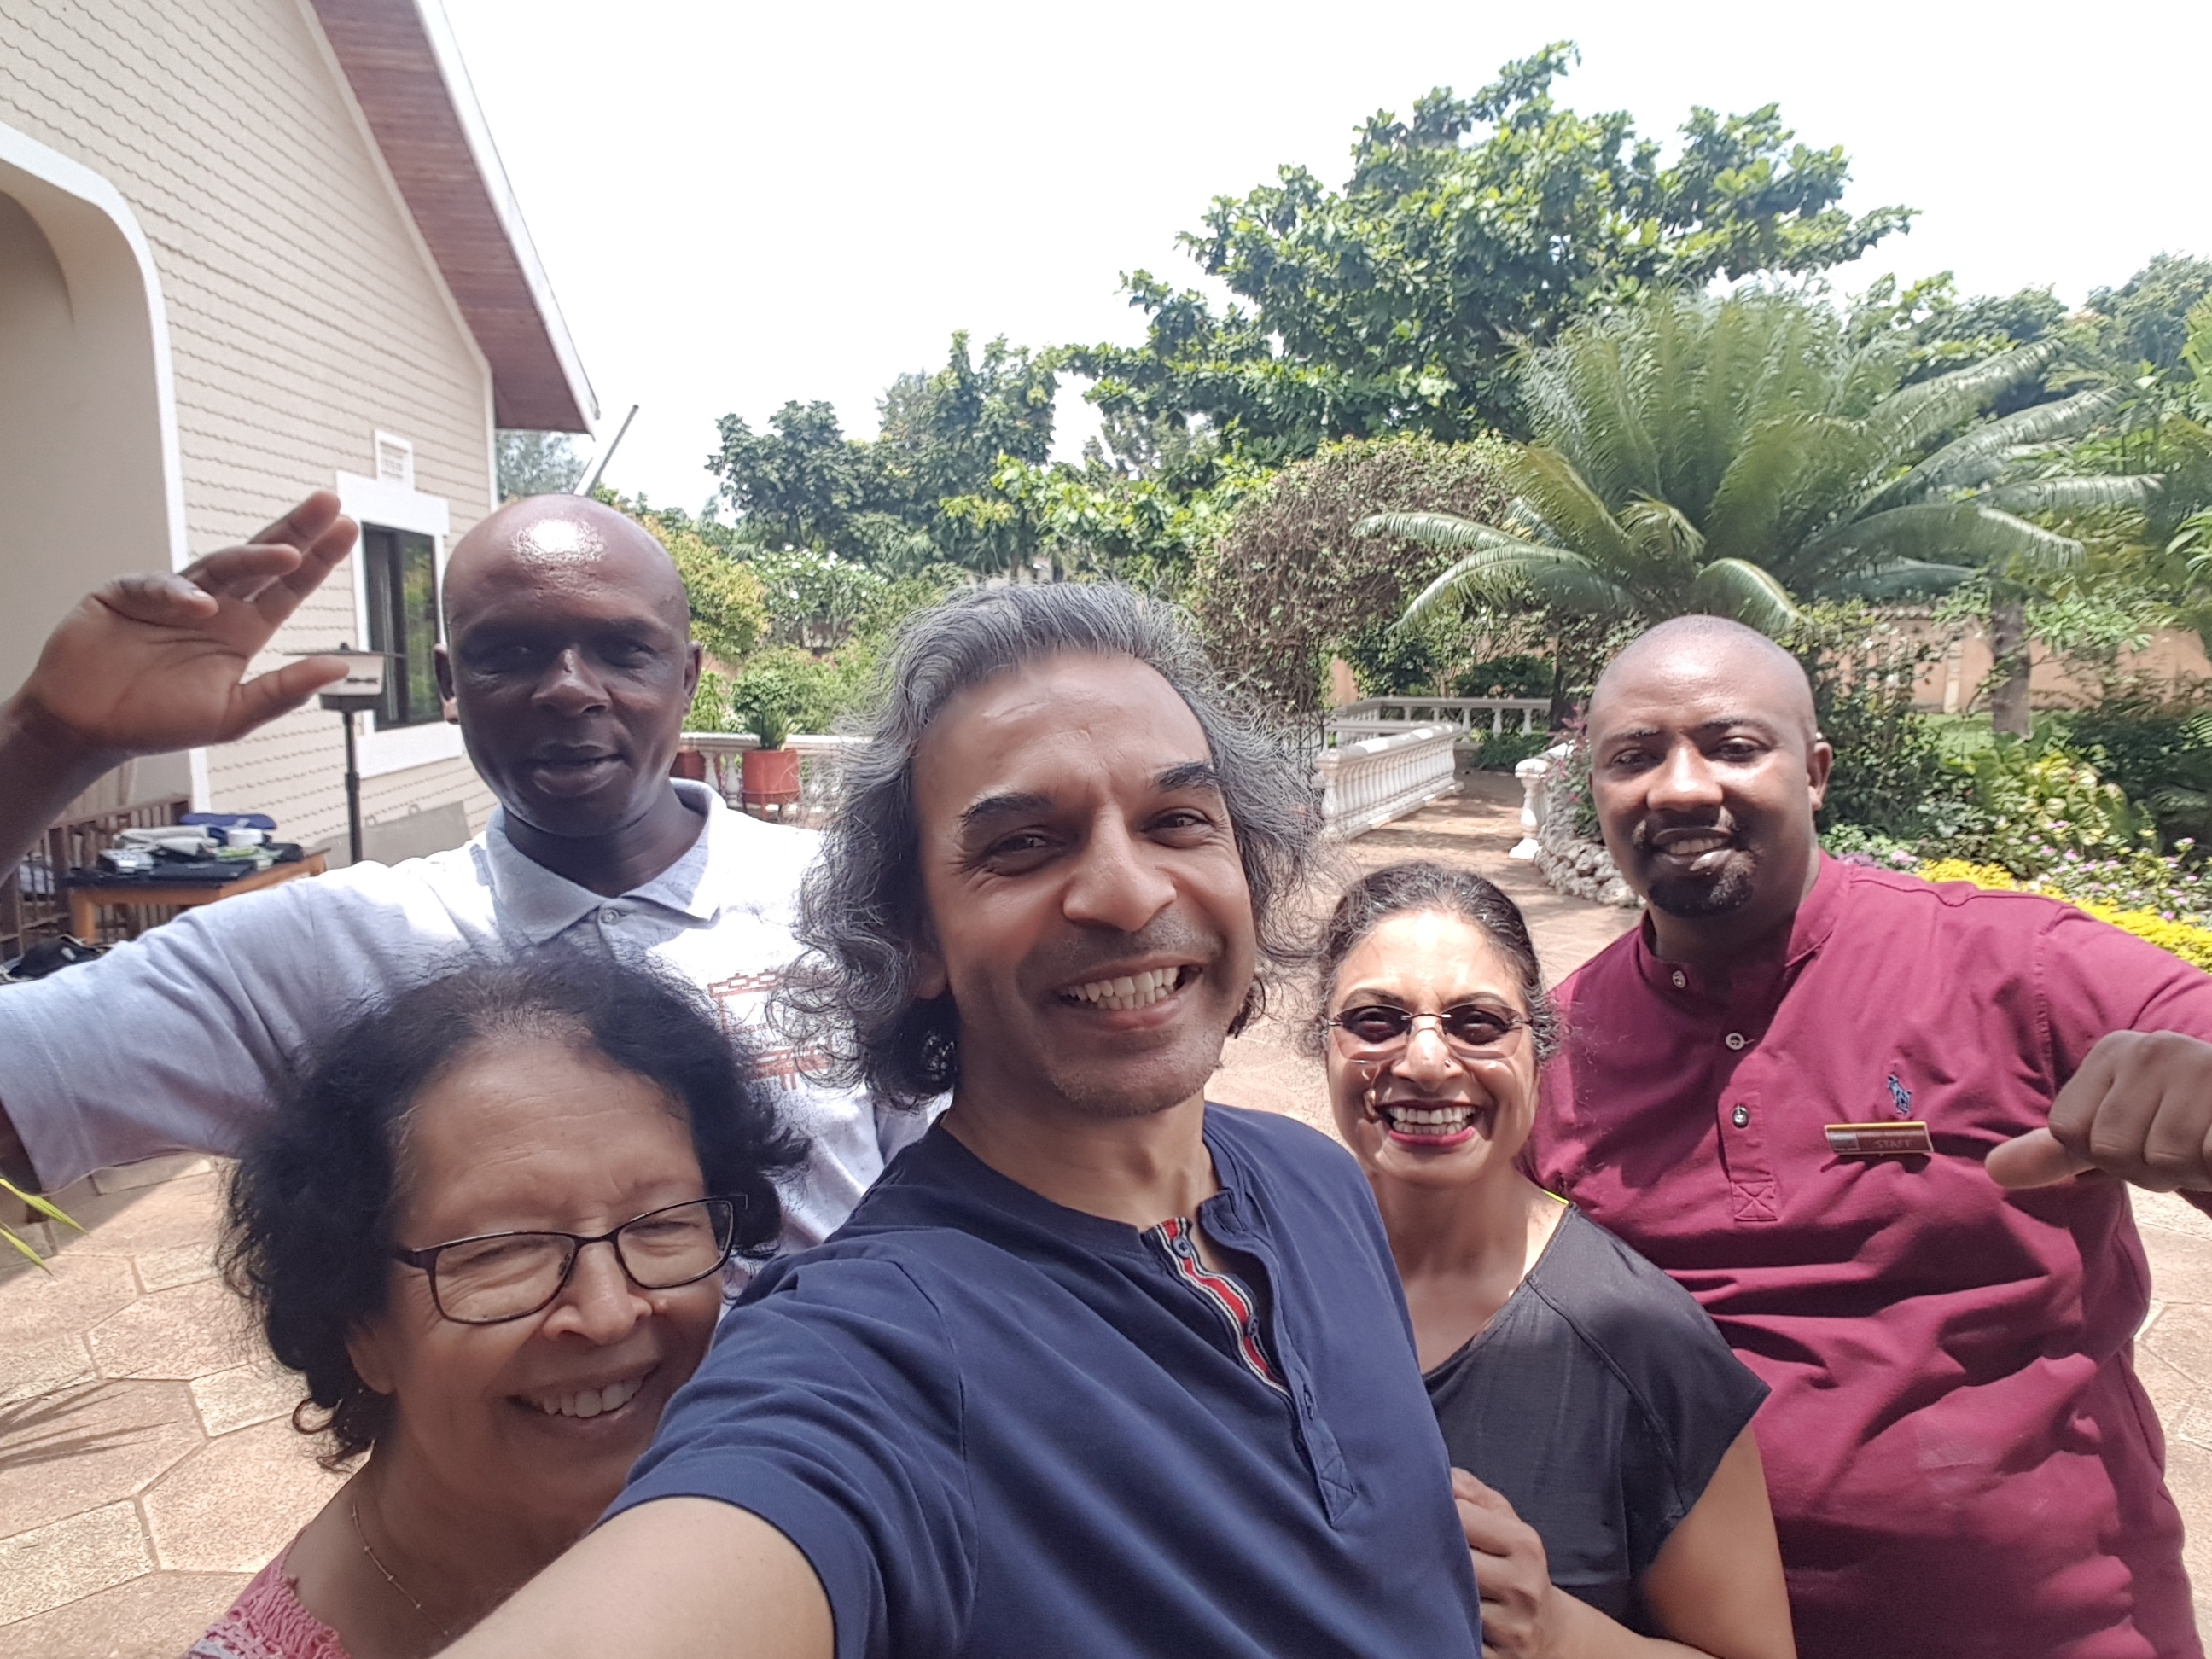
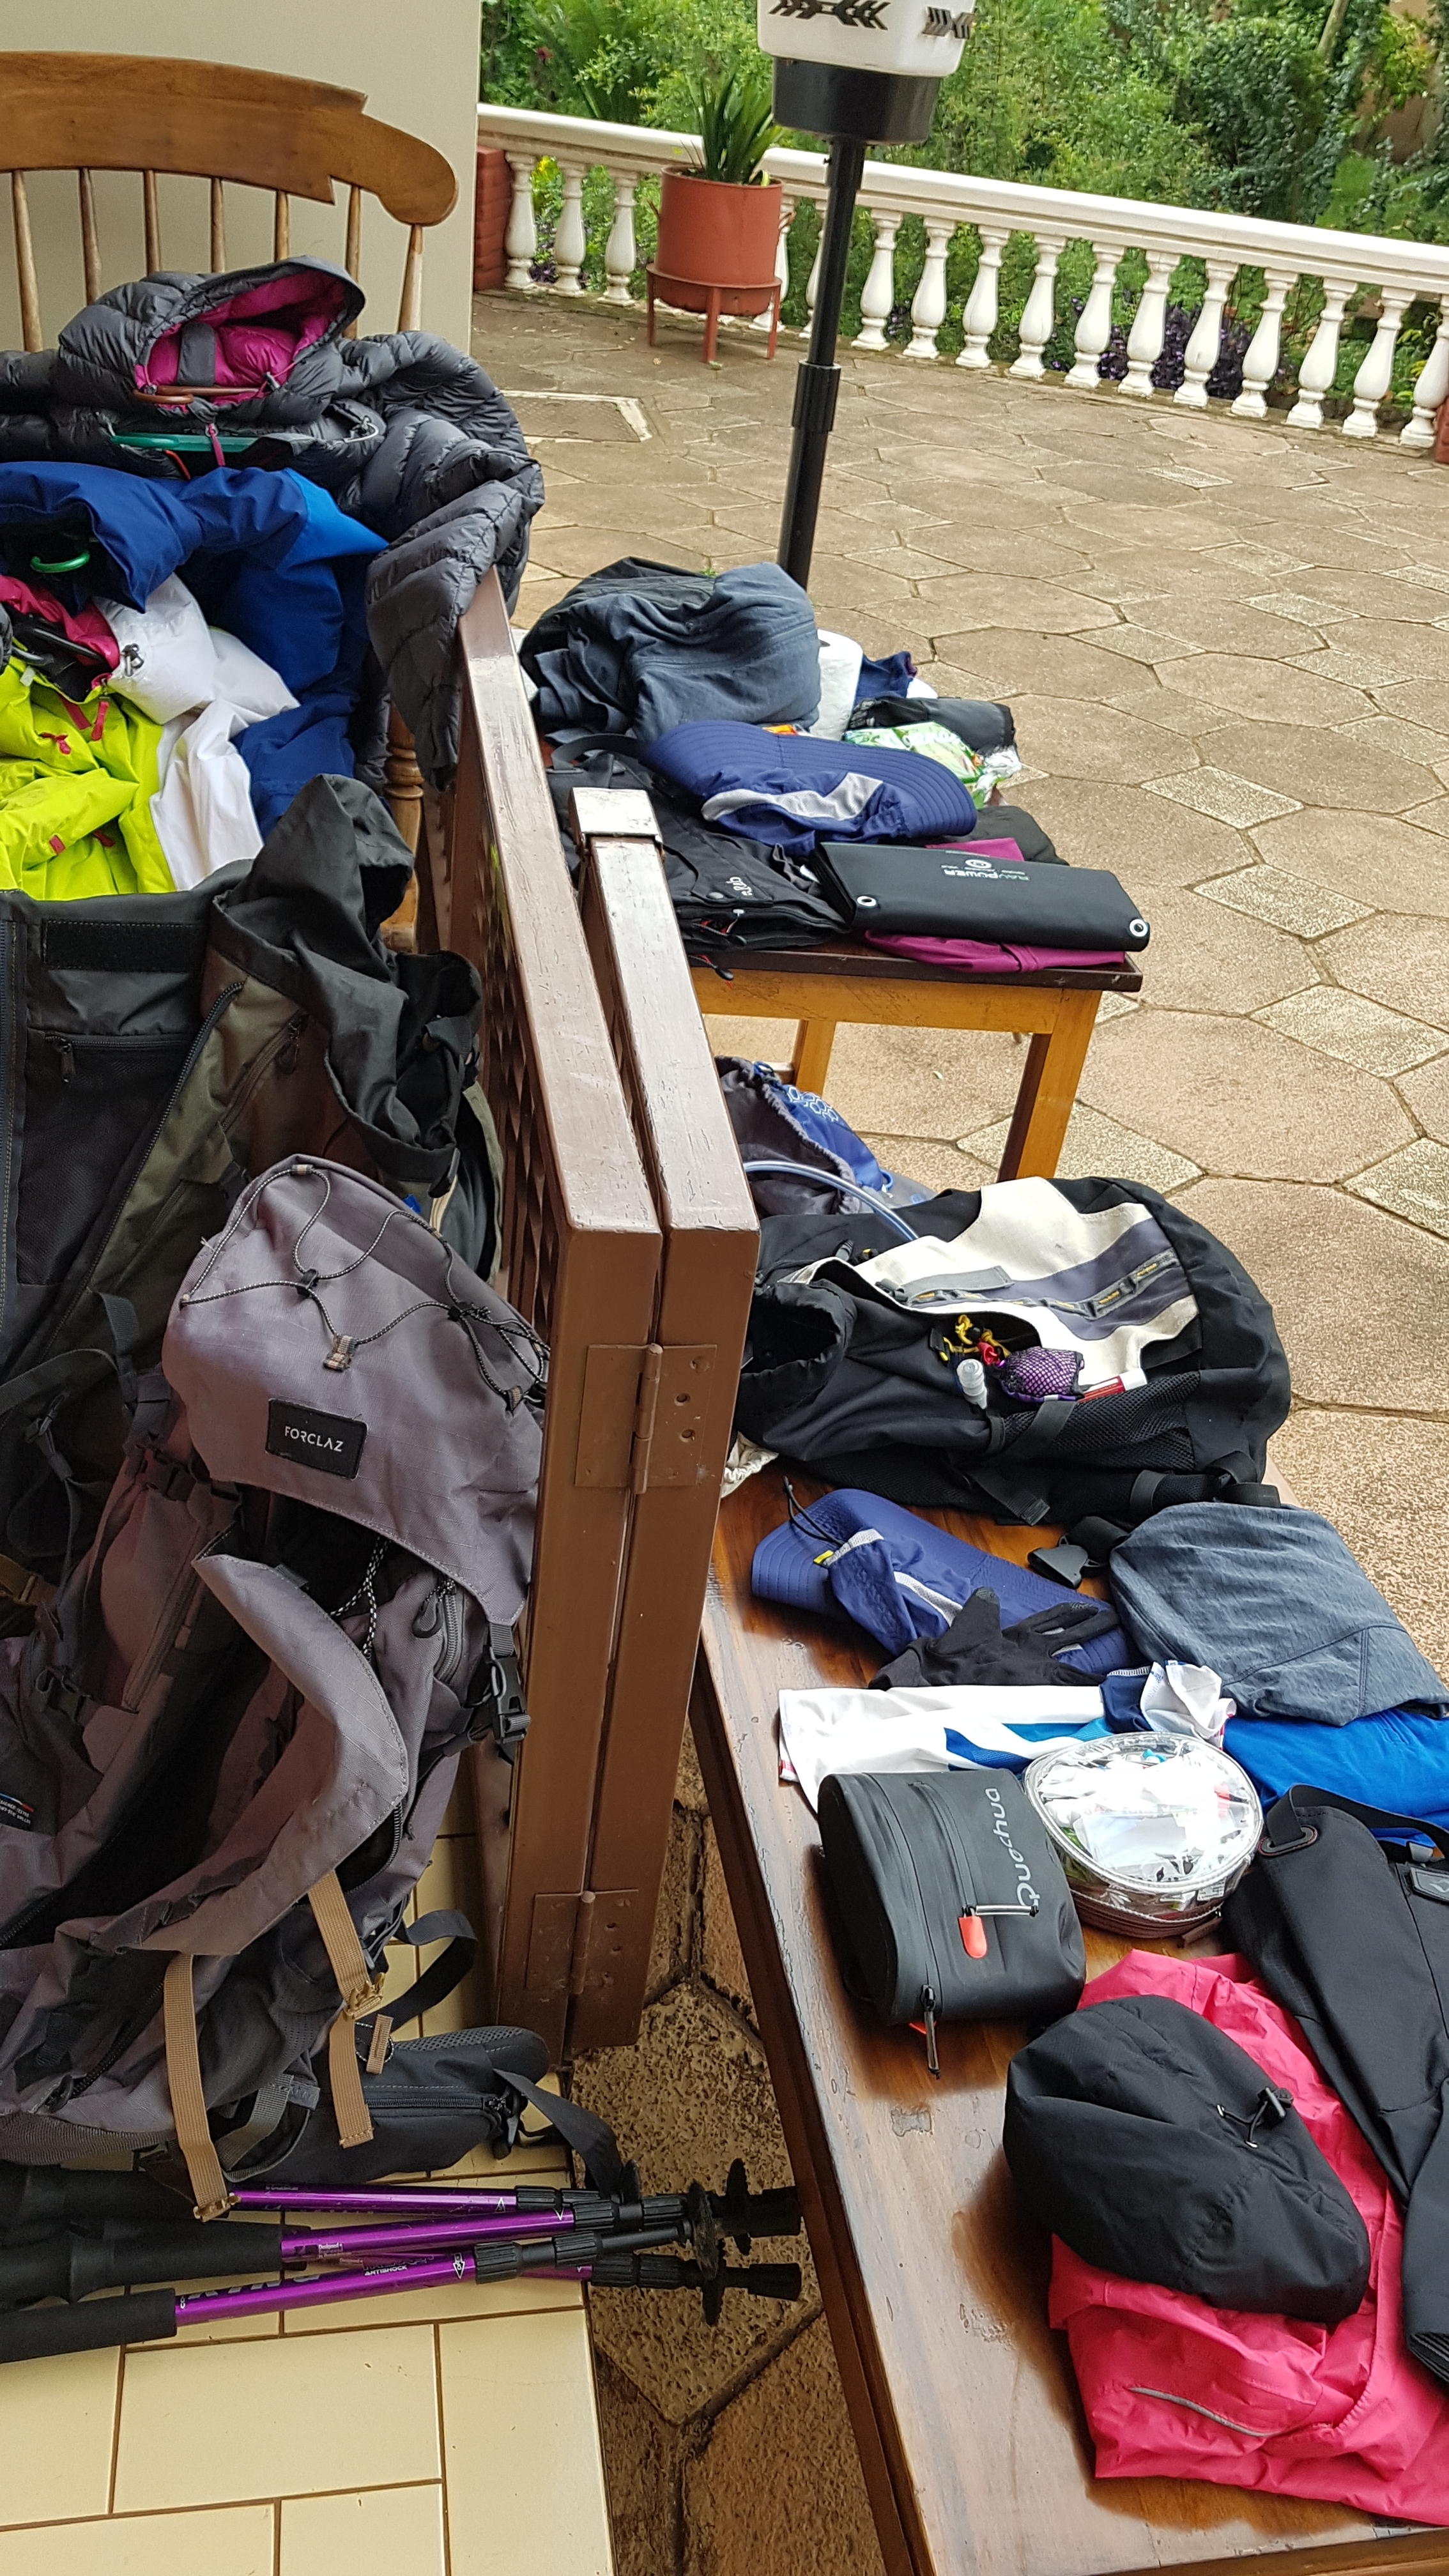
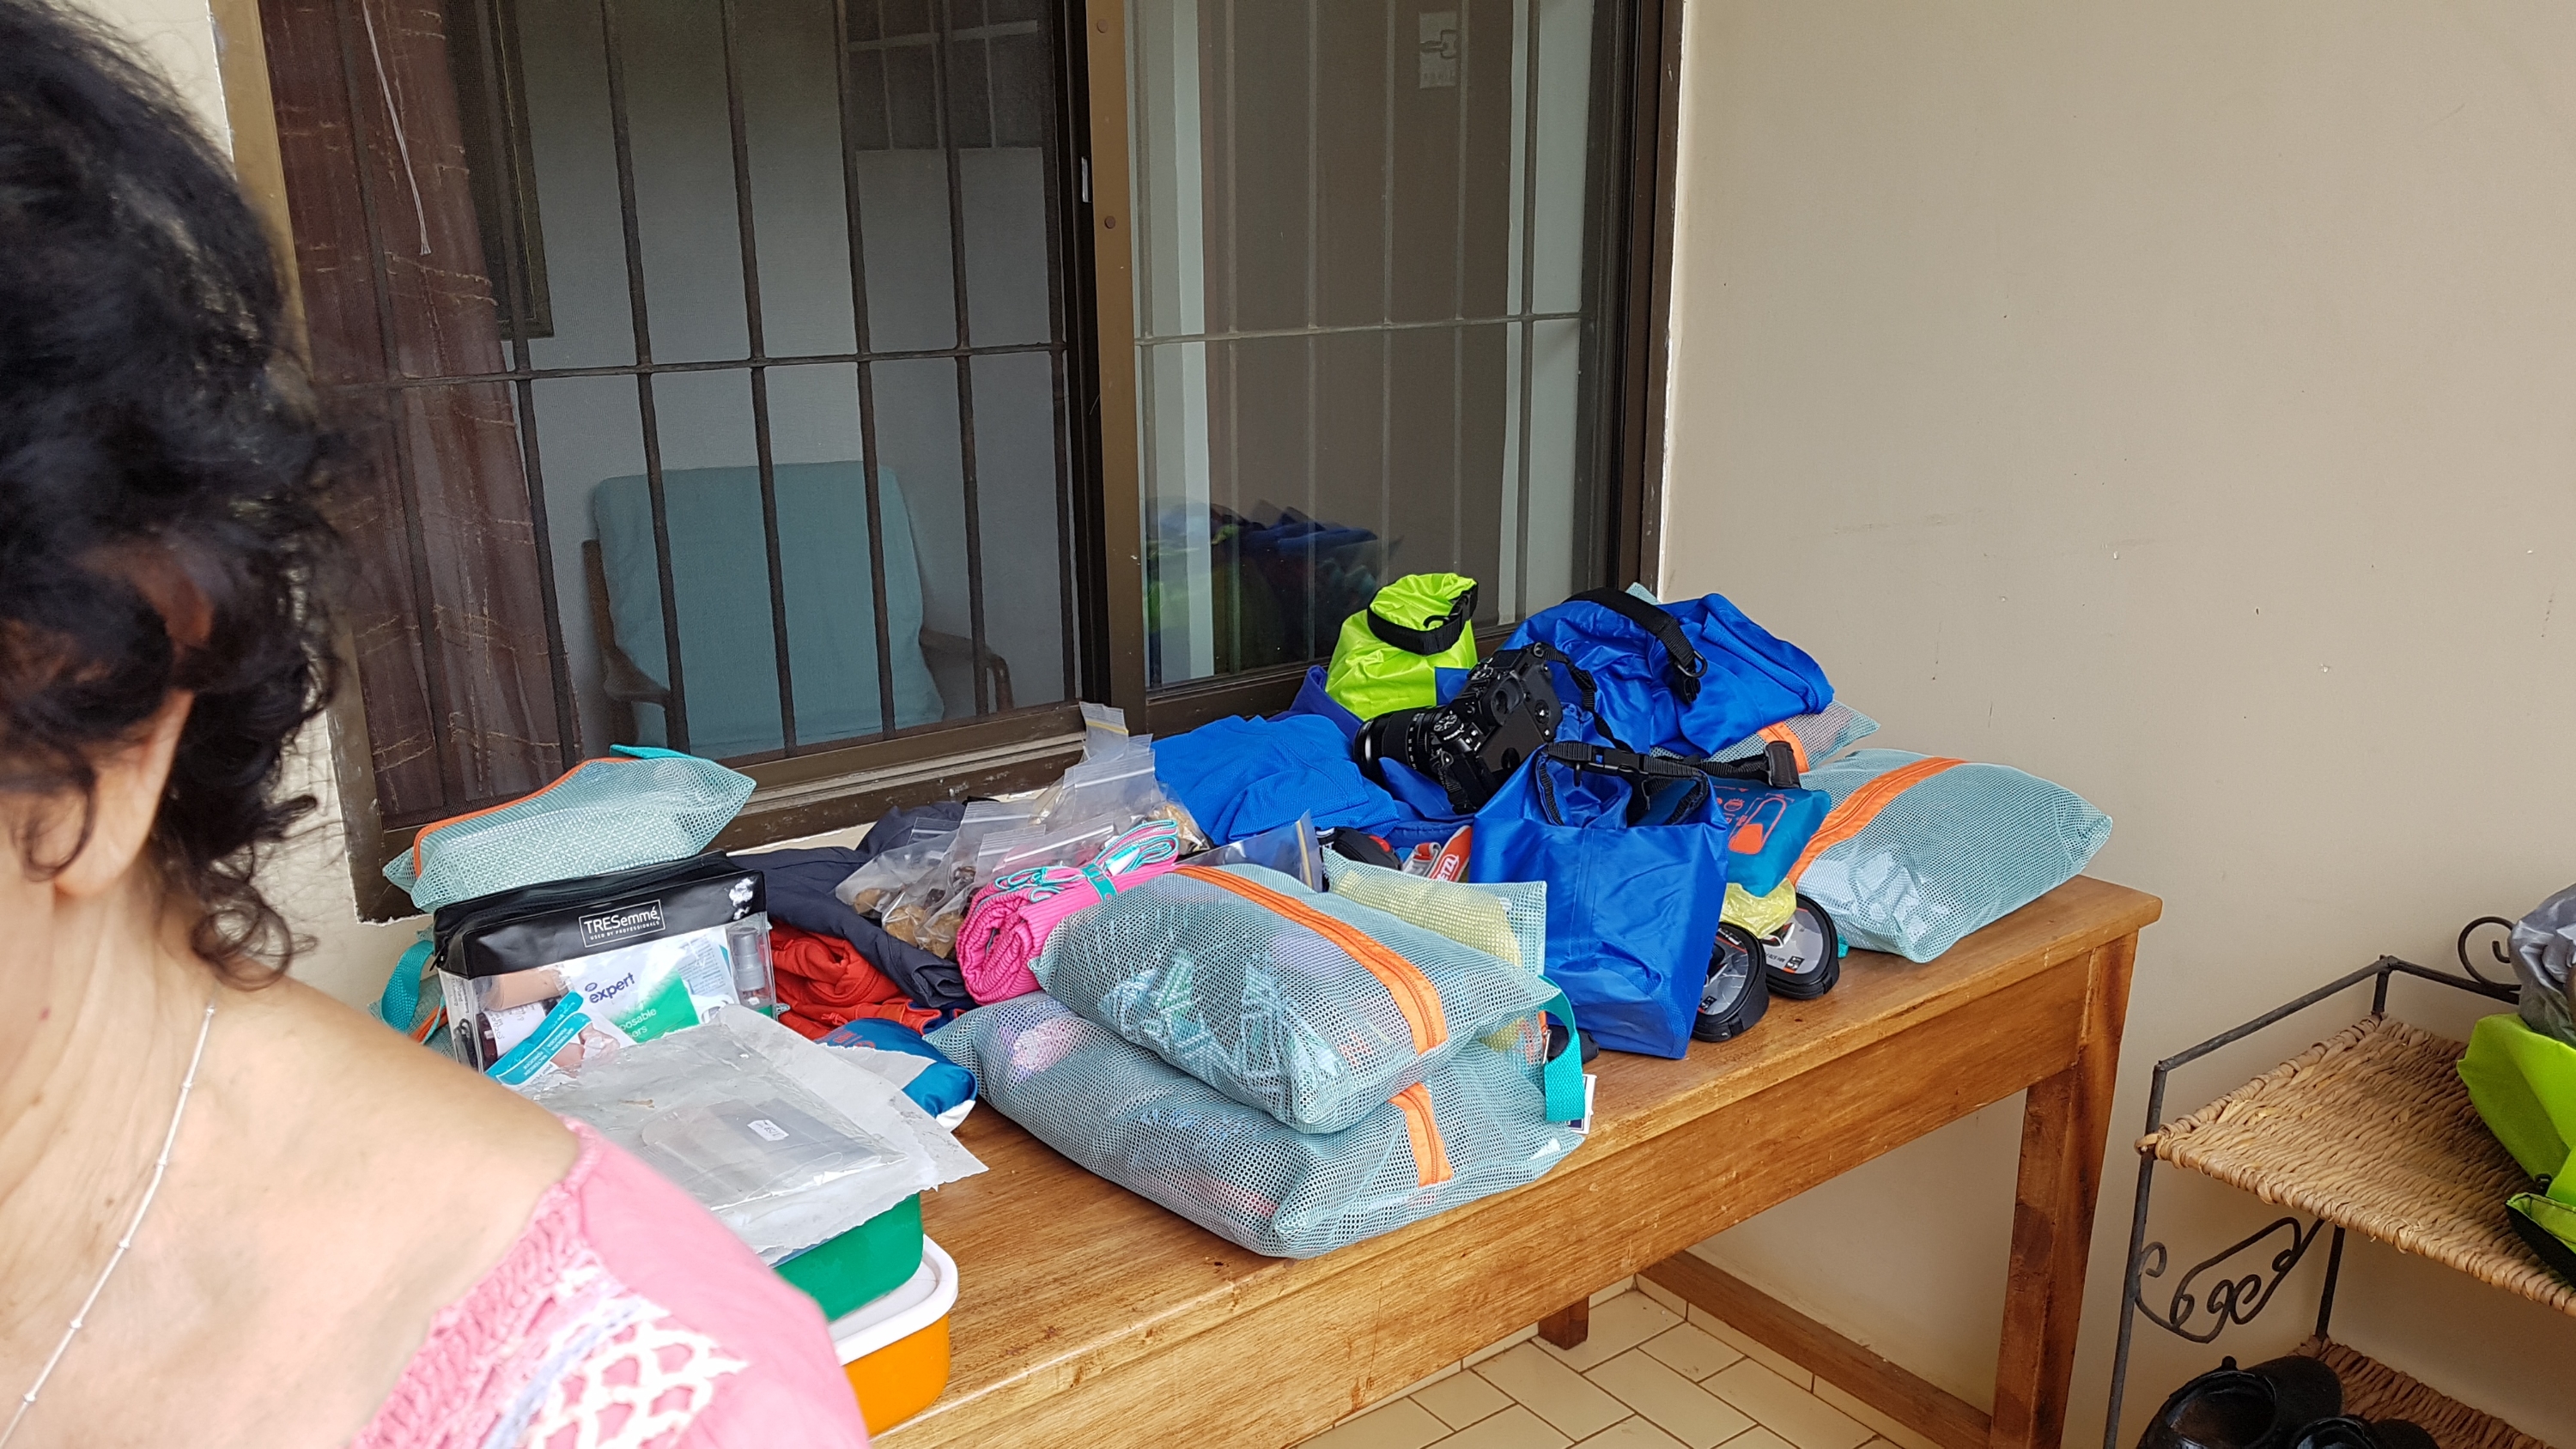
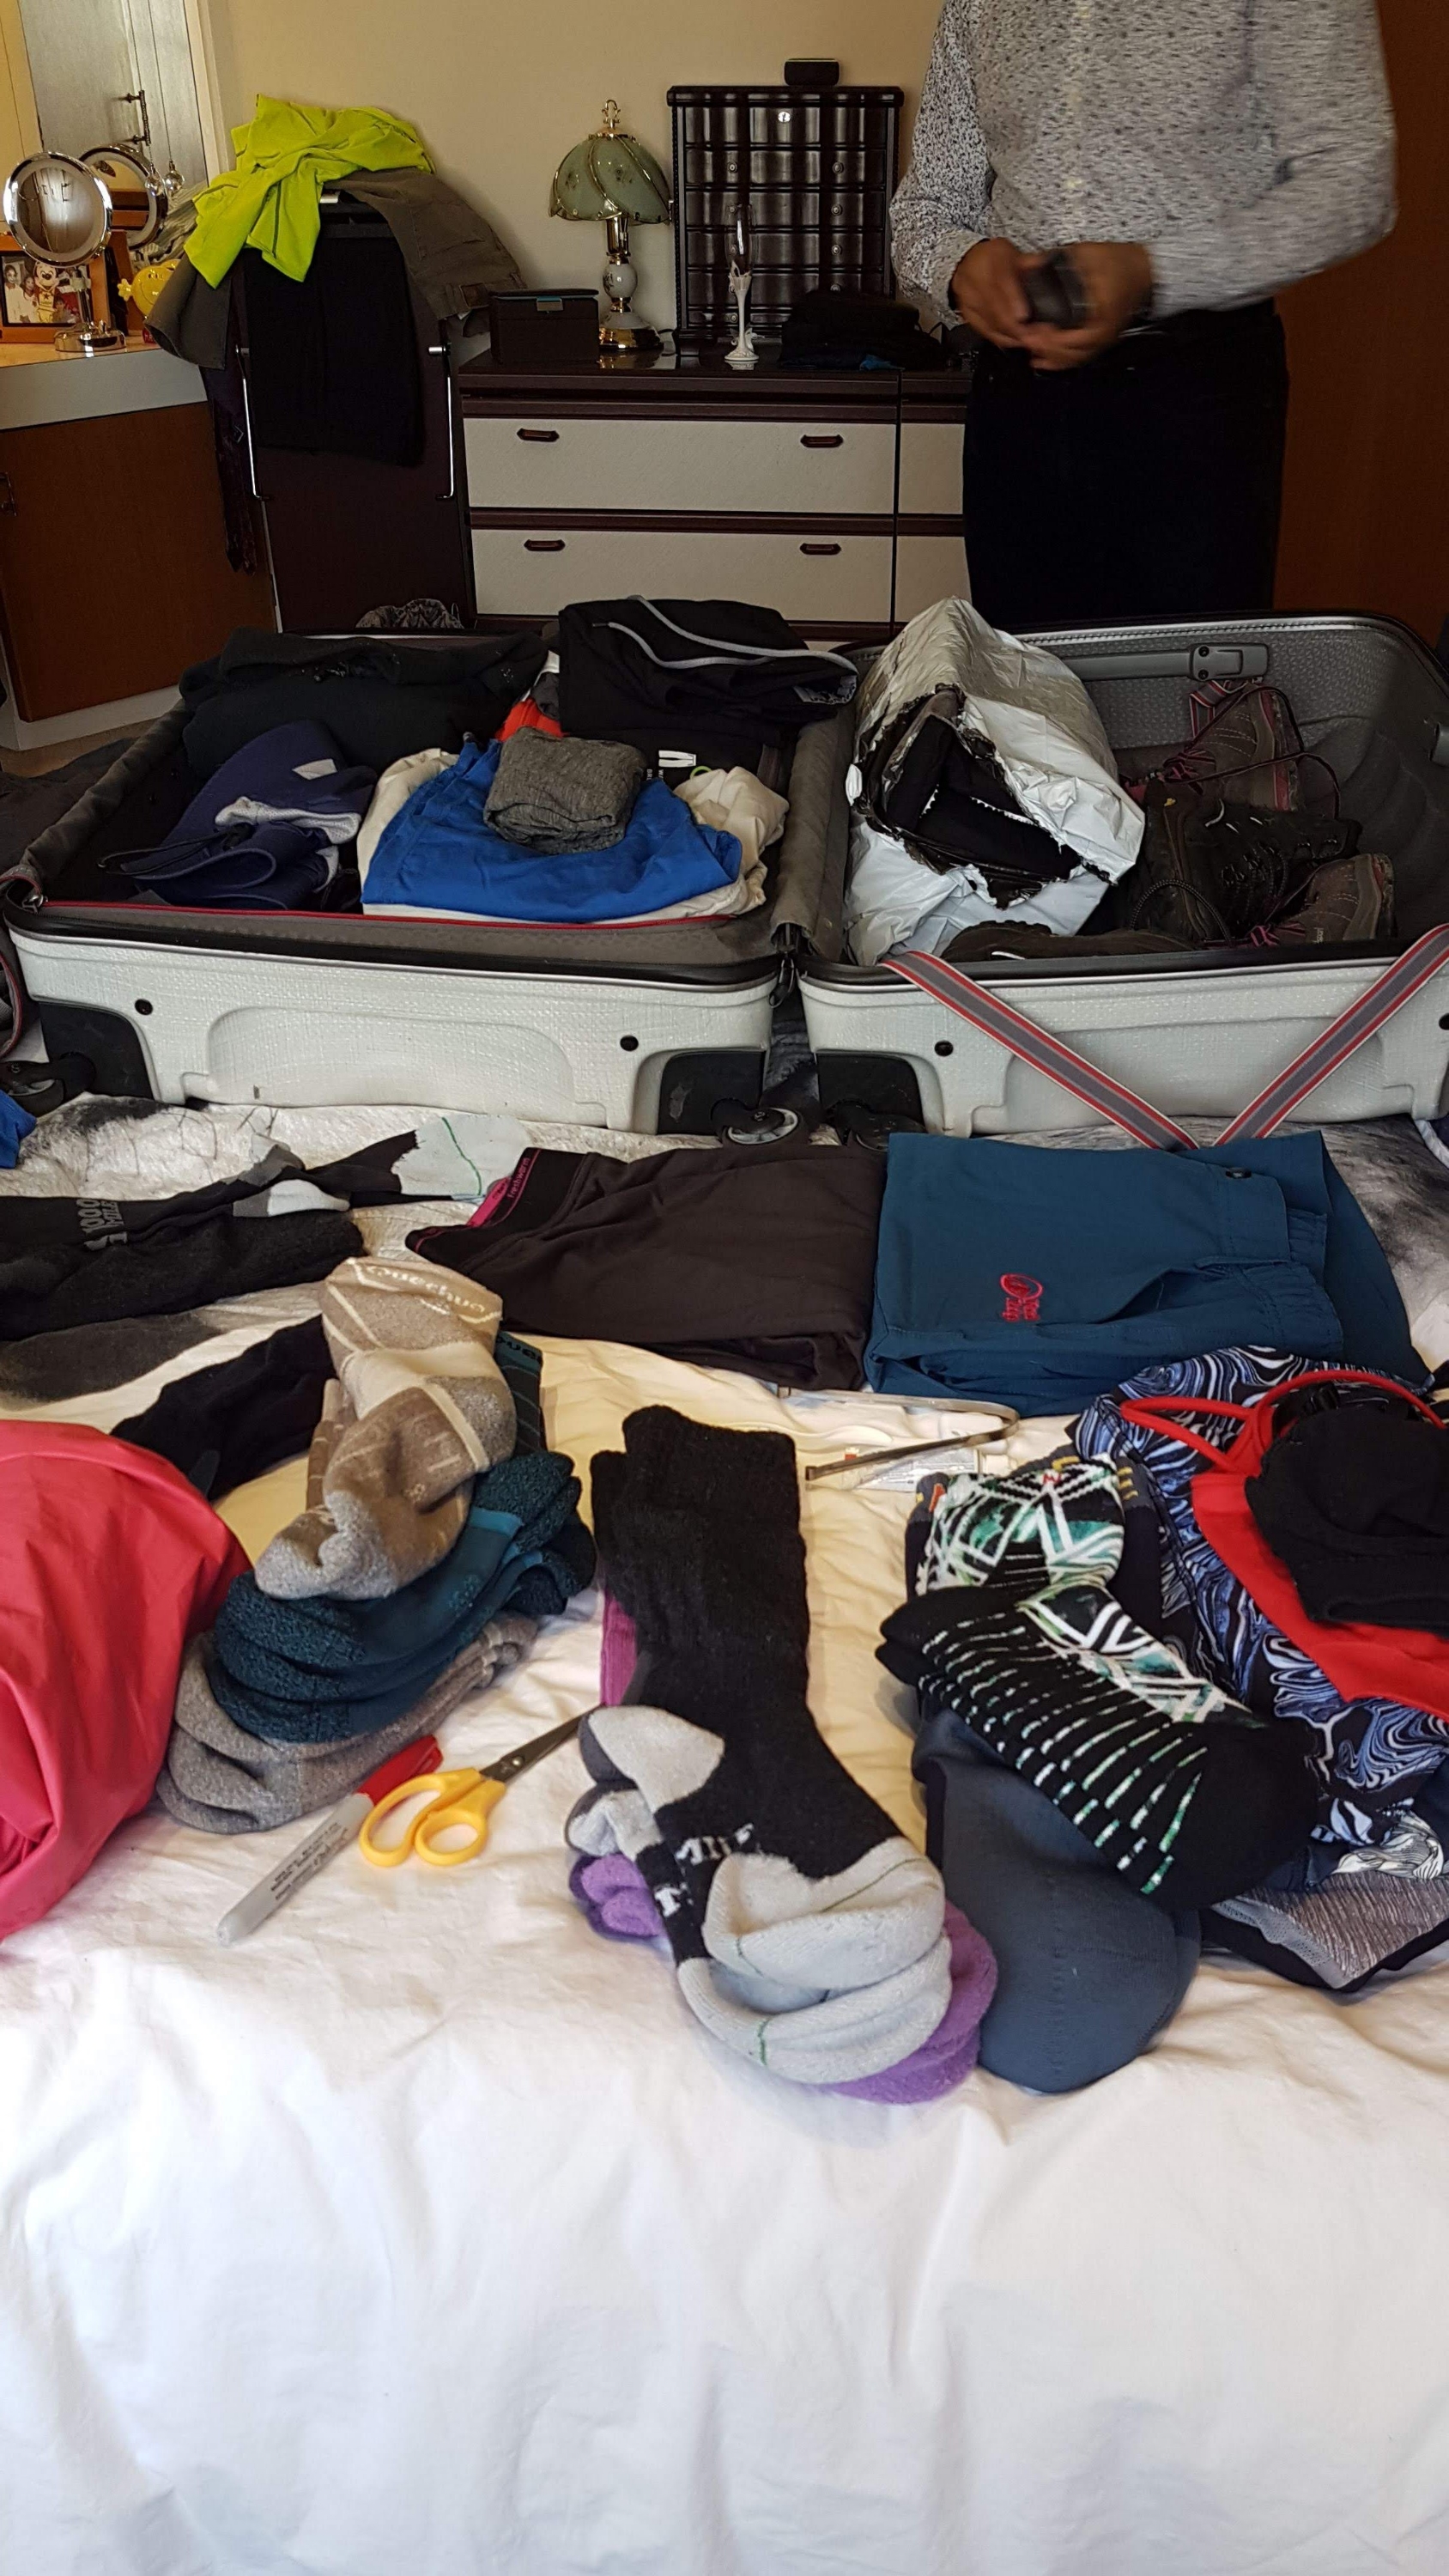
Once we arrived at our first gate the porters set to work again and unloaded our carriage; then, as quick as a flash, our Porter’s had disappeared, taking our well packed gear on their heads and away they went ahead of us. We had a quick bite to eat, took a few photos in the shade of the the forest and then started our journey:
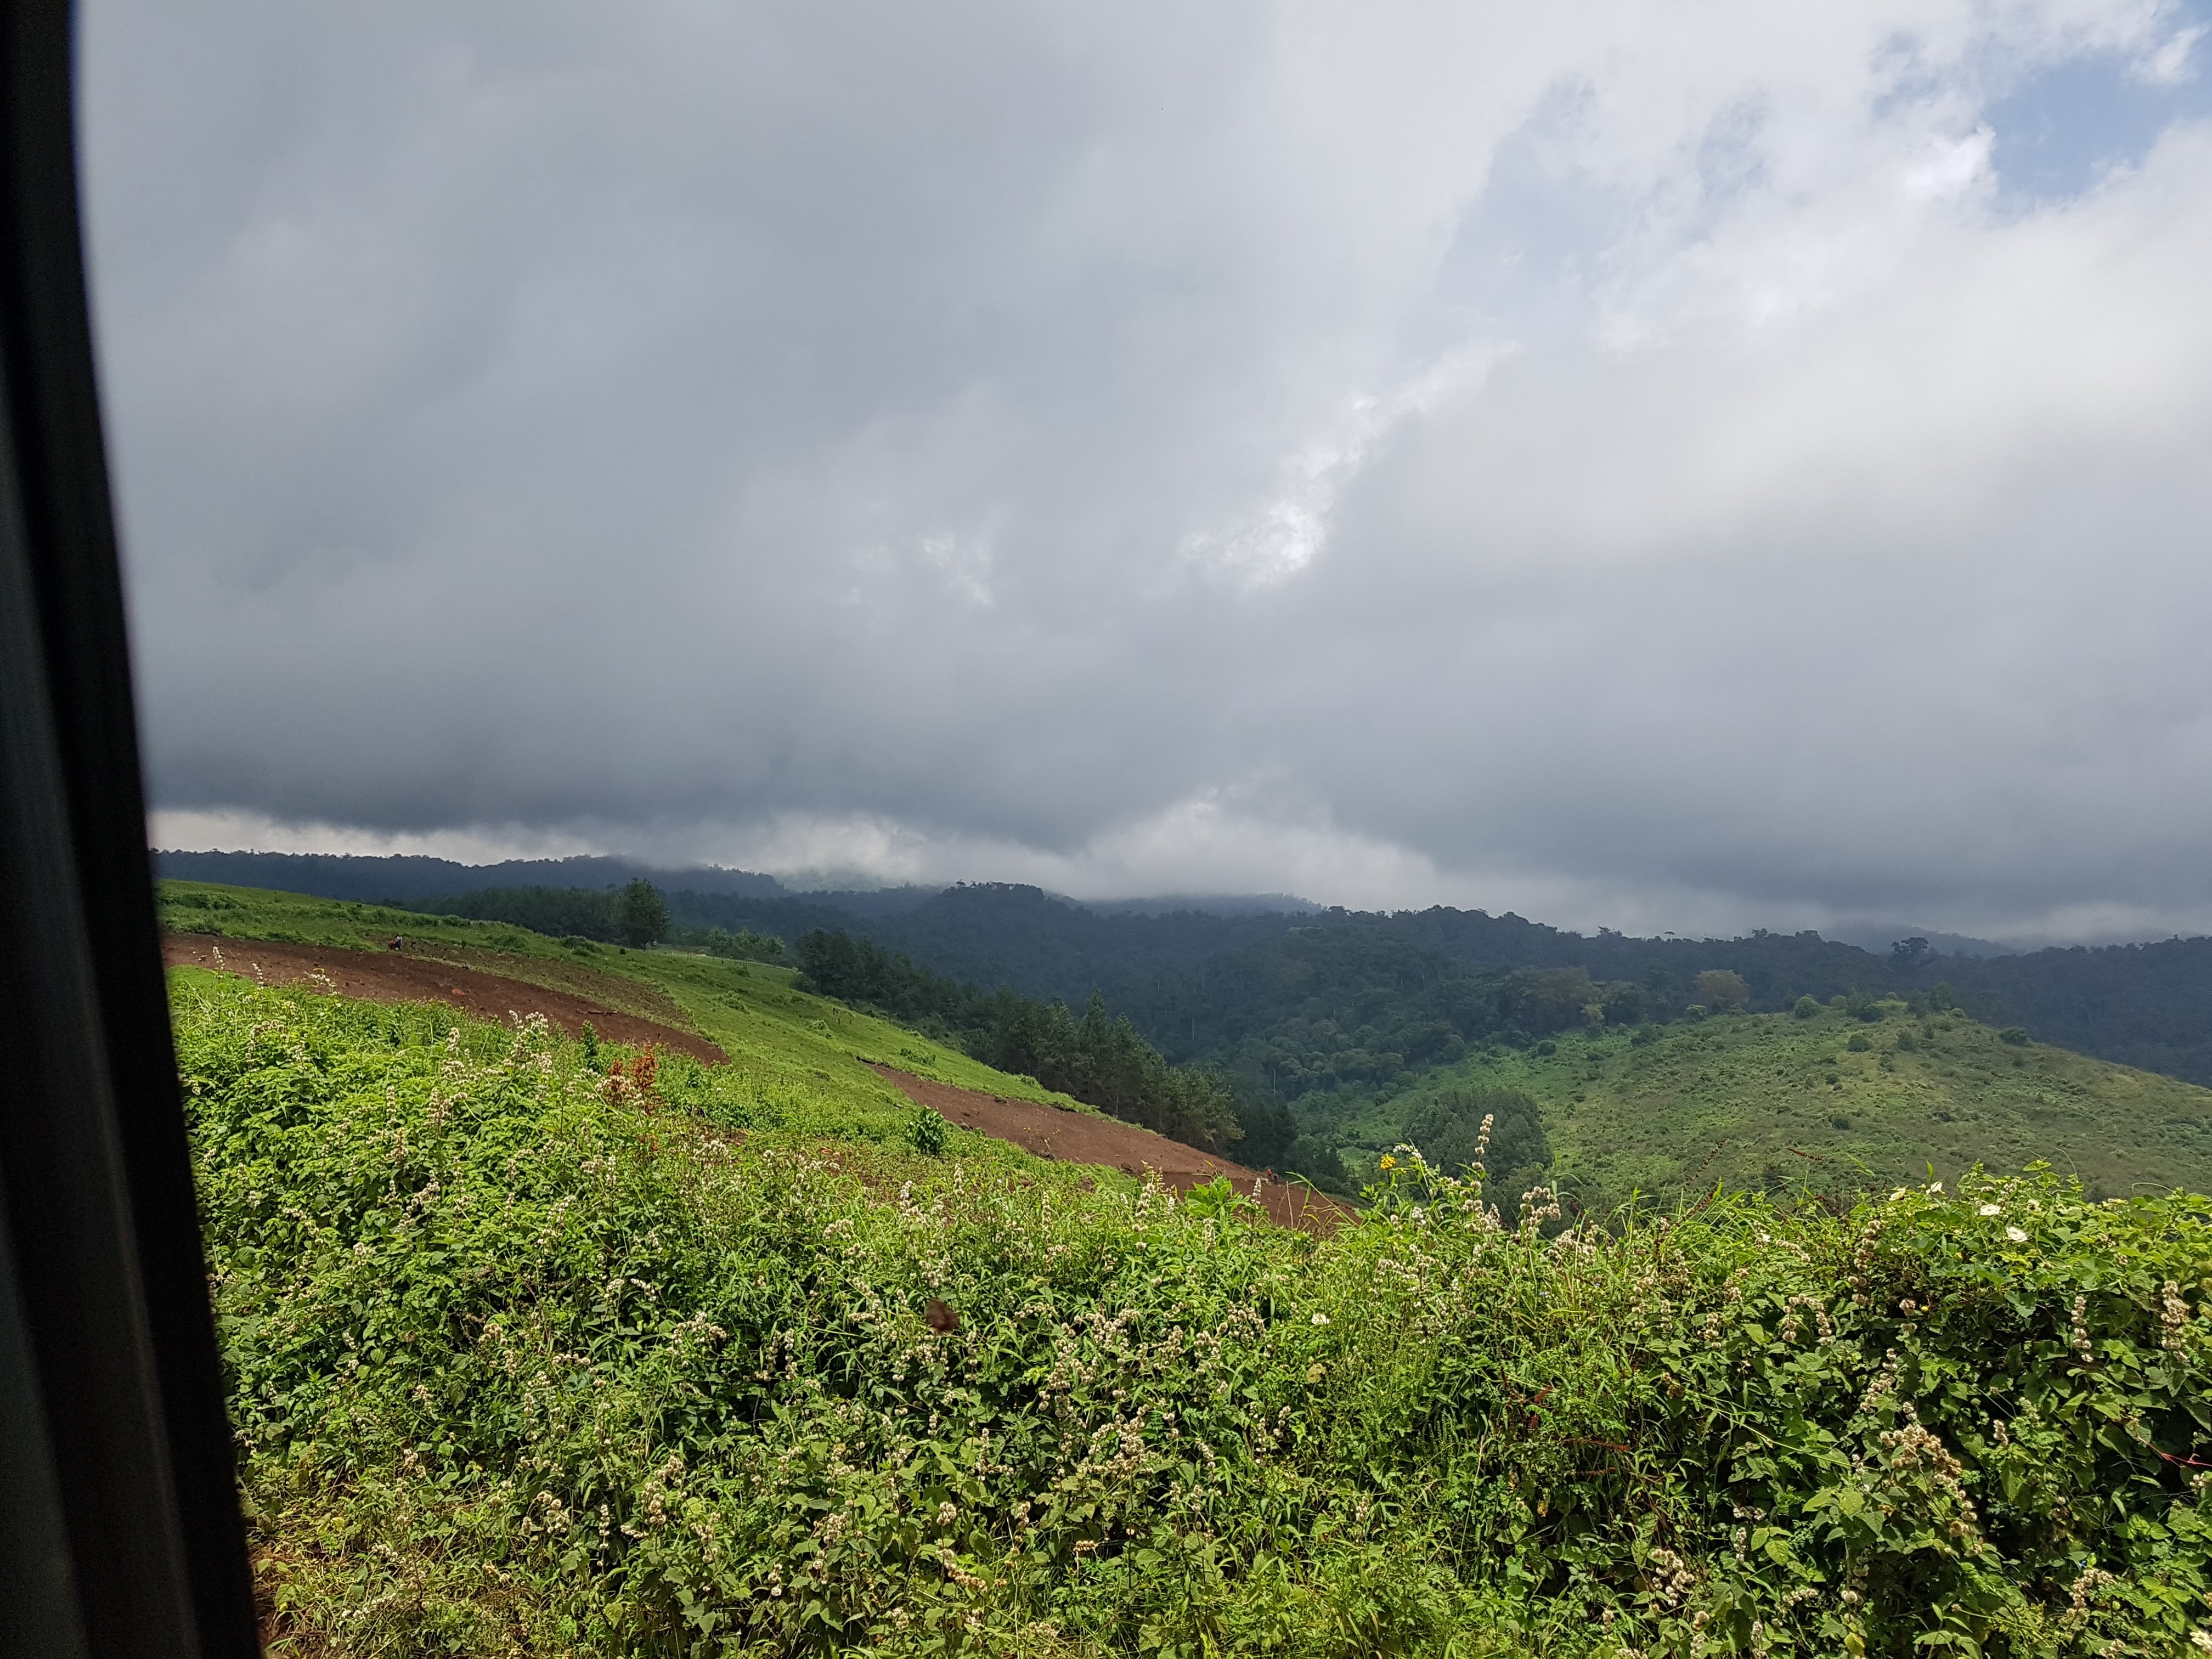
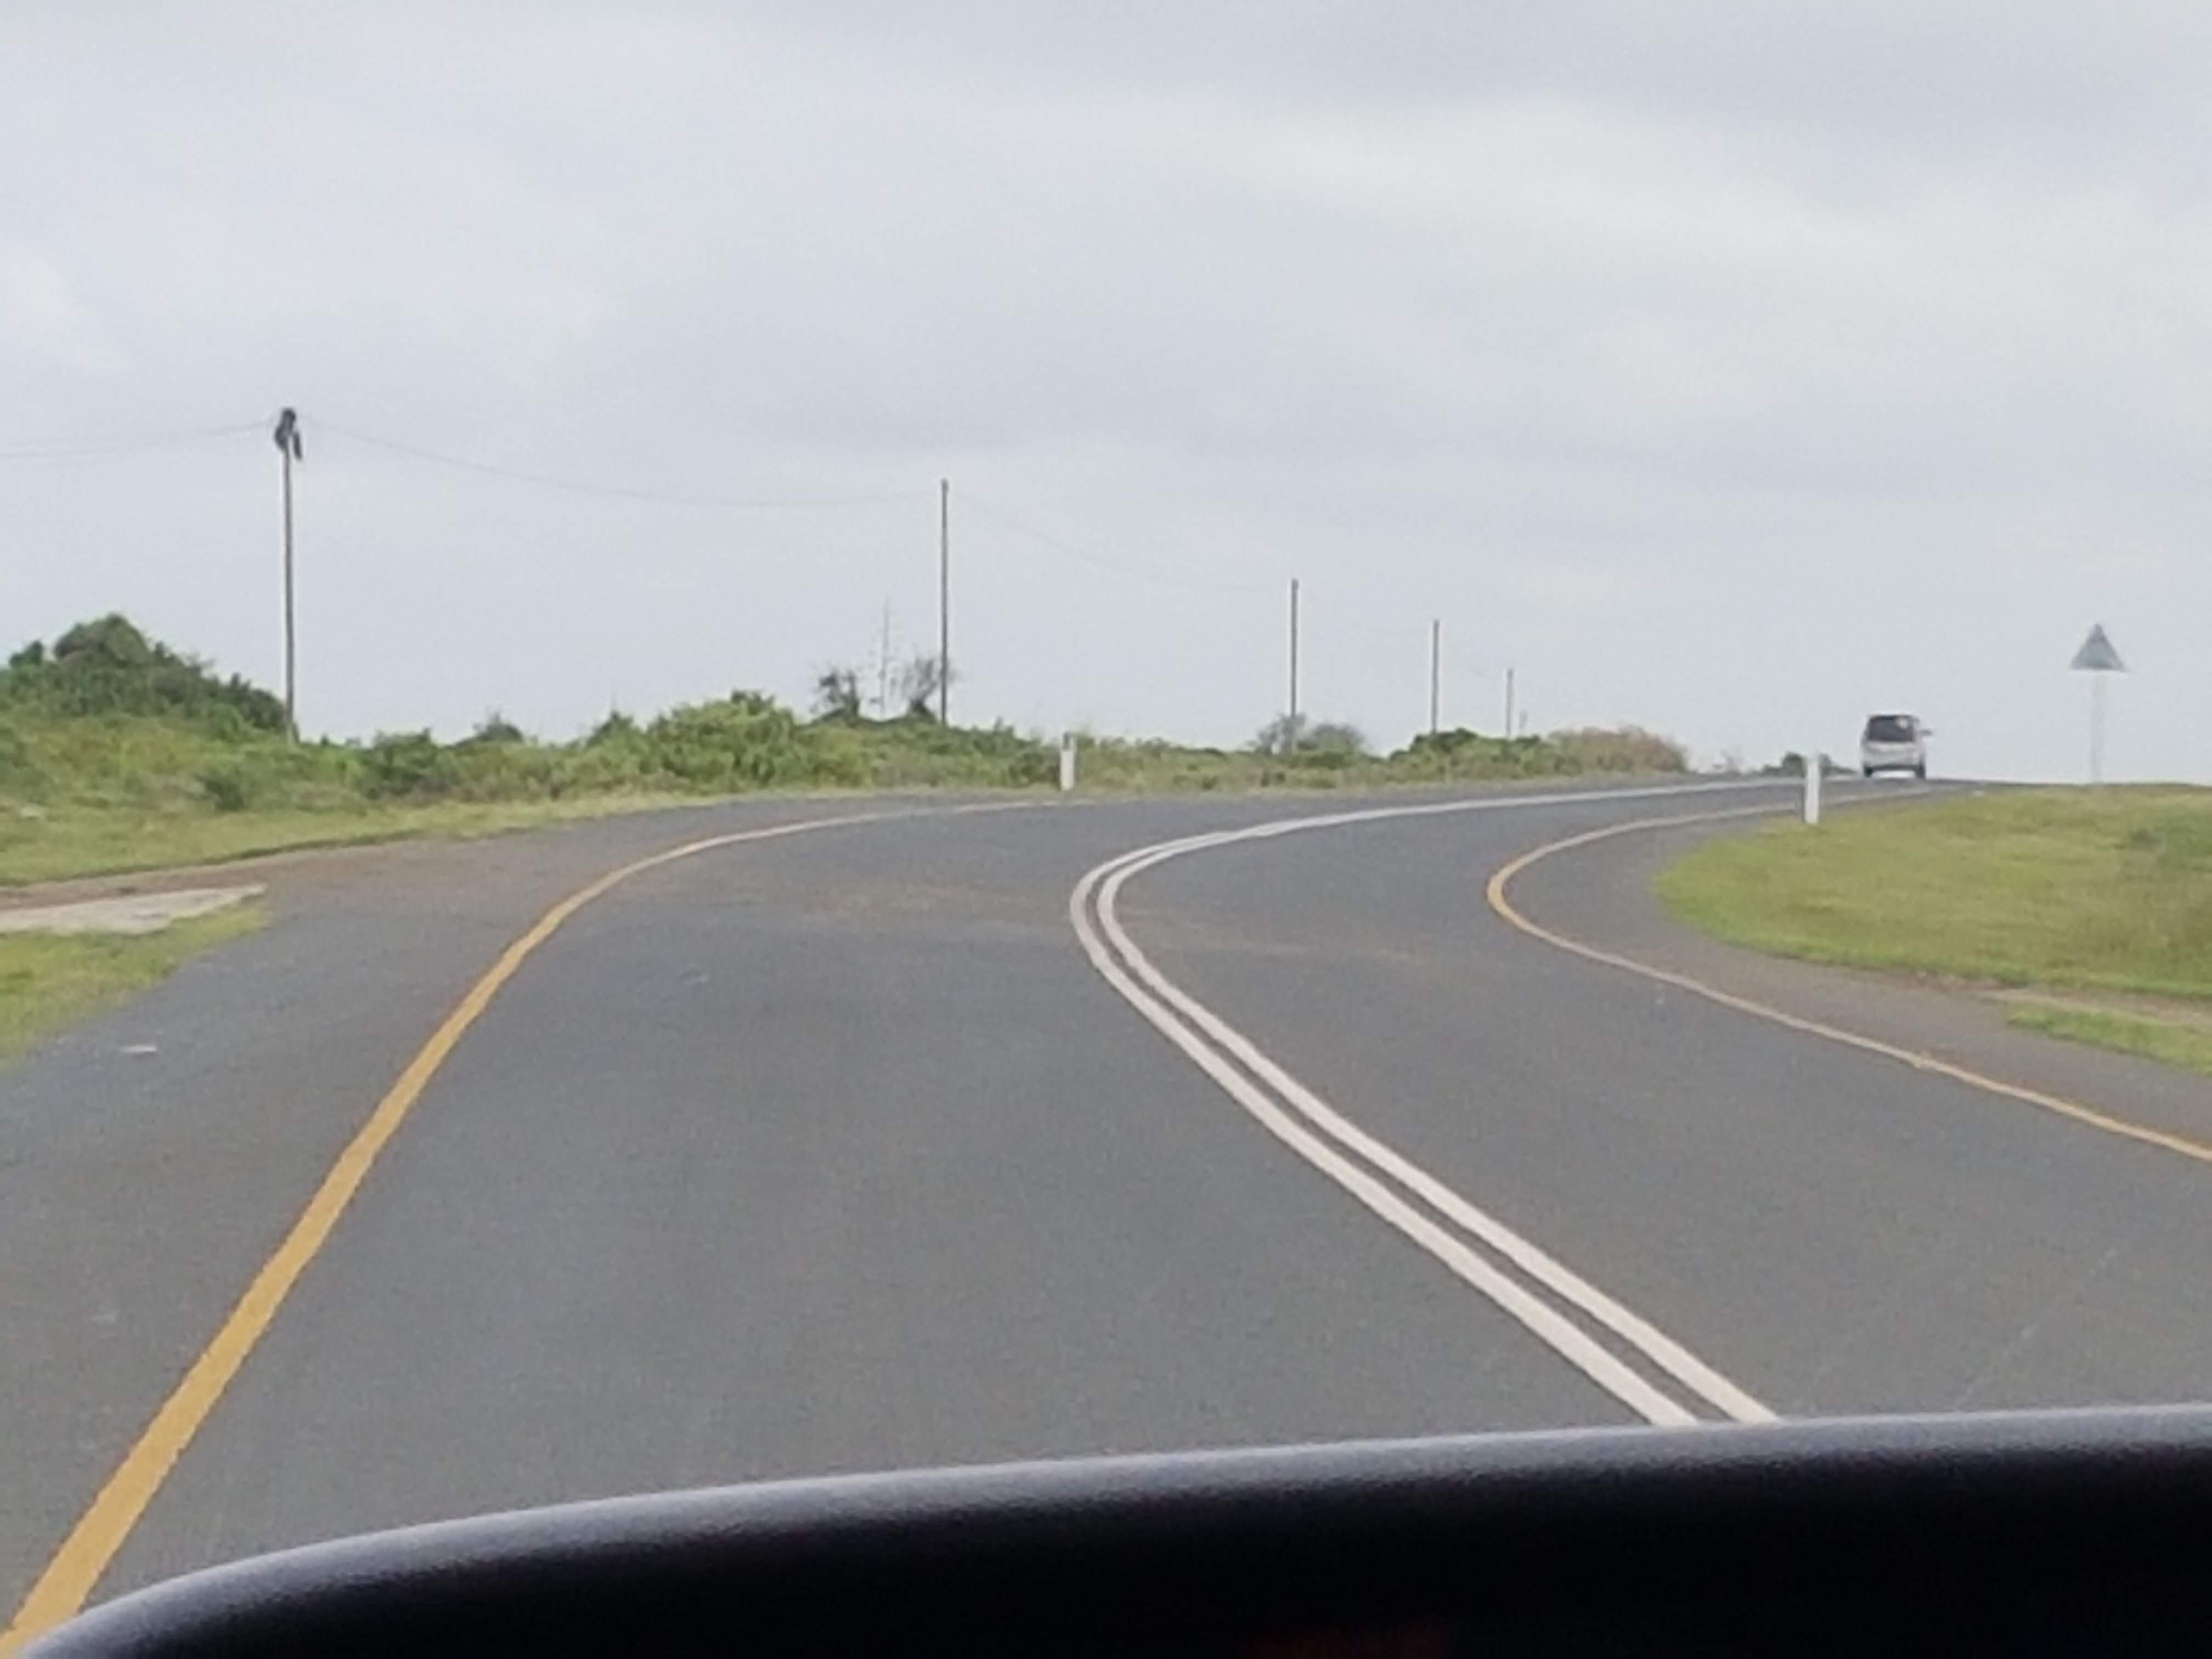
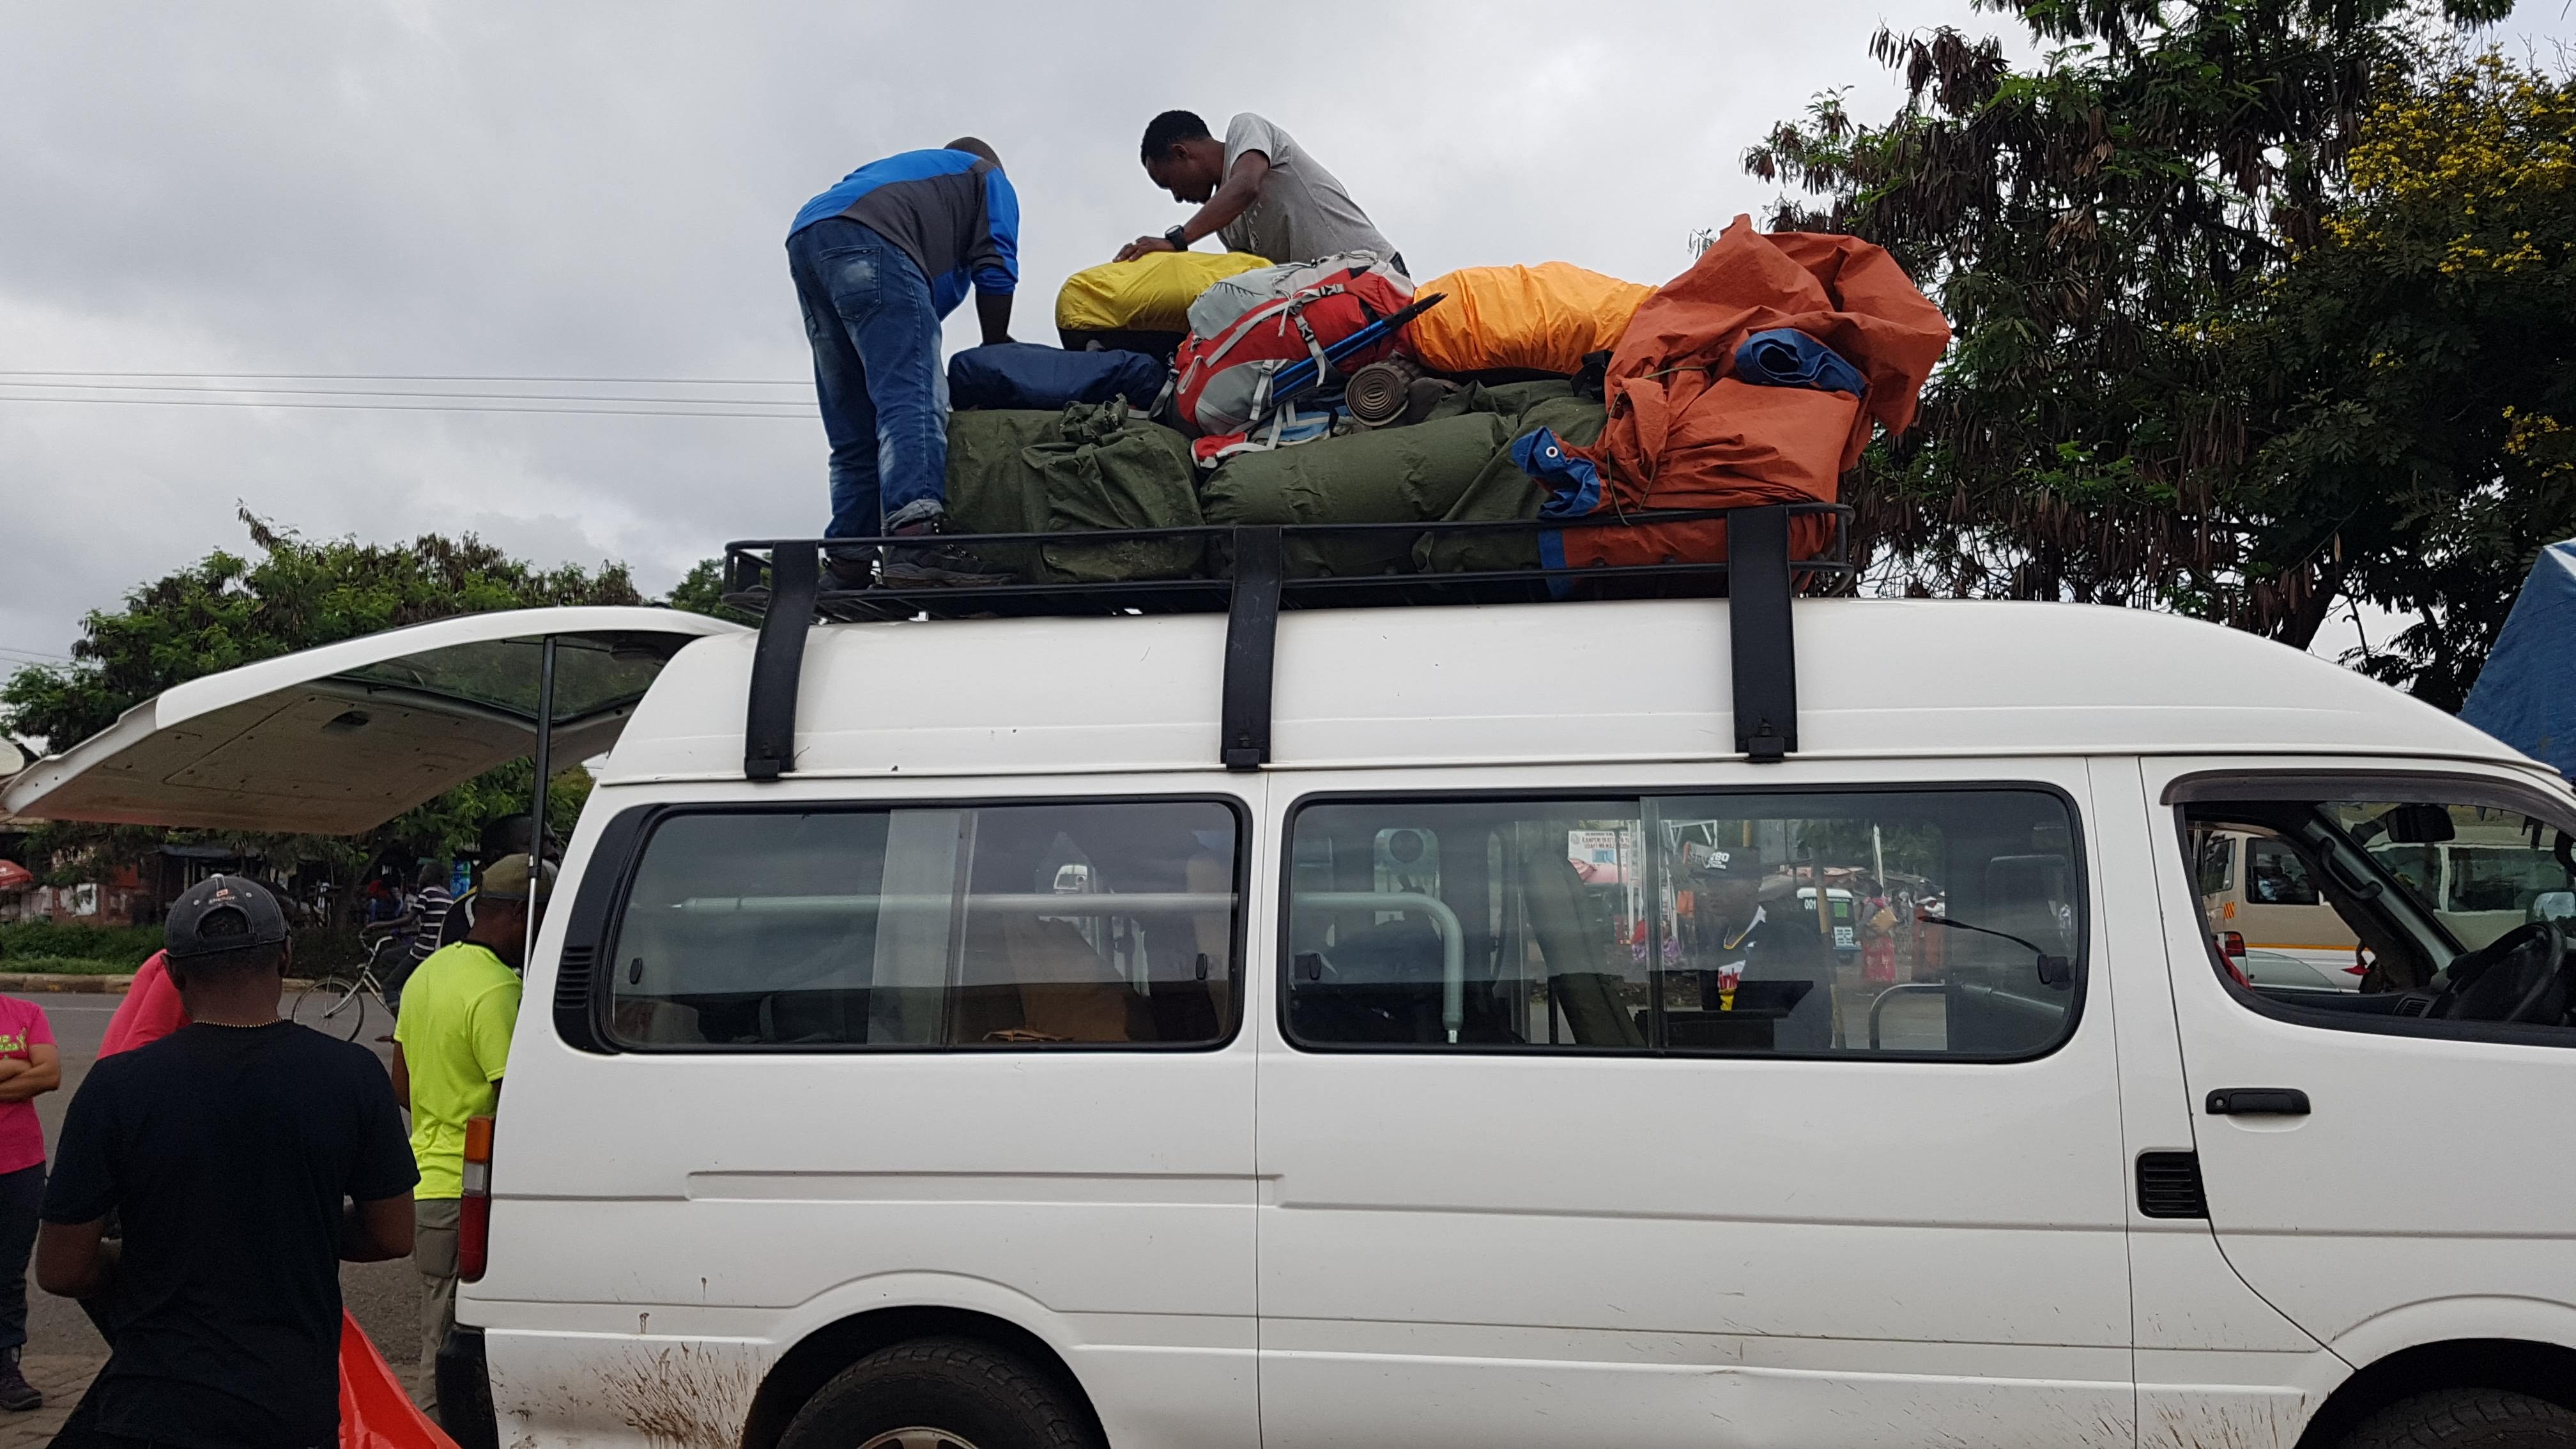
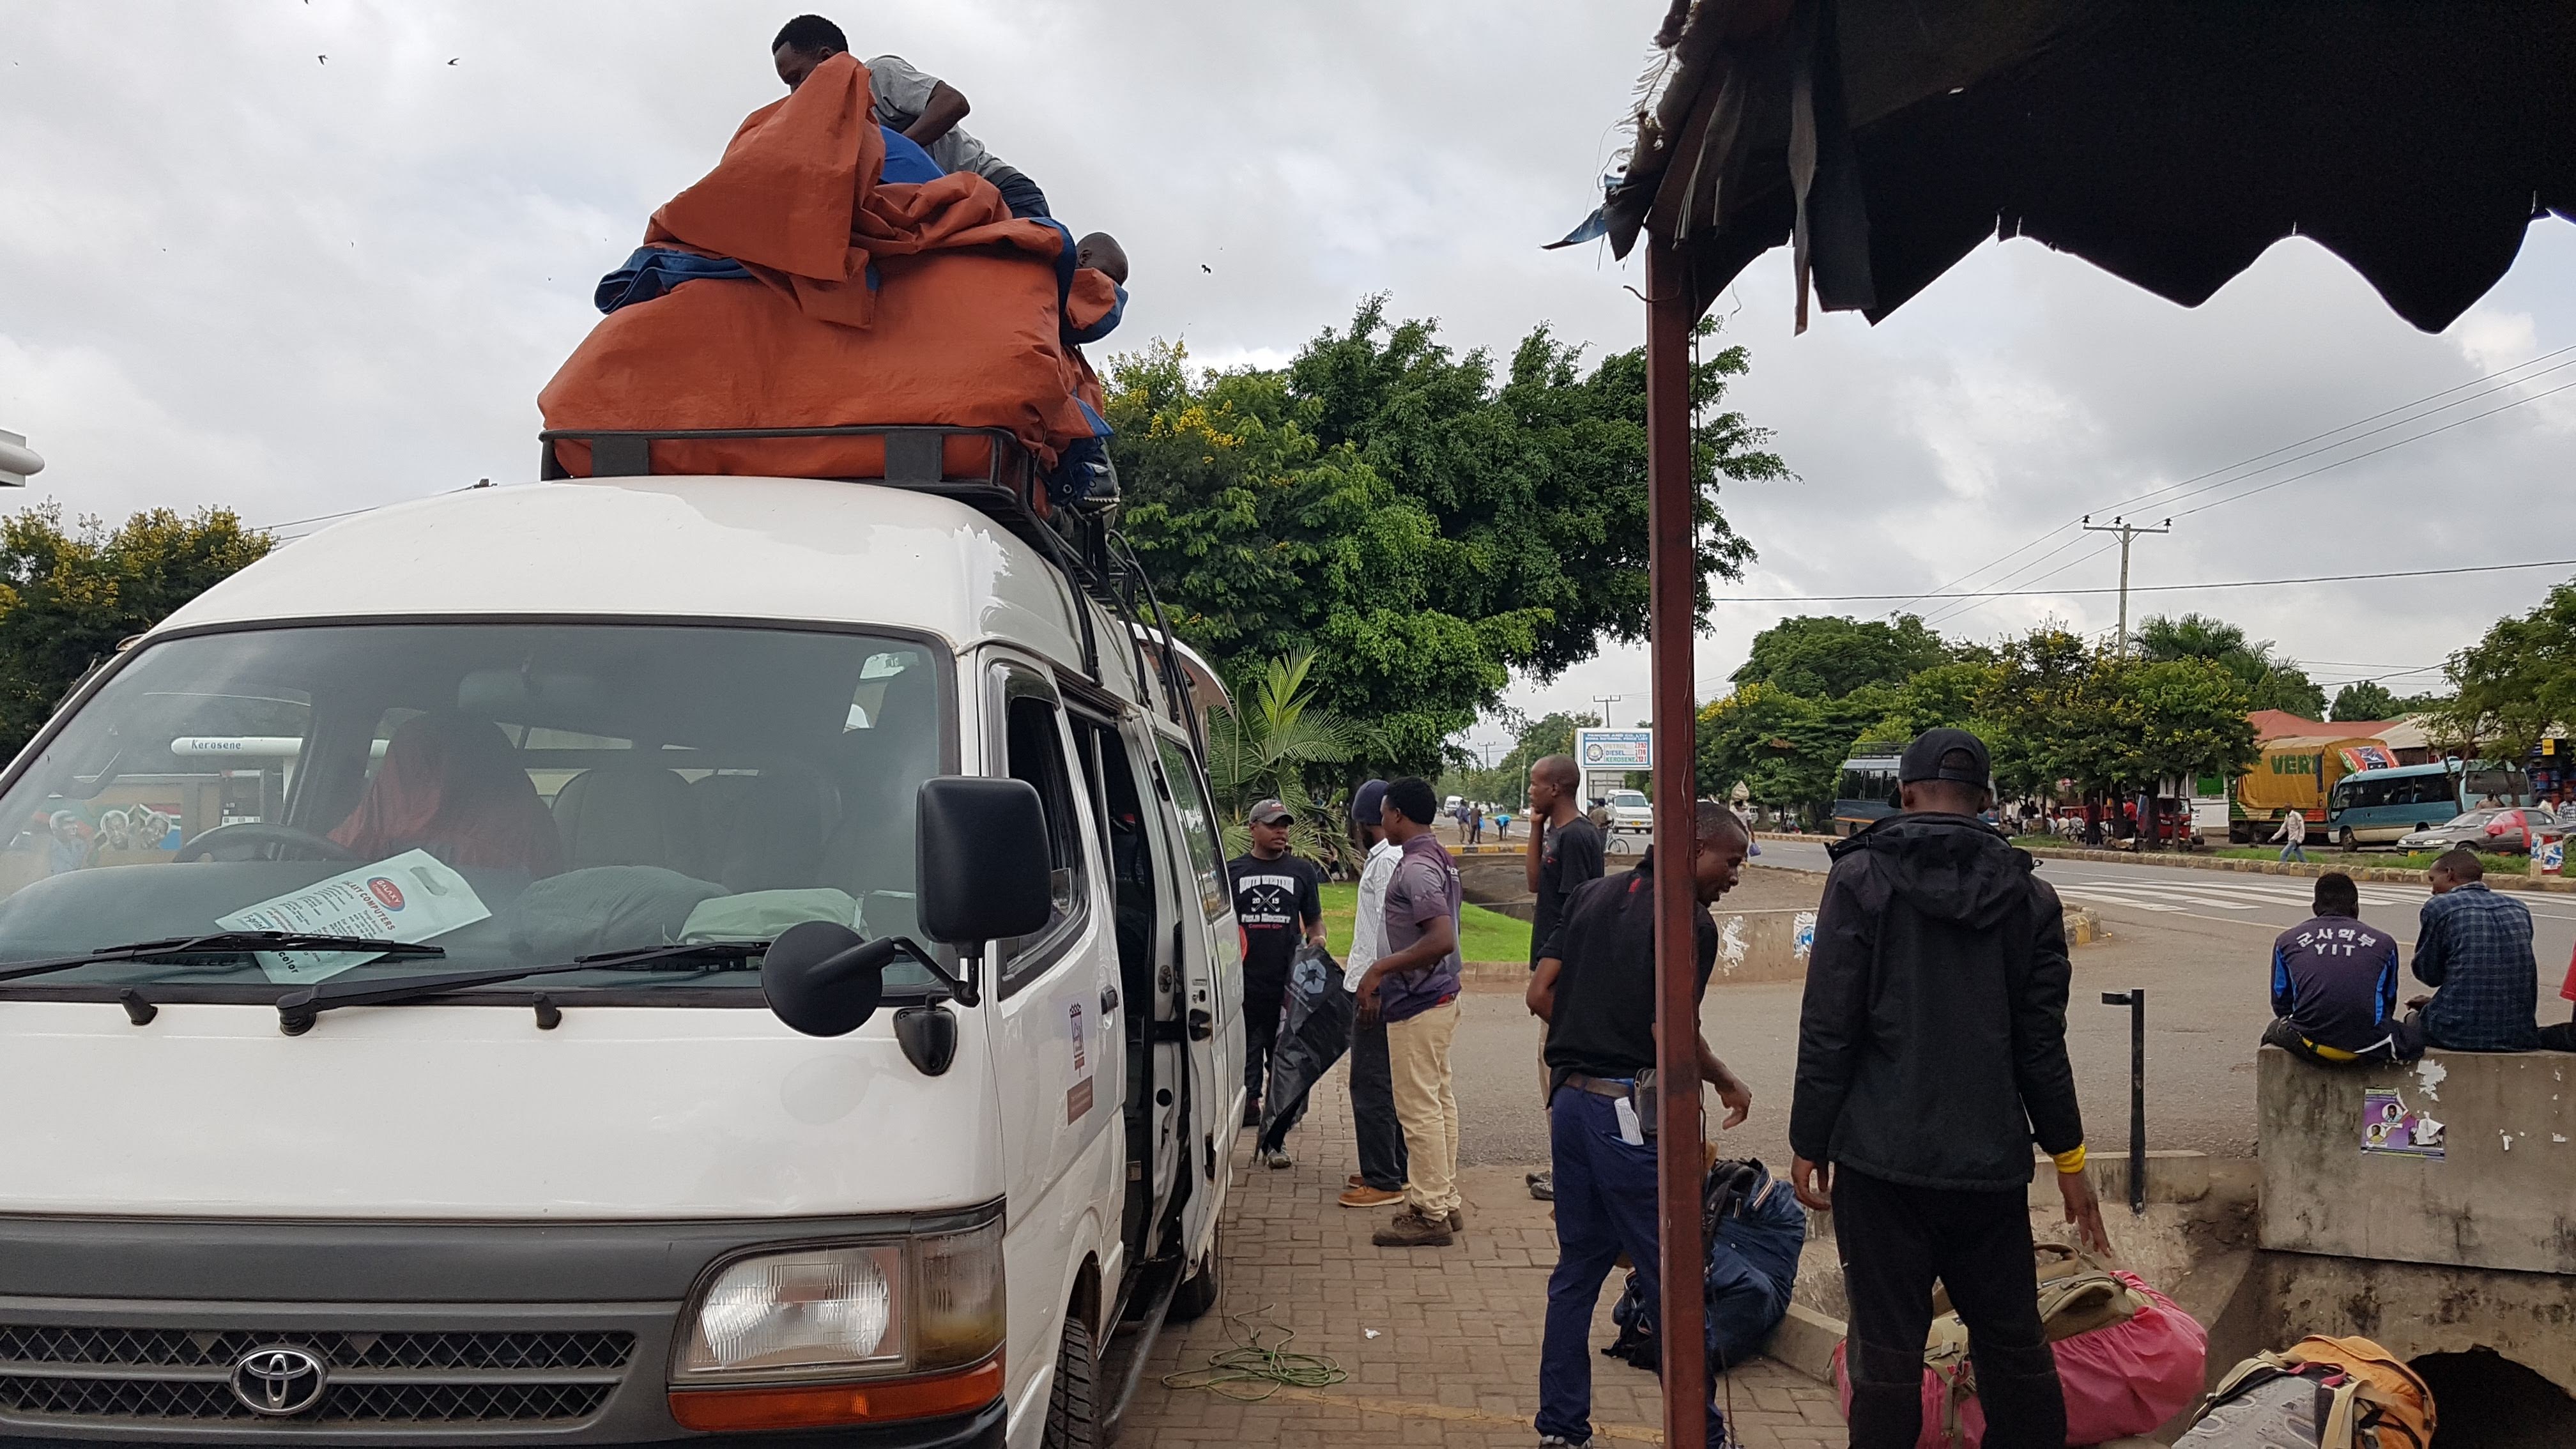
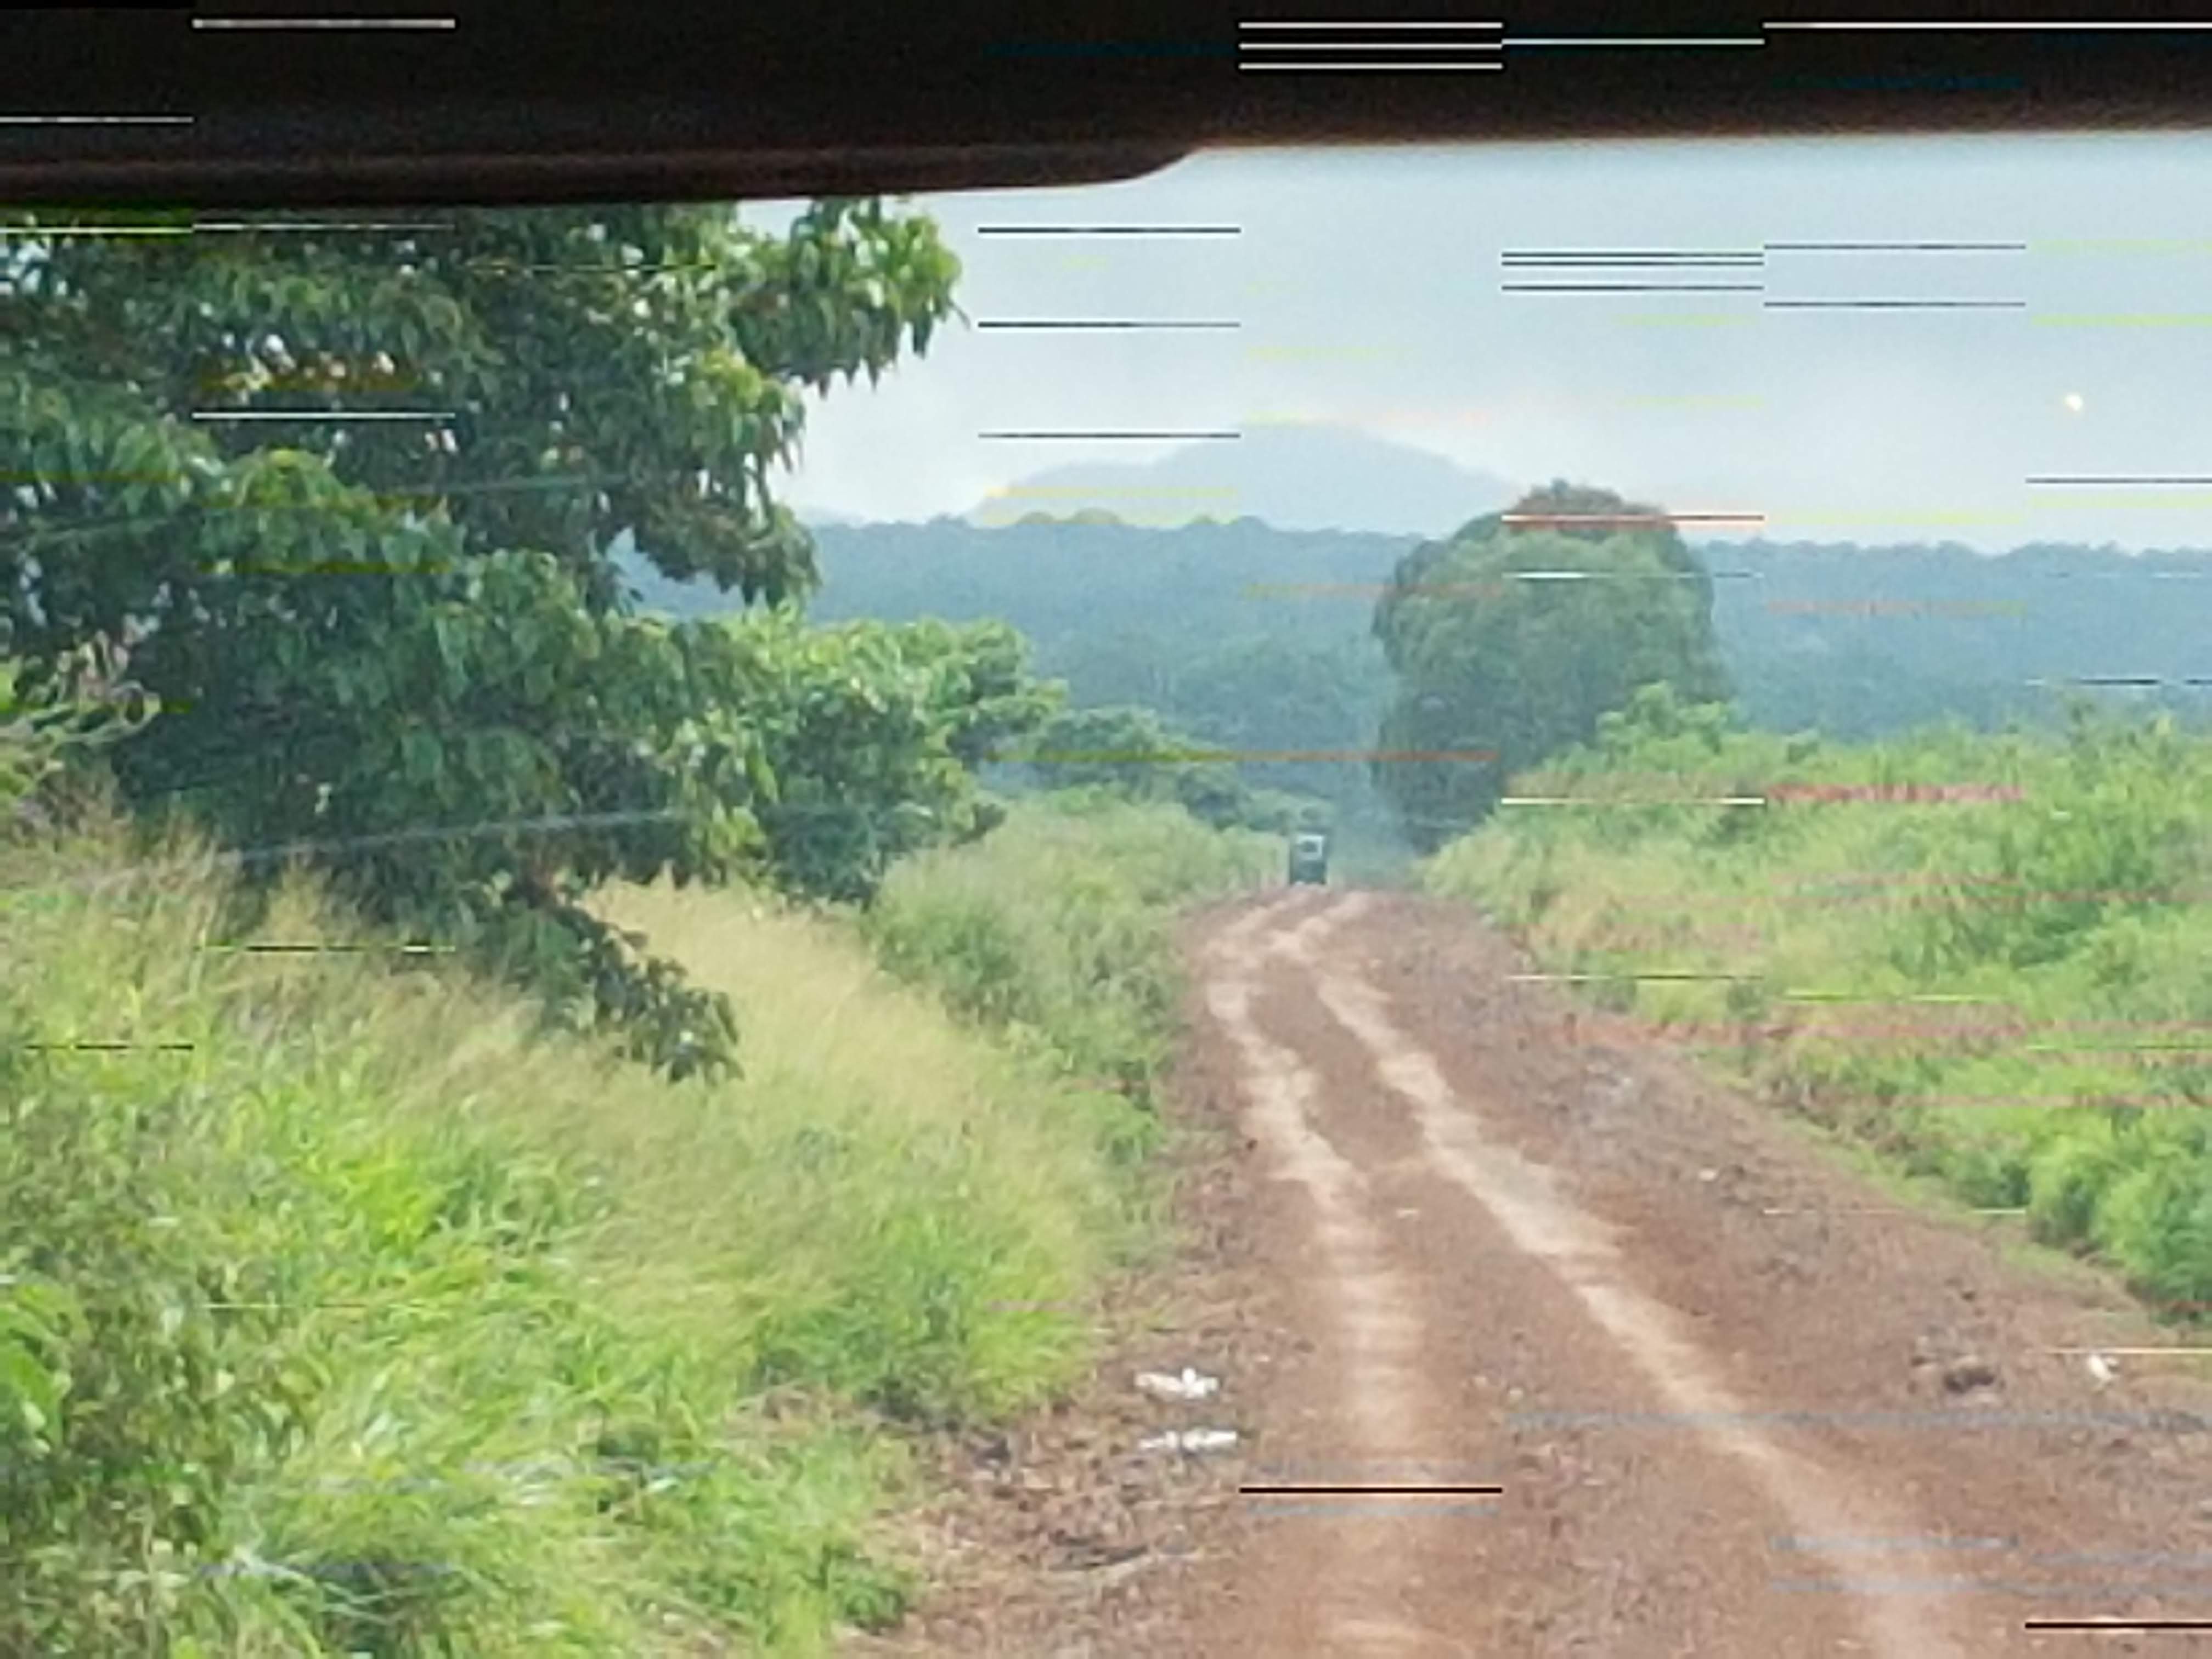
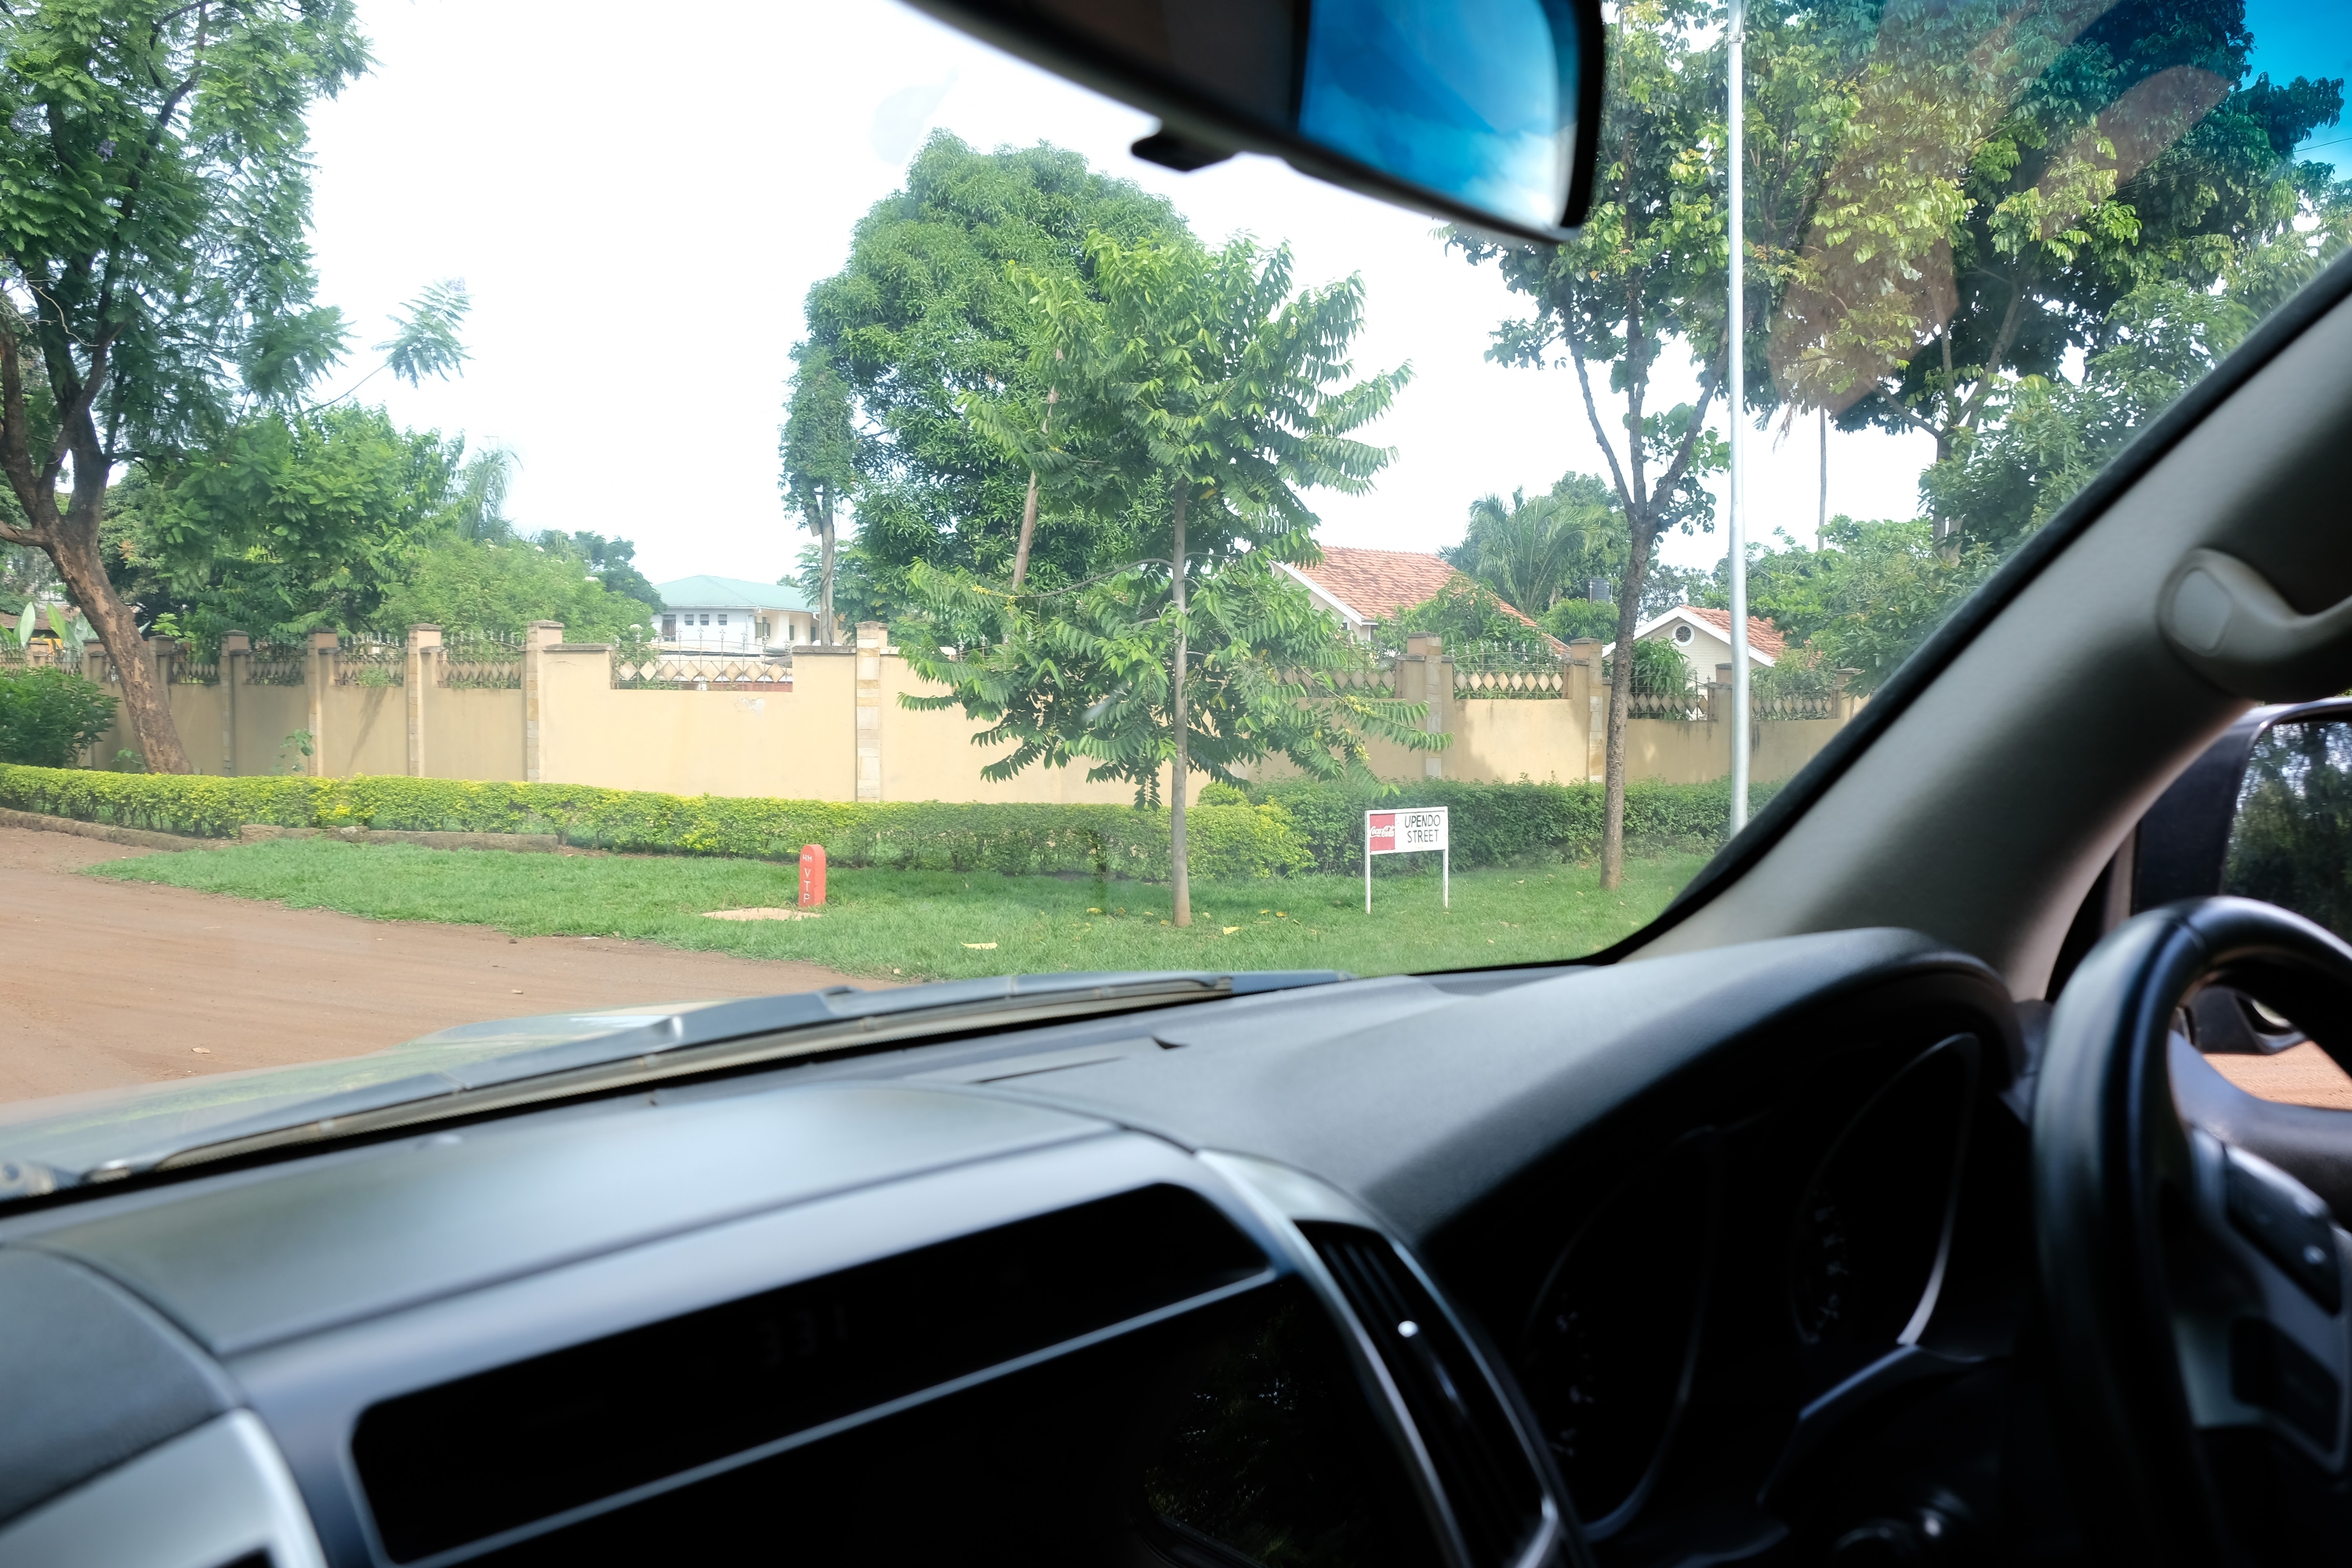
It had rained the night before making the surface wet on the roads 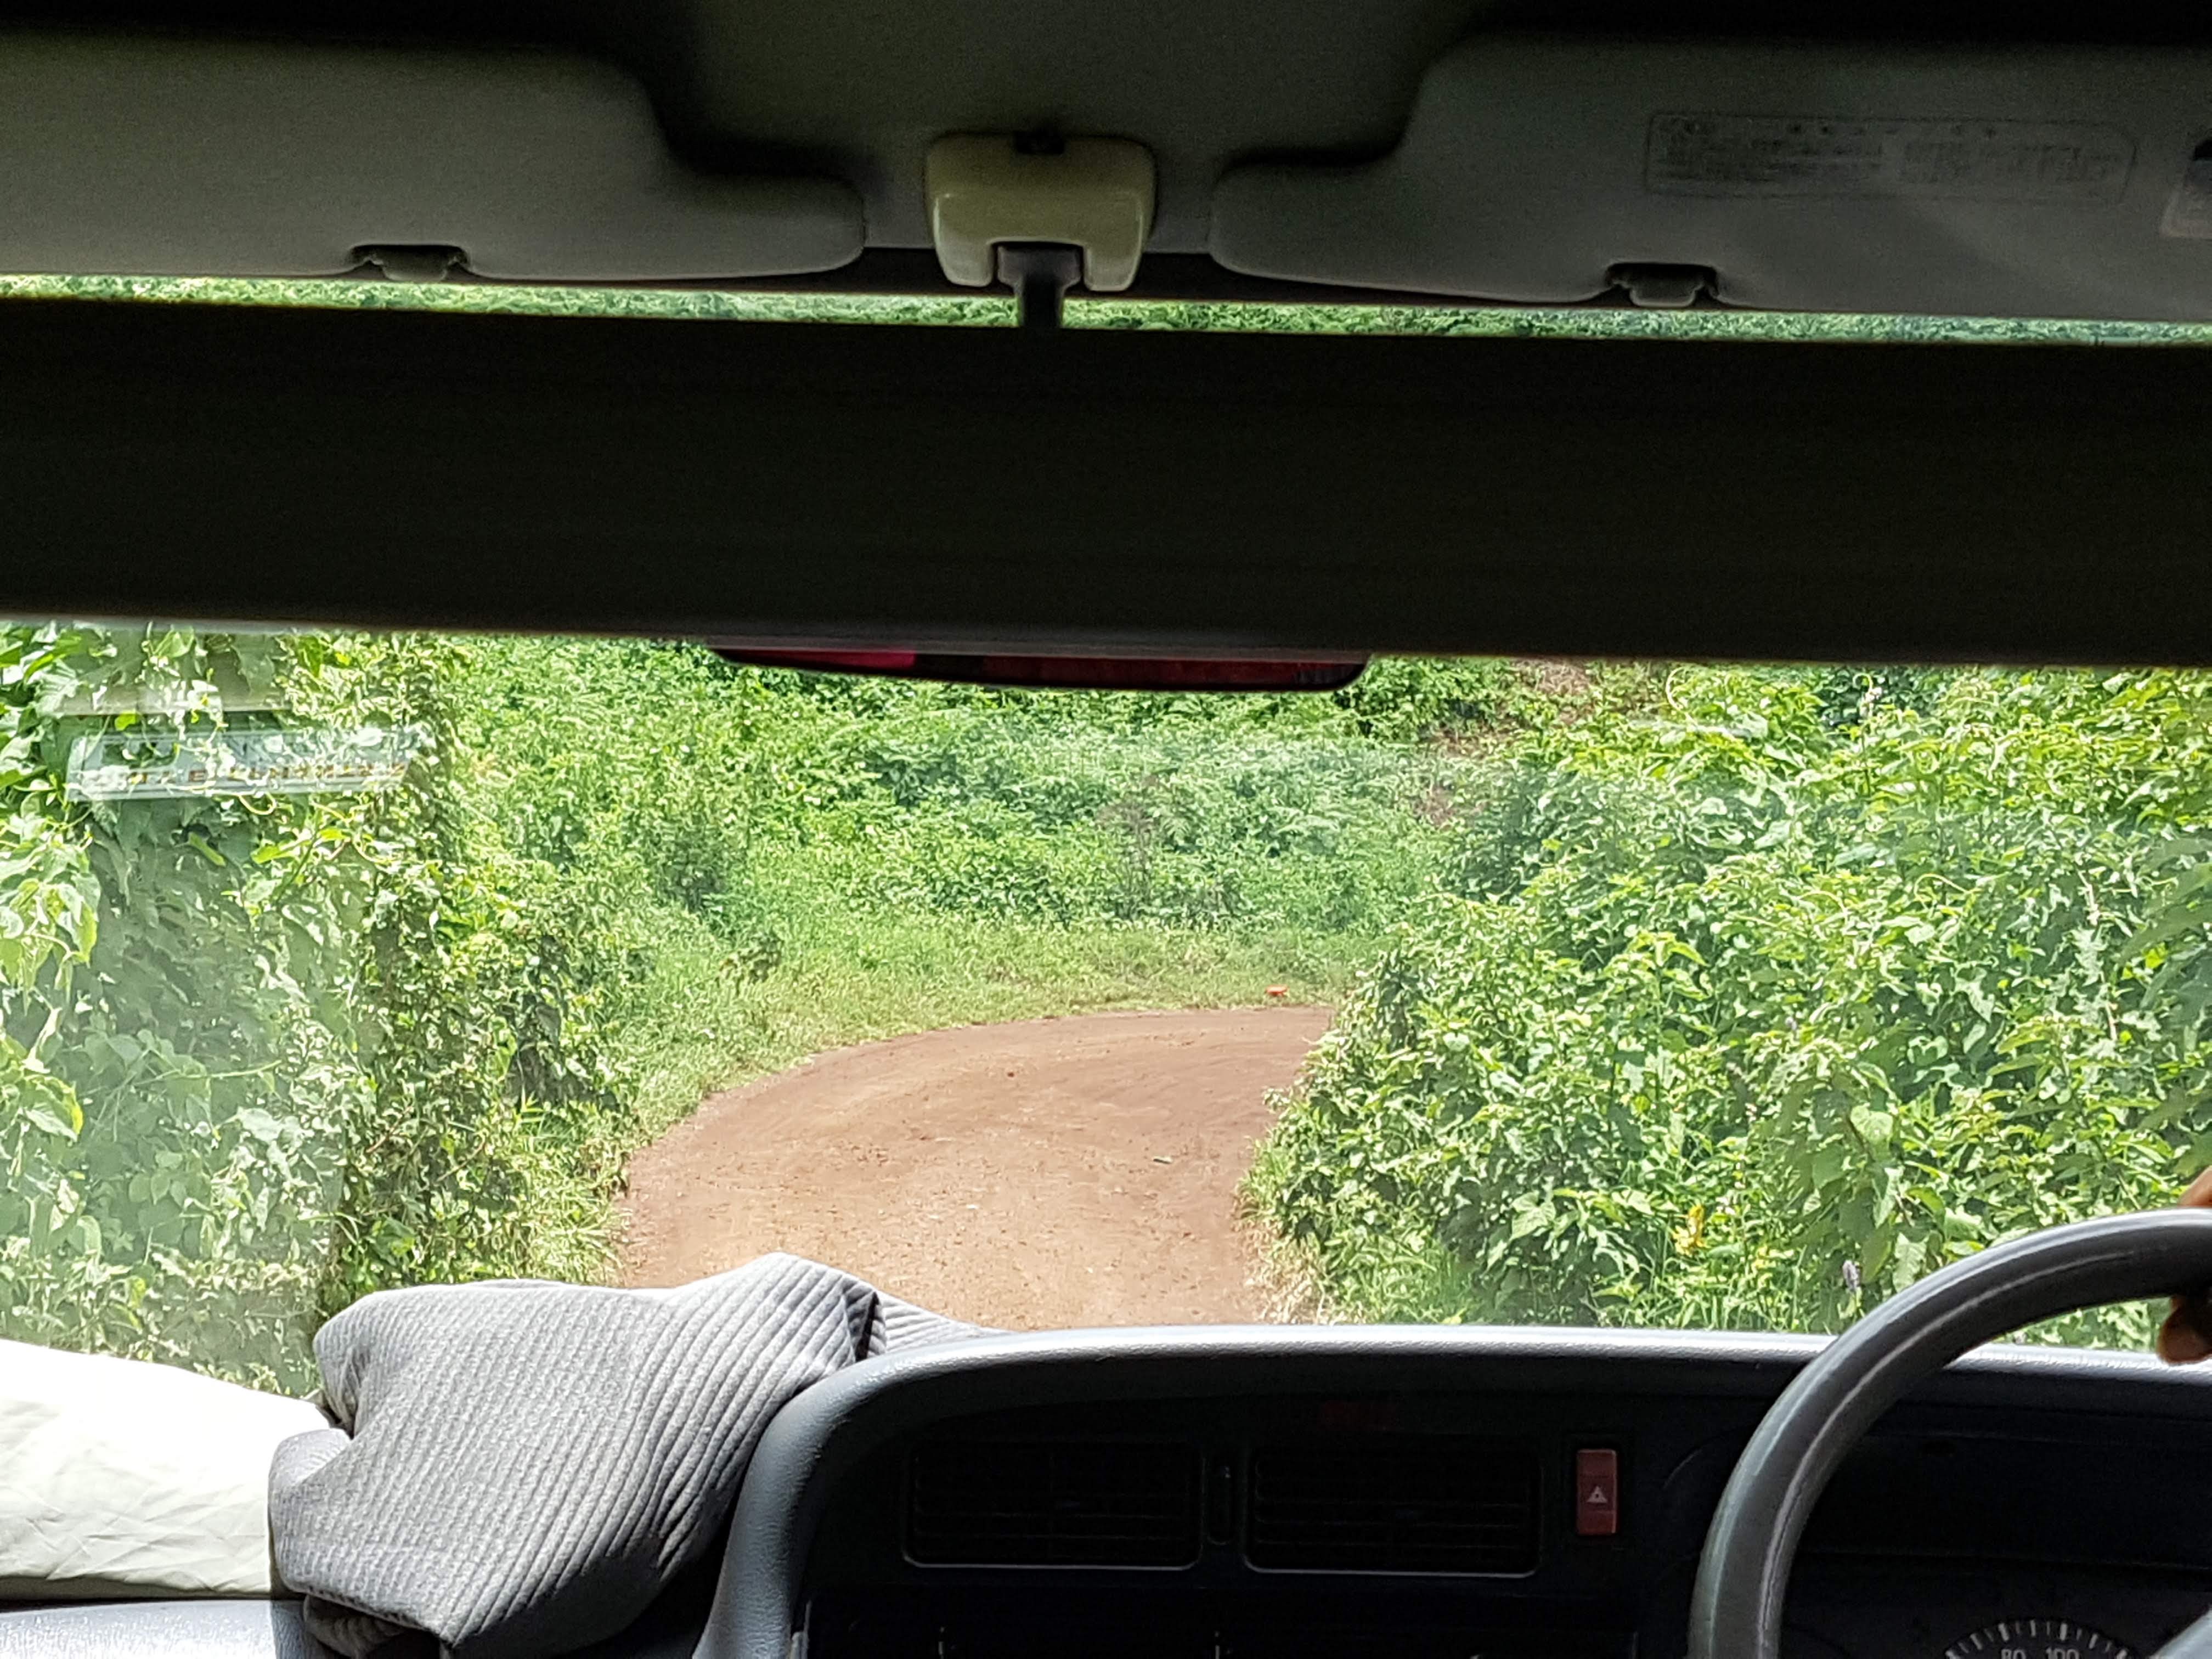
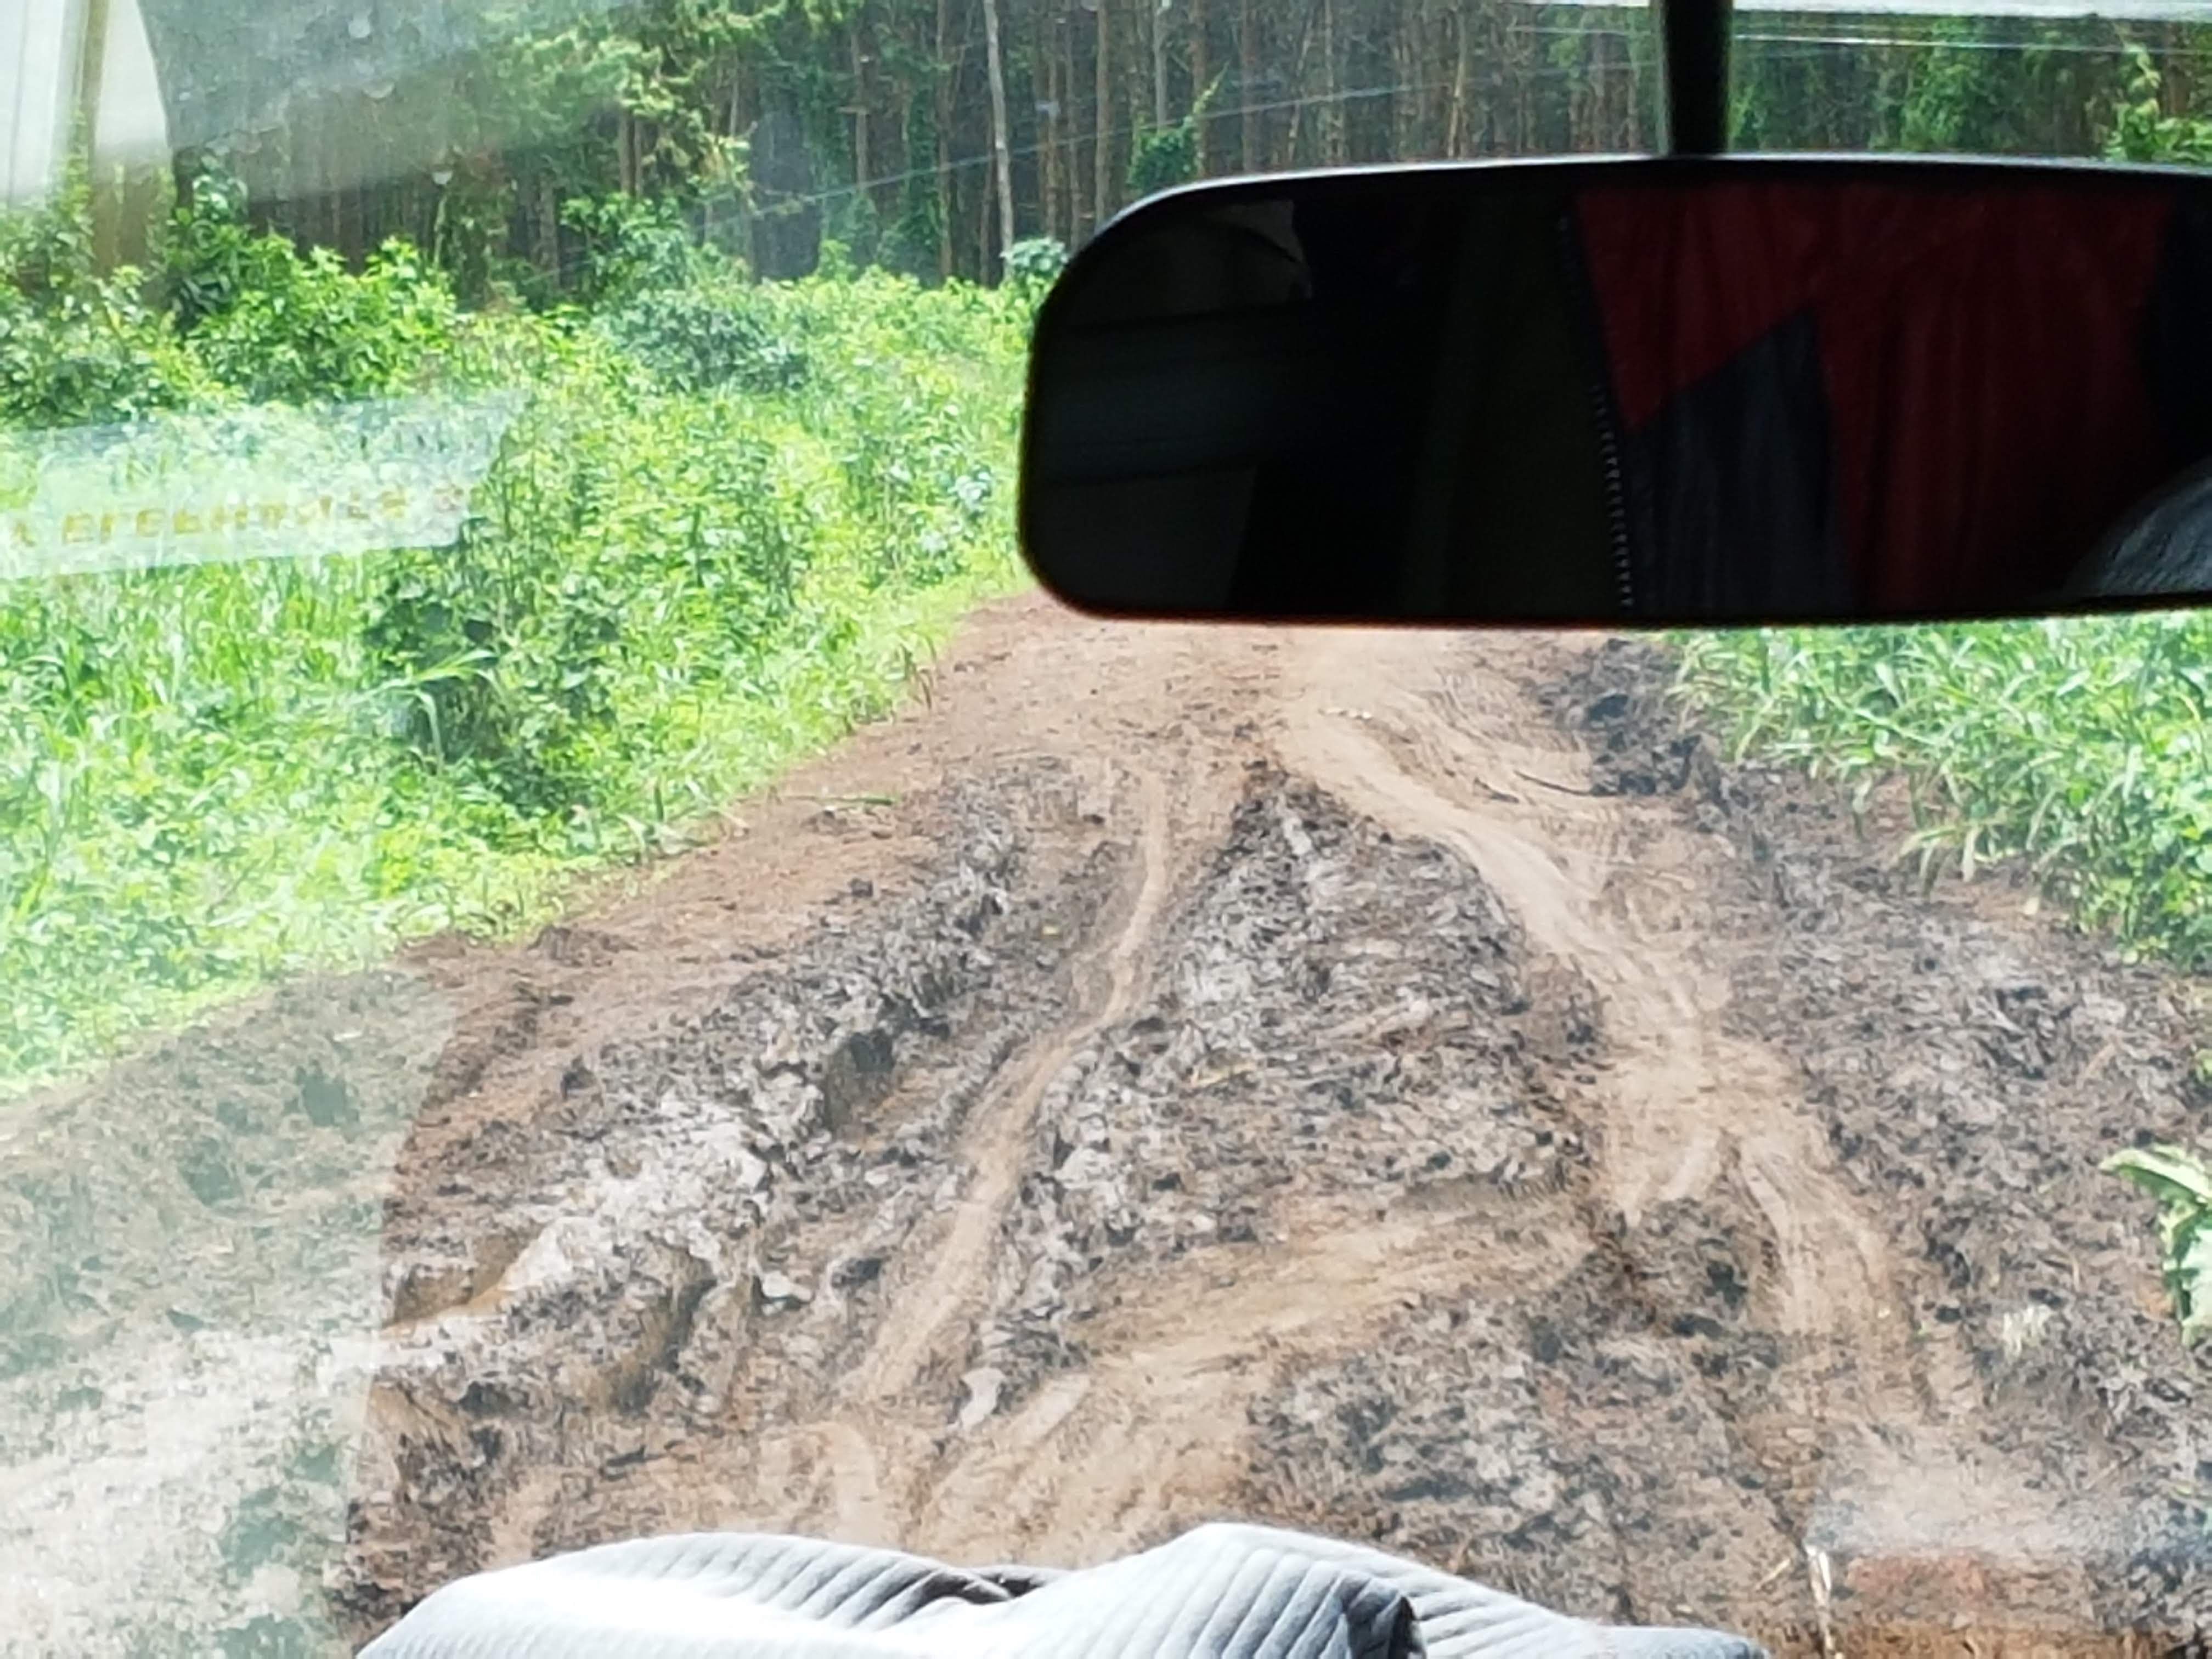
The roads were so wet that we had to get out of our bus so that we could get over the Muddy mounds in the middle of the road on either side of the tire tracks 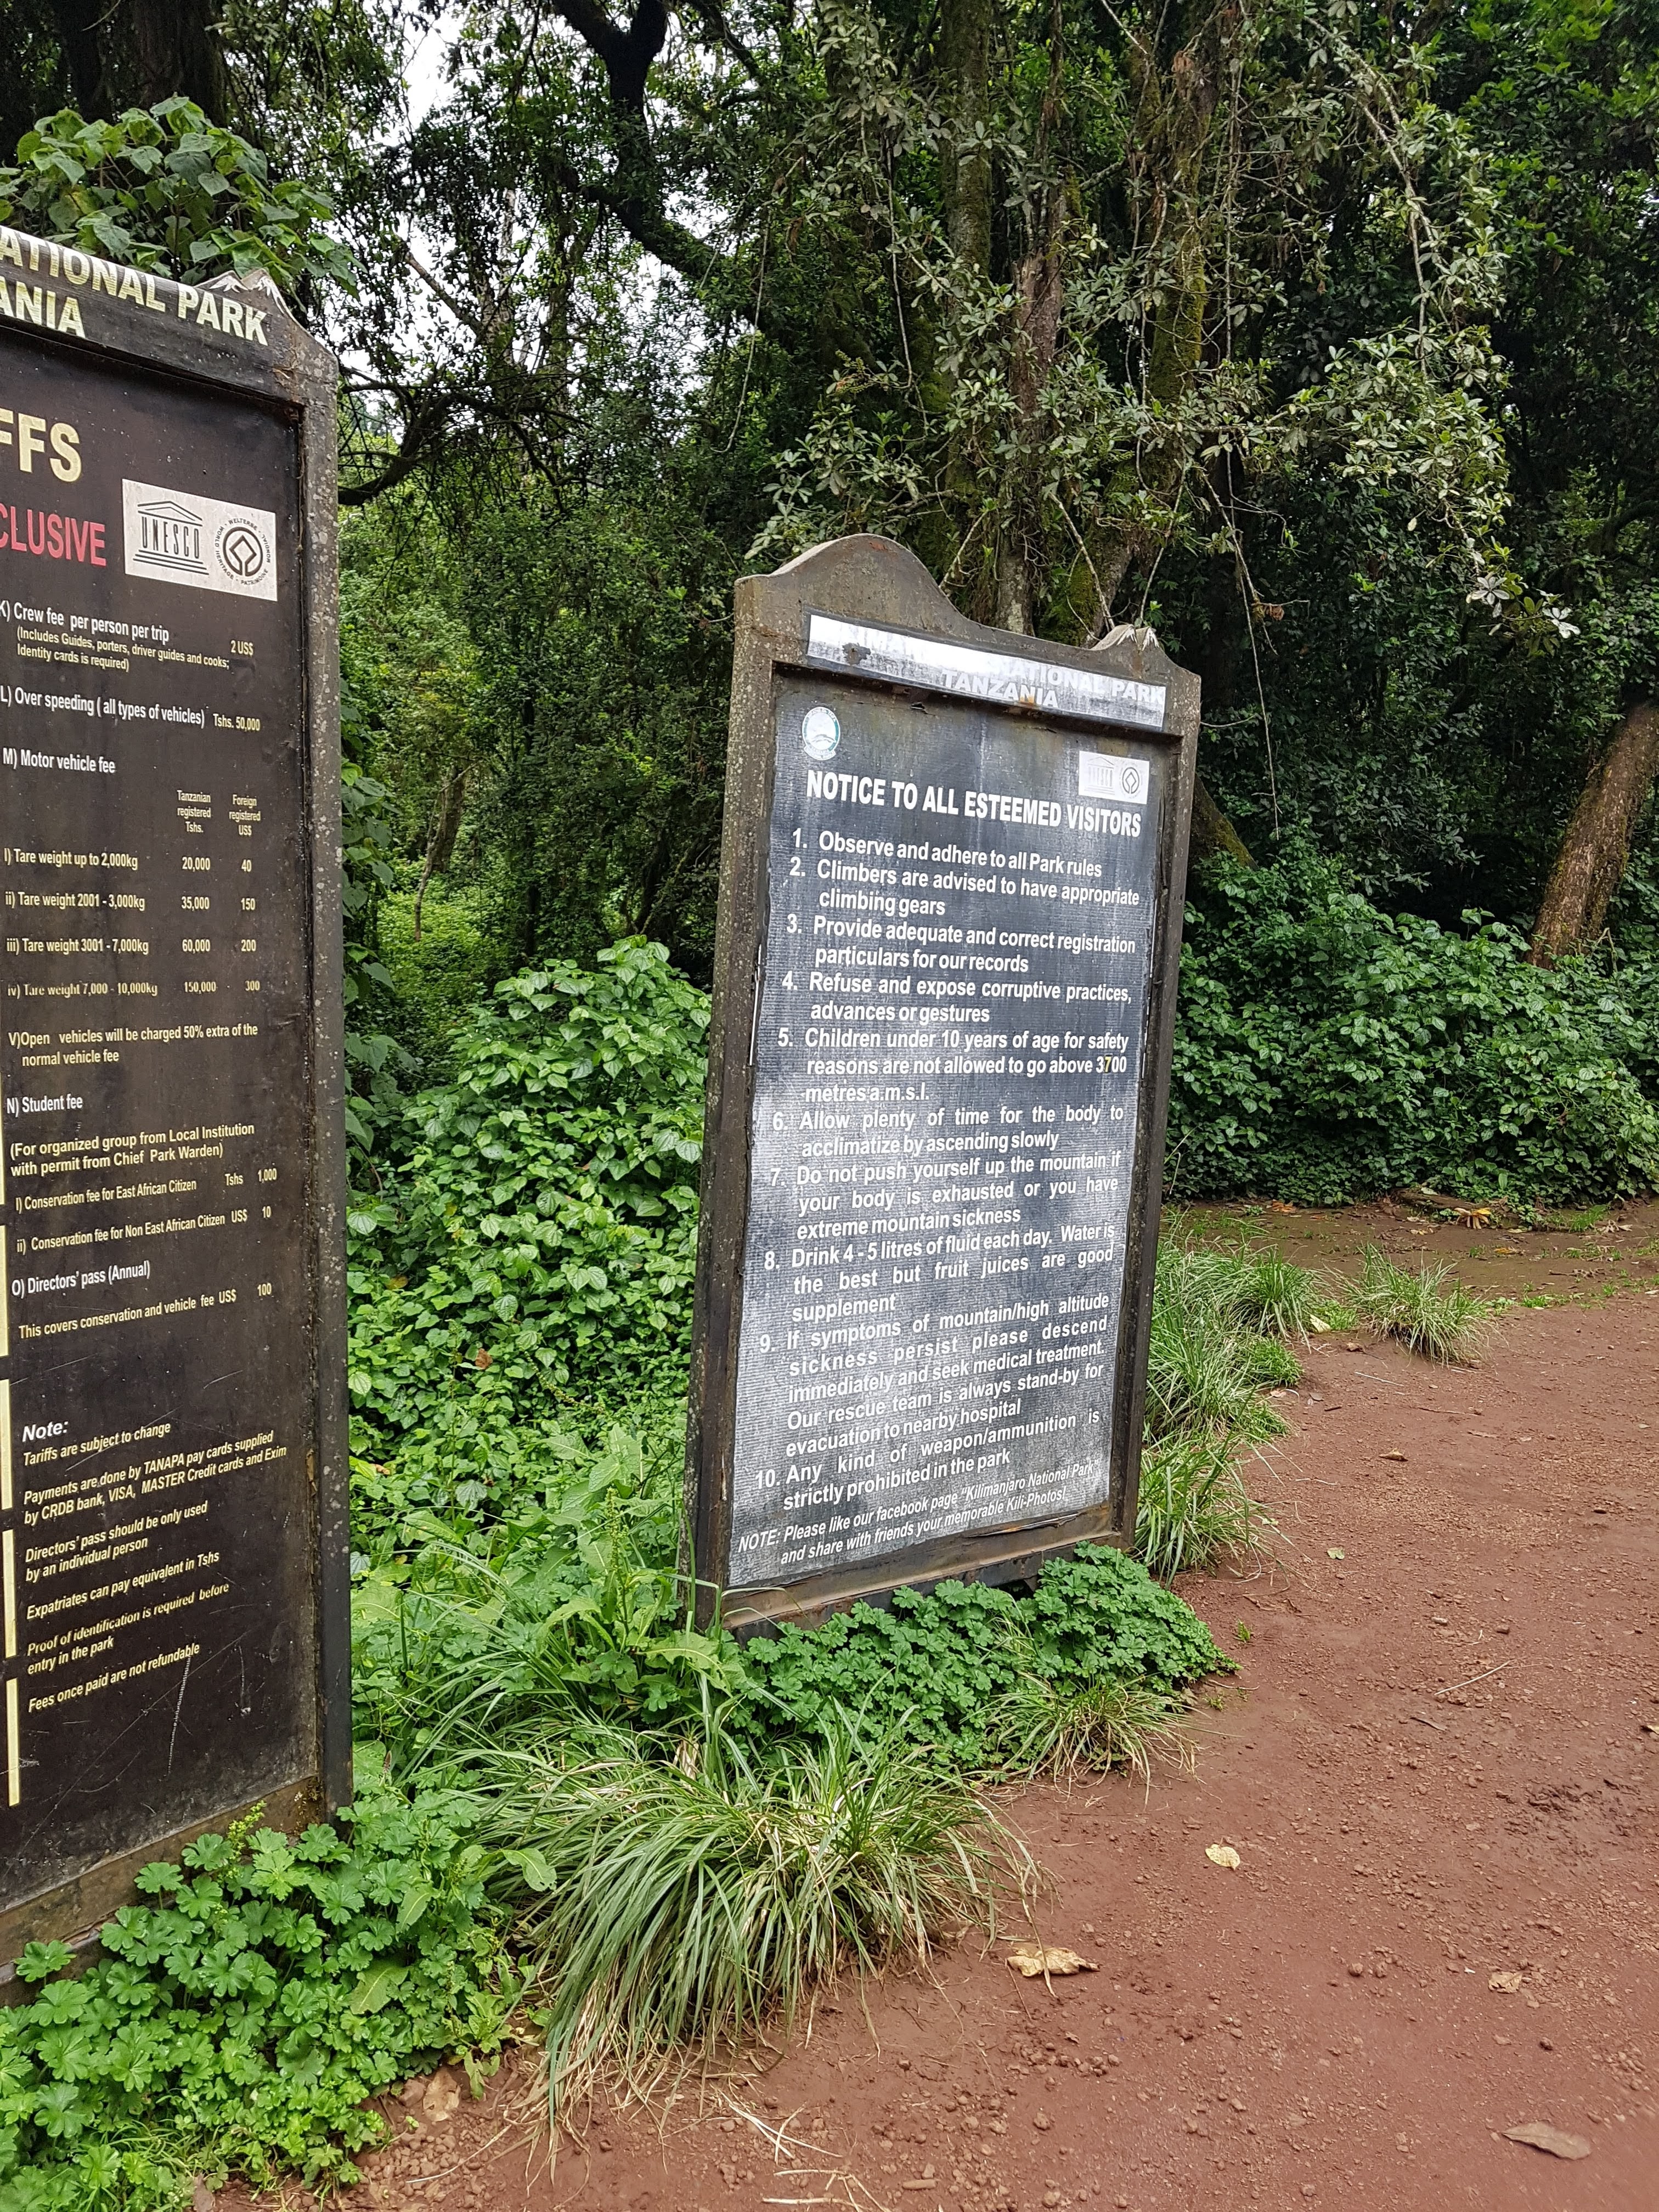

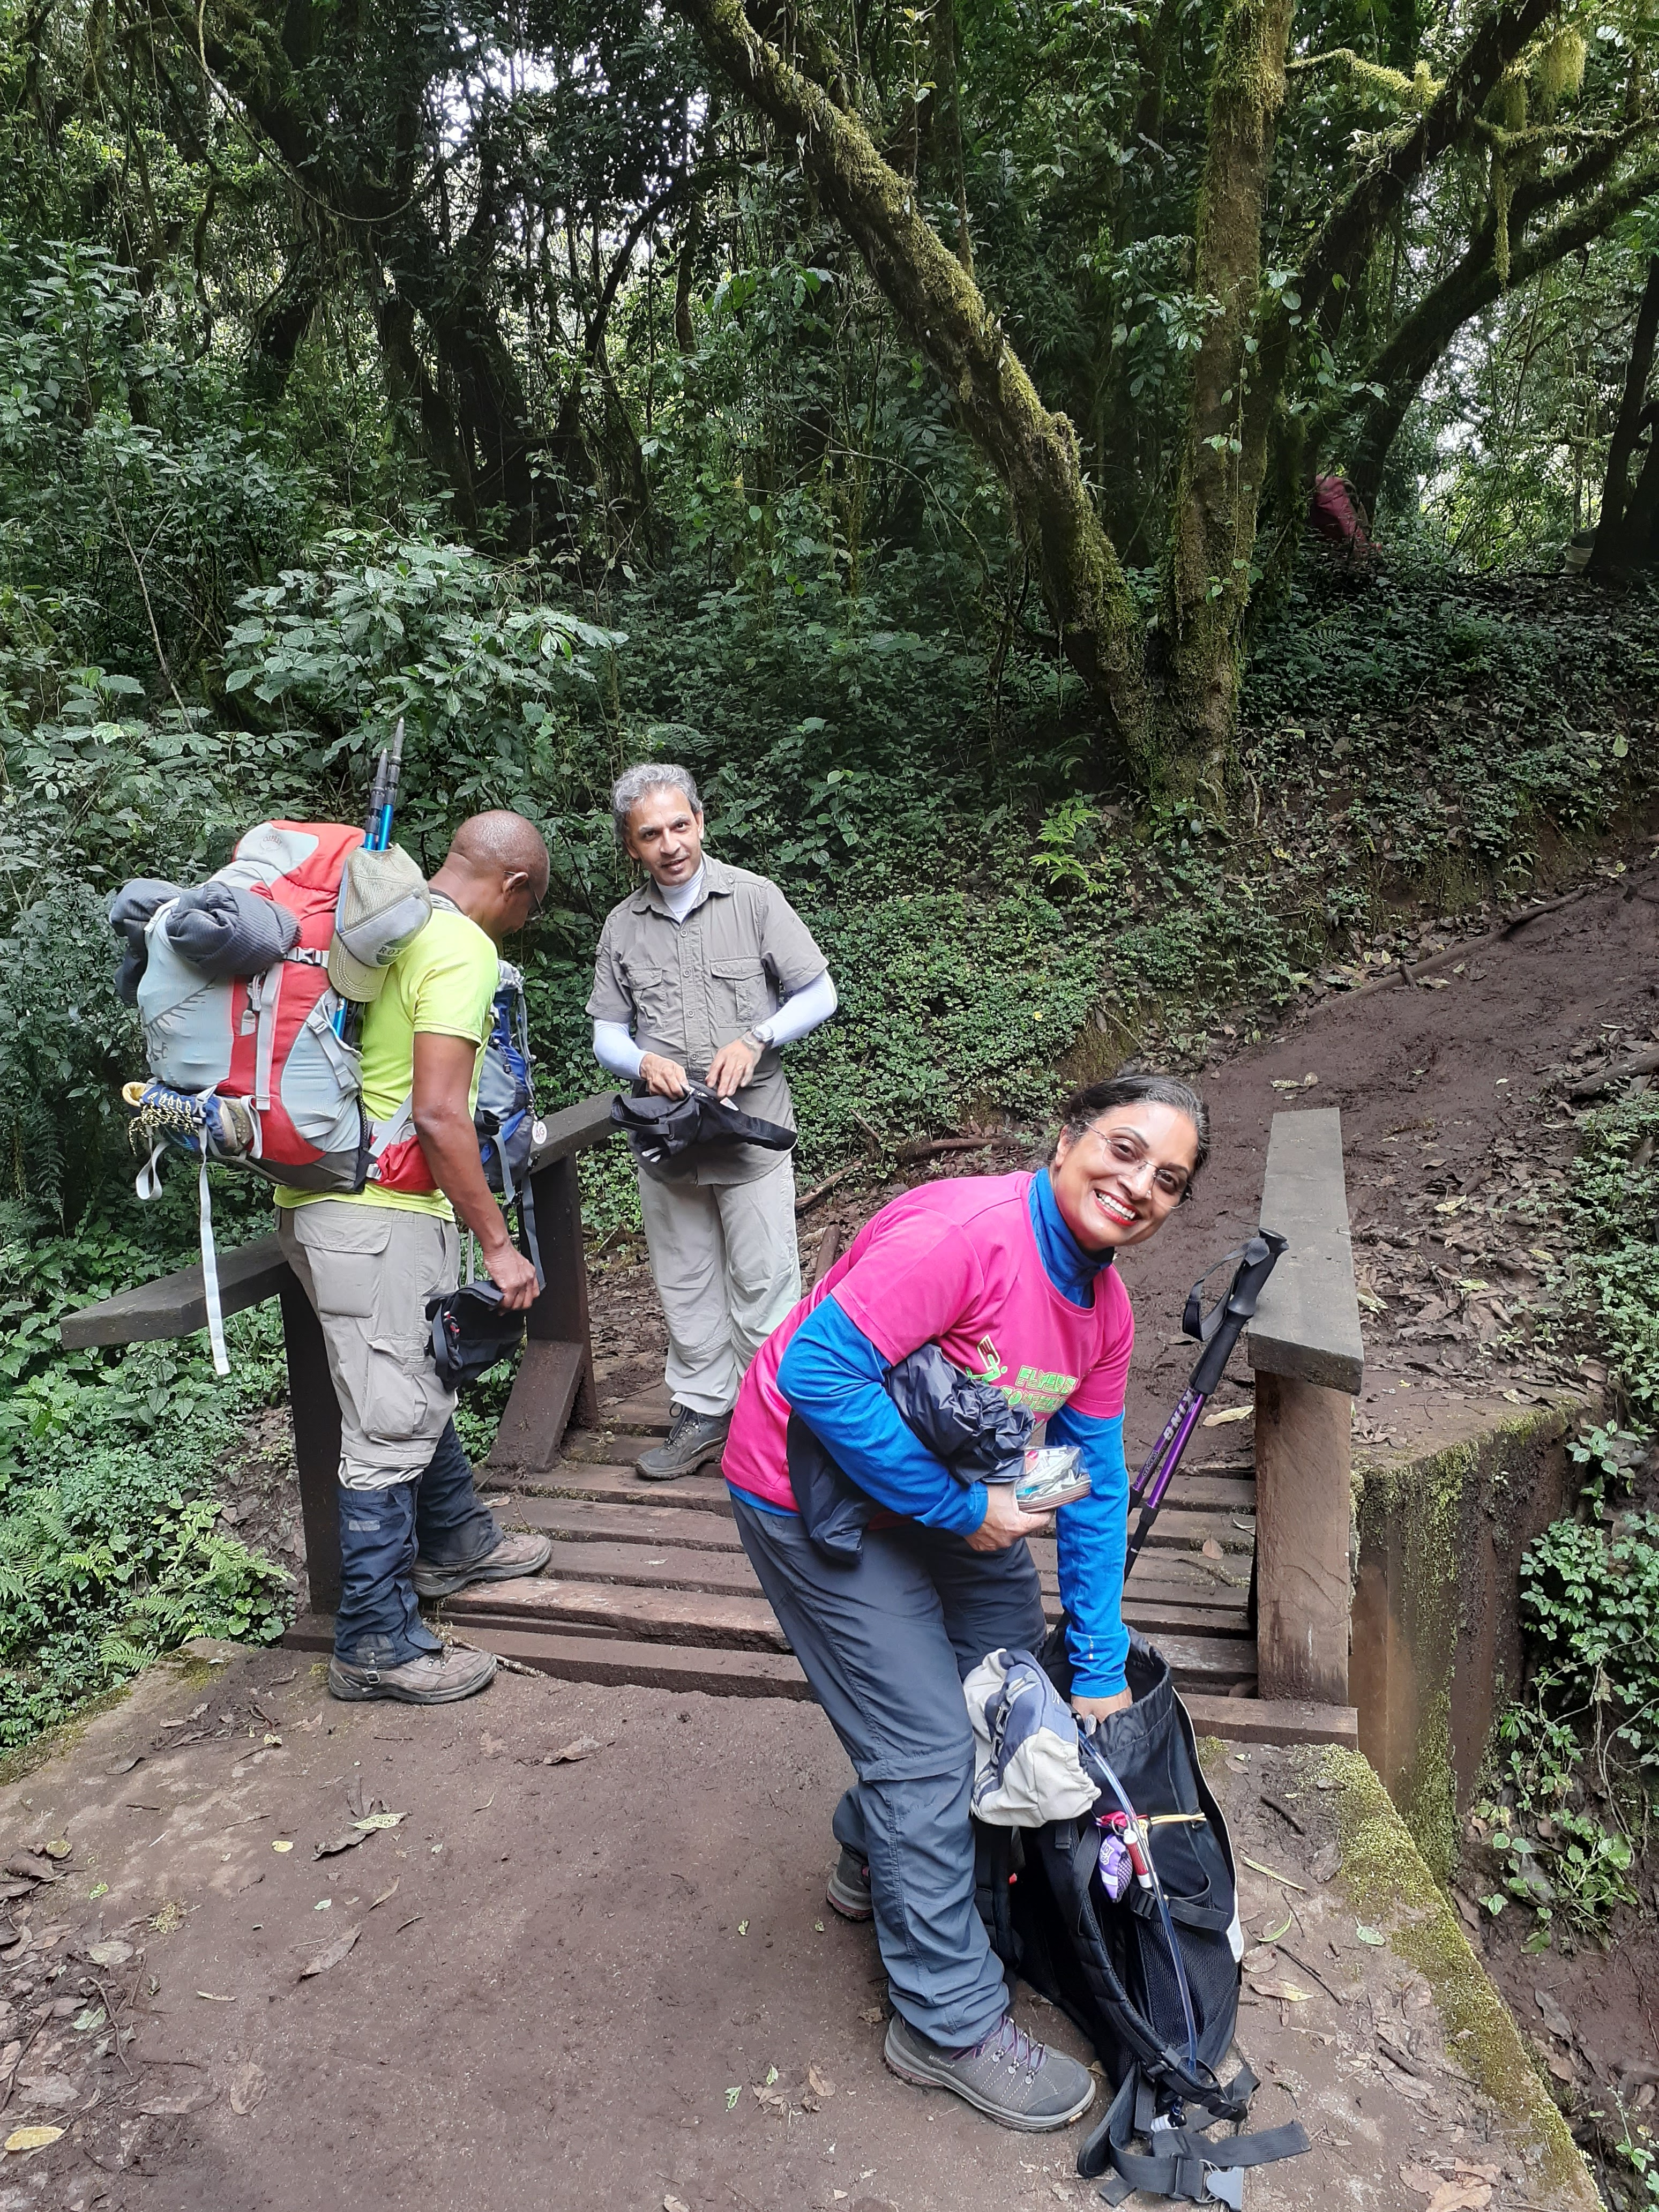
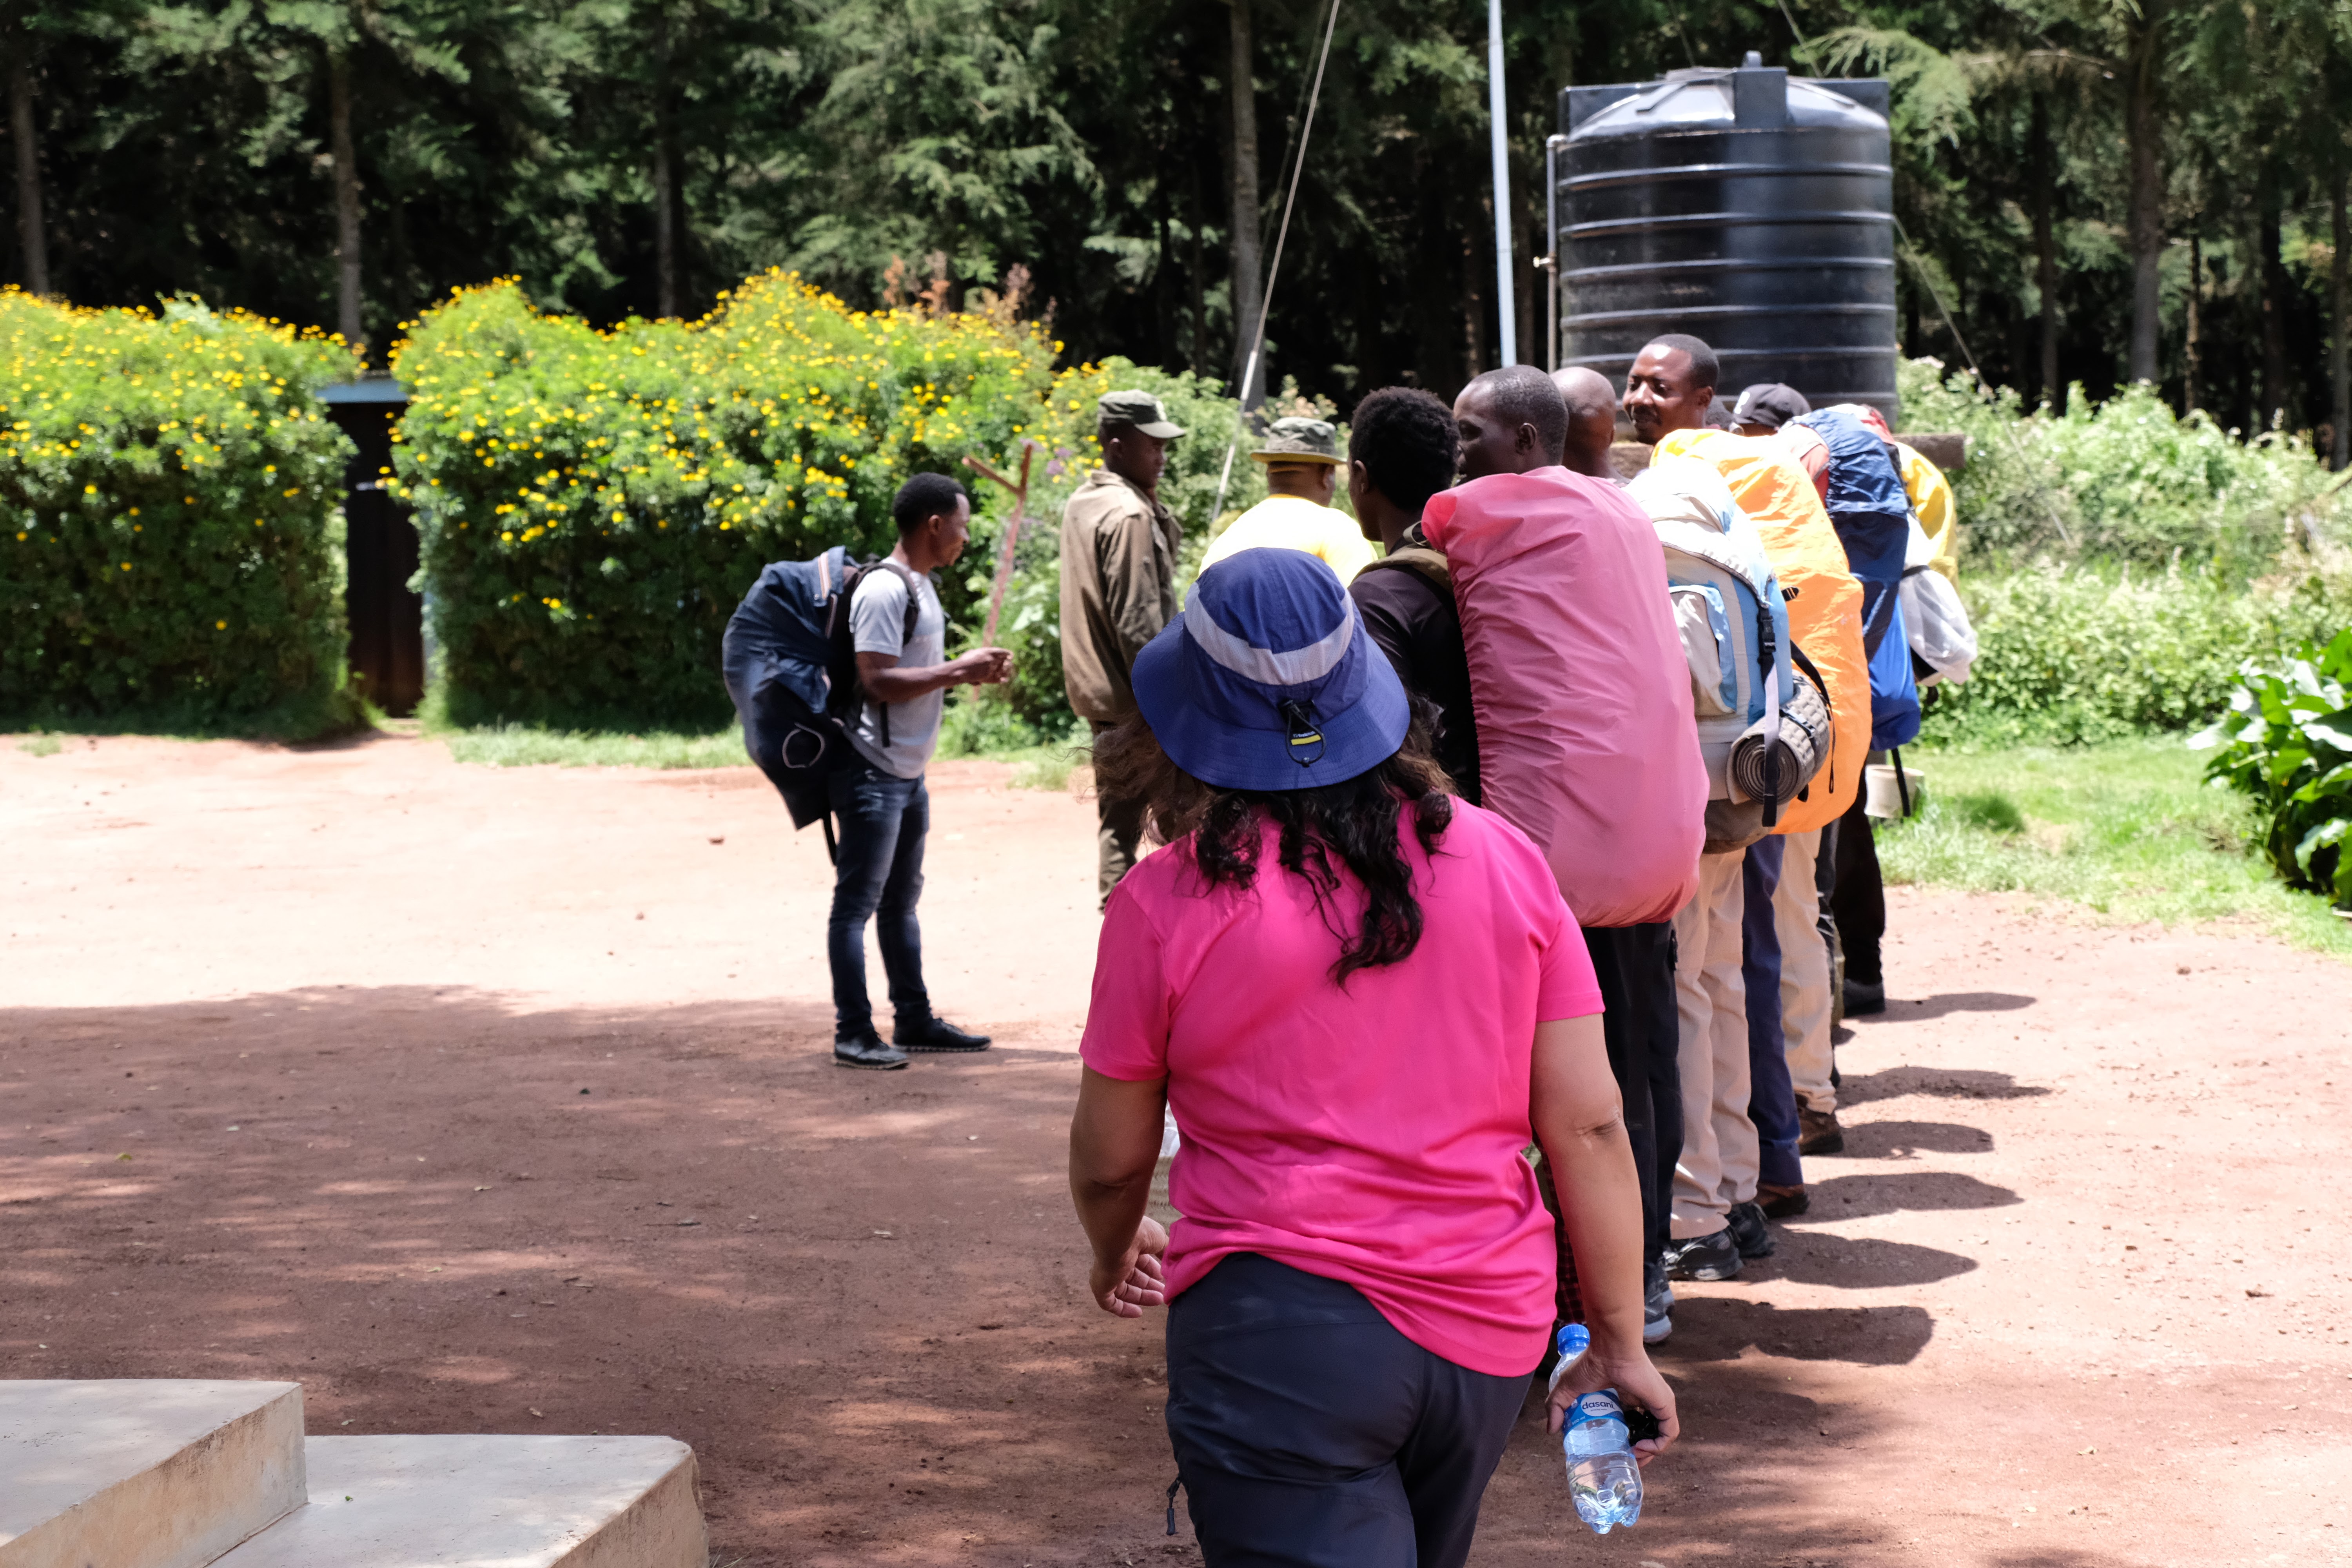
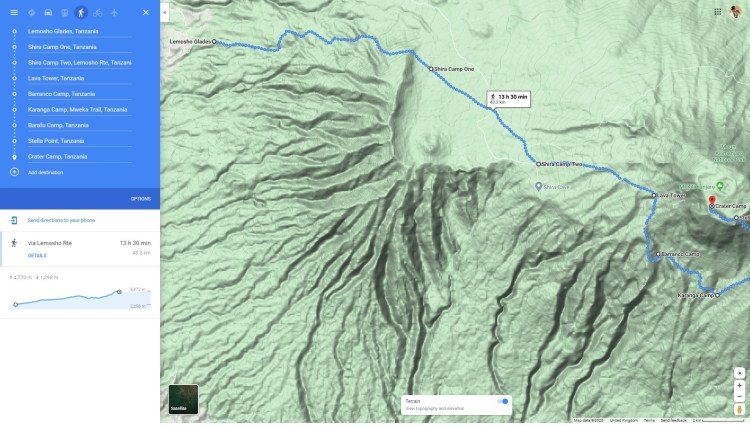
And here we go our first stretch of walking on this Epic Journey Ne-Yo